We love making our own cheap, safe, and effective home cleaning products and cleaning equipment to protect our health and the health of our planet. We make a conscious effort to avoid toxic industrial cleaners (i.e. window cleaners, dishwashing soap, laundry detergent) and cleaning equipment that is detrimental to the environment and our health (i.e. synthetic sponges, disposable mopping pads).
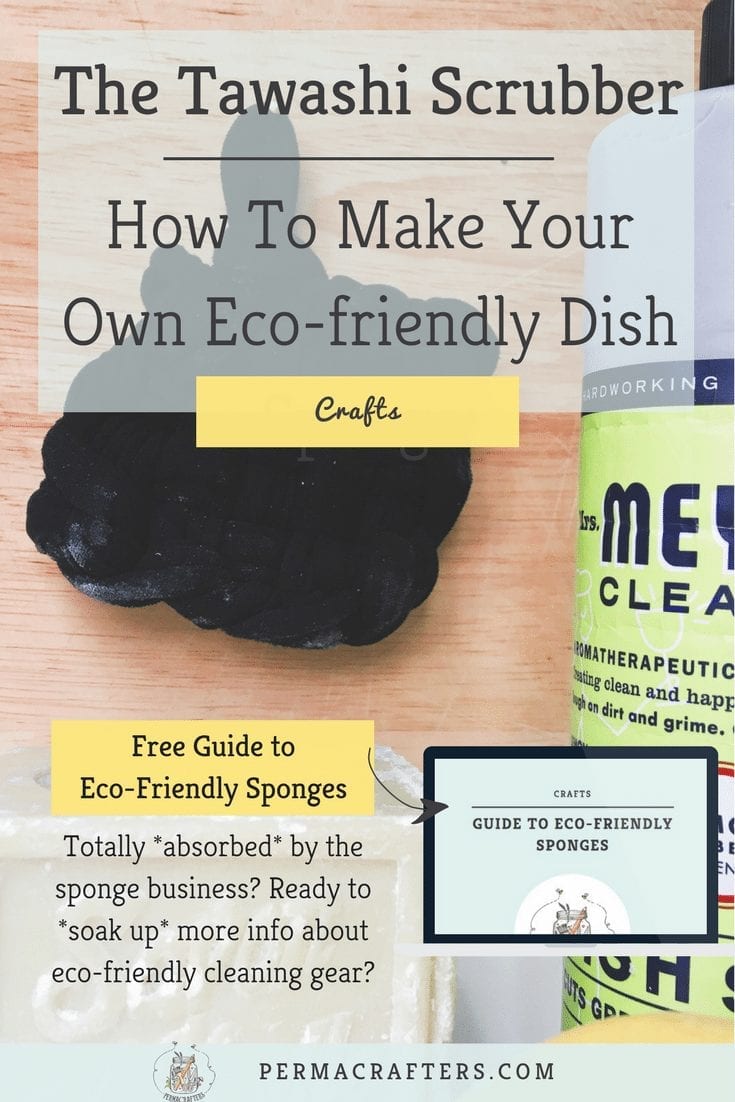
One of our favorite DIY cleaning equipment projects is making a tawashi scrubber or sponge, which is a type of sponge that originated in Japan. The tawashi scrubber is an eco-friendly dish sponge made from old socks or tights. Here are 4 reasons we love it:
- This eco-friendly dish sponge is a fun and quick crafts activity to do with friends or kids.
- We get to repurpose old socks and give them a new life! And we usually have a few old spare socks on hand. 🙂
- It allows us to stay away from synthetic sponges treated with harsh chemicals and that are made from ingredients derived from petroleum.
- This eco-friendly dish sponge can be sterilized in the washing machine and used for many months, longer than an ordinary sponge.
So, are you ready to make your own eco-friendly dish sponge?! Here are the materials you’ll need and the steps to follow.
Materials:
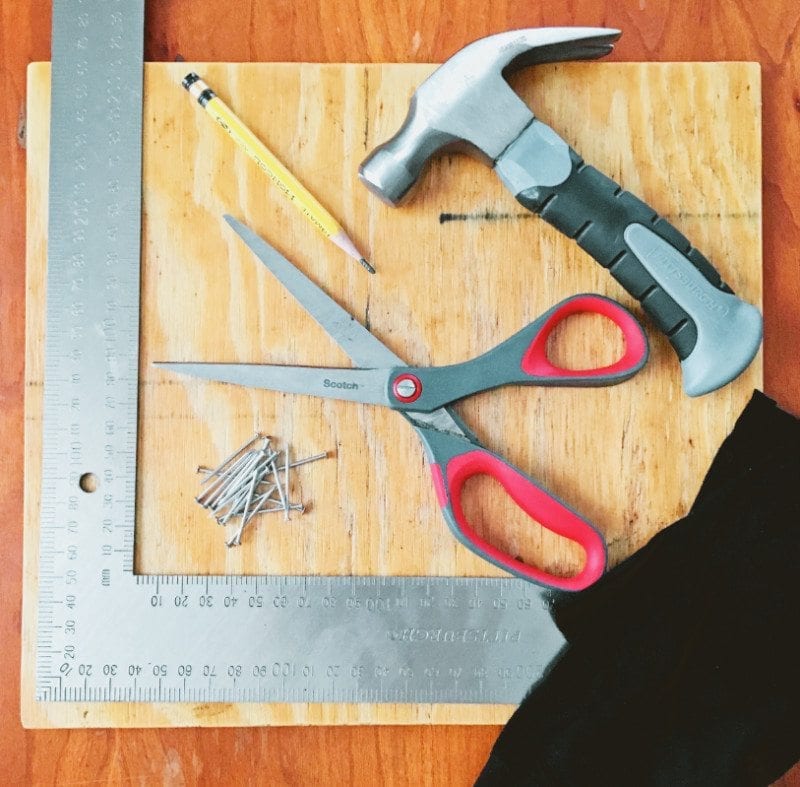
- Old thick stockings, tights or socks
- A wooden board (at least 16-20cm (6-8”) per side)
- 20 nails
- scissors
- a hammer
- a pencil
- a ruler
- a protractor or try square
Steps (click here for video instructions):
How to make your reusable tawashi board:
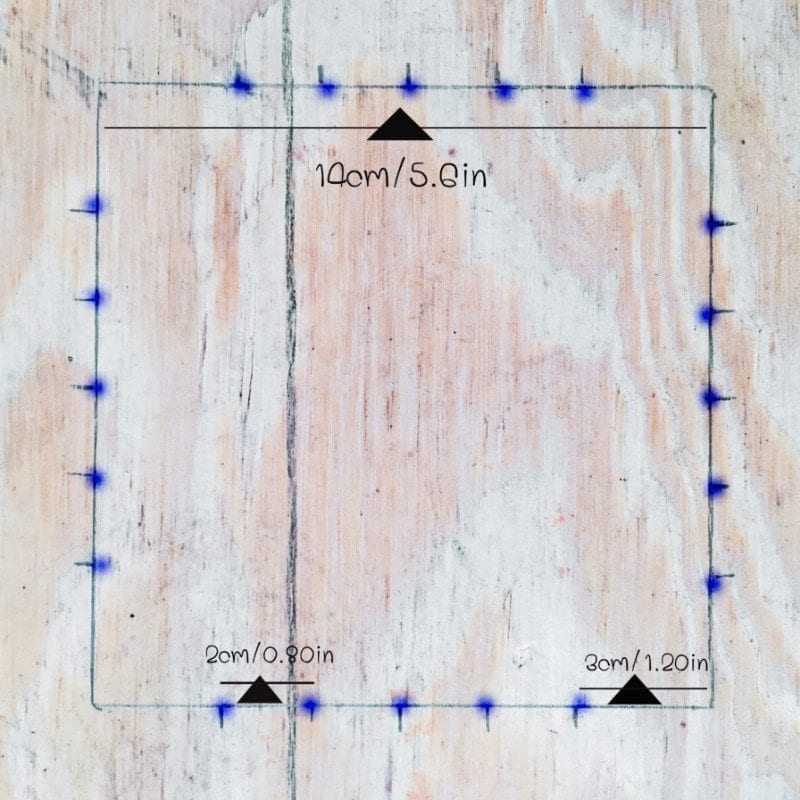
- Use your pencil, ruler and try square to draw out a 14cm (5.6 inches) square on your wooden board.
- Use your pencil to mark dots along the square: the first dots need to be 3cm (1.2 inches) from each corner of the square; the other dots need to be spaced out 2cm (0.8 inches) from each other (see image).
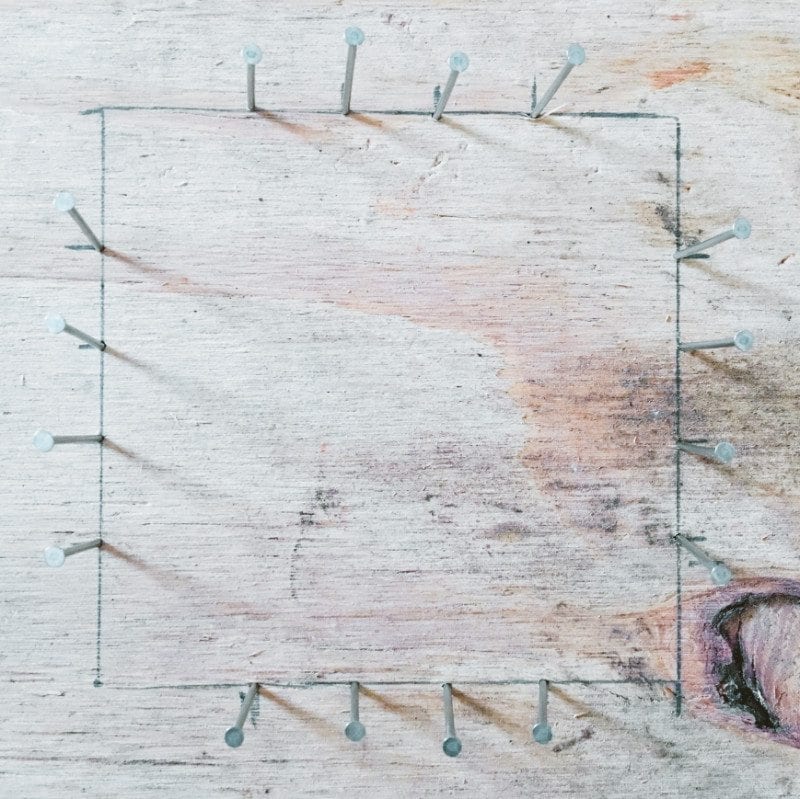
- With your hammer, firmly plant the nails into the board onto each of the 20 dots.
How to make your own eco-friendly dish sponge:
- Cut your socks, tights or stockings into 10 rings up to 8cm (3 inches) thick.
- Attach the rings to the nails vertically: start by securing one ring to the nail closest to you on the left and stretching it to attach it to the opposite nail furthest from you on the left. Attach 4 more rings vertically (see image).
- Weave the remaining rings horizontally in and out of the vertical rings: start by attaching a ring to the top left nail on the left side of the square and pass it over the first vertical ring, under the second vertical ring, over, under and over and then hook it to the opposite top right nail on the right side of the square. Attach 4 more rings horizontally, but weaving the opposite way with each new ring: Horizontal rings 2 and 4 would be under, over, under, over, under. (see image).
- Unhook any ring from its nail, then unhook a second ring right next to it. Pass the second ring into the first ring. Hold on to the second ring and let go of the first ring. The second ring now becomes the “first ring”. Continue this step all around your square. Tighten as you go, as needed.
- The final ring that you end up with is the hook that you’ll use to hang and dry your tawashi sponge!
Keep your wooden board to make more tawashi scrubbers for your household and your friends!
Do you love the idea of switching to products that are long-lasting and that won’t trash the planet? Check out Trash is for Tossers’ article on 13 Easy Zero Waste Resolutions You Can Make for 2018 for inspiration on ways to lighten up your life!
Totally *absorbed* by this sponge business?
Ready to *soak up* more info about environmentally-friendly cleaning gear? Download your guide to eco-friendly sponges! Review how to make your own sponges, learn how to grow your own sponges (whaaaat?!), and how to consciously purchase sponges and cloths that won’t harm the planet.
So, what do you think of this eco-friendly dish sponge? Will you give the tawashi scrubber a try? Let us know in the comments below!
Love and lots and lots of bubbles,
Christelle and Cristina.
P.S. You can turn your socks into a DIY Heating Pack instead!
3-Day Green Cleaning Challenge
Join our FREE 3 day green cleaning challenge to make your own DIY products. Start your journey to a healthier home & planet!
By commenting you accept our Privacy Policy.


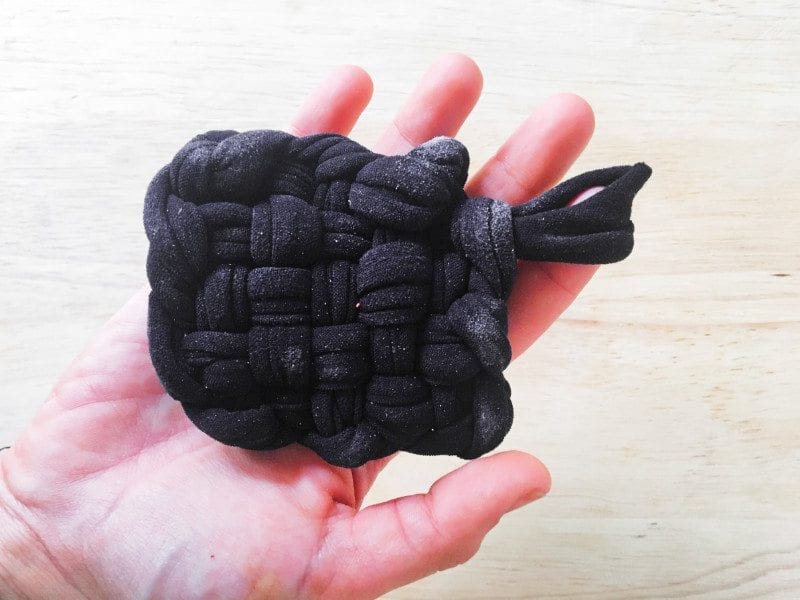


I just made two! For the first one, I used socks, for the second nylon tights. Super easy and fast – I only had some trouble when I took them off the nails. I thought the second one would become better since the material was more homogenous – but it started to unravel when I took it off the nails. Do you recommend a specific material? Excited to test the two against each other.
Amanda! Sorry for taking so long to answer! We have been extremely busy working on launching our Zero Waste School! 😀
About the sponge, you get a better shape if while you’re taking off the loops off the nails, with the palm of your hand, you hold tight the rest of your sponge to the wood, in that way it’s easier to keep the square shape.
About the material, before publishing this blog post, we weren’t informed about microfiber pollution, look here for more information and take action here. In conclusion, for this case, it would better to make the sponges with 100%cotton socks.
The first pic has 4 nails per side but the one further down has 5. Which is correct?