How to Make Sauerkraut
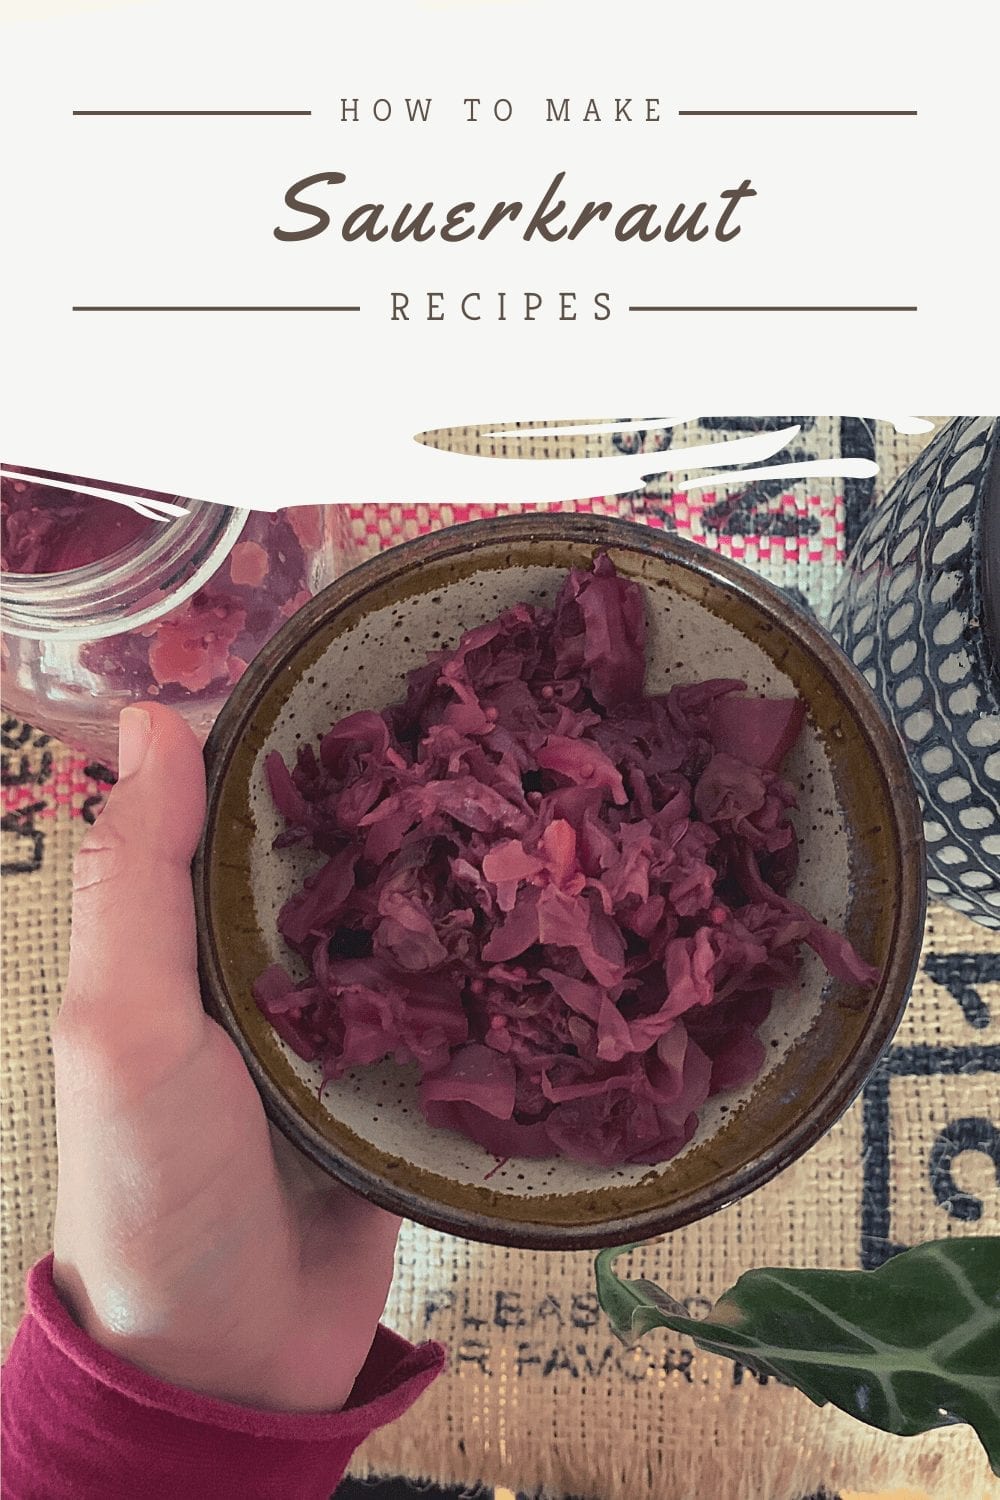
Learn how to make sauerkraut with our step-by-step instructions and video tutorial on cabbage fermentation.
Growing up, my kitchen was absolutely packed with jars full of fermented and quick pickled foods made by my grandmother. Fermentation is a great way to preserve the harvest and even enhance the nutrients in your veggies. Fermented cabbage, in particular, is packed with vitamins C and K1. The microorganisms present on the raw cabbage break it down and turn it into delicious sauerkraut.
Here’s how to make sauerkraut on your own by fermenting cabbage. Make sure to watch our tutorial video below for visual help!
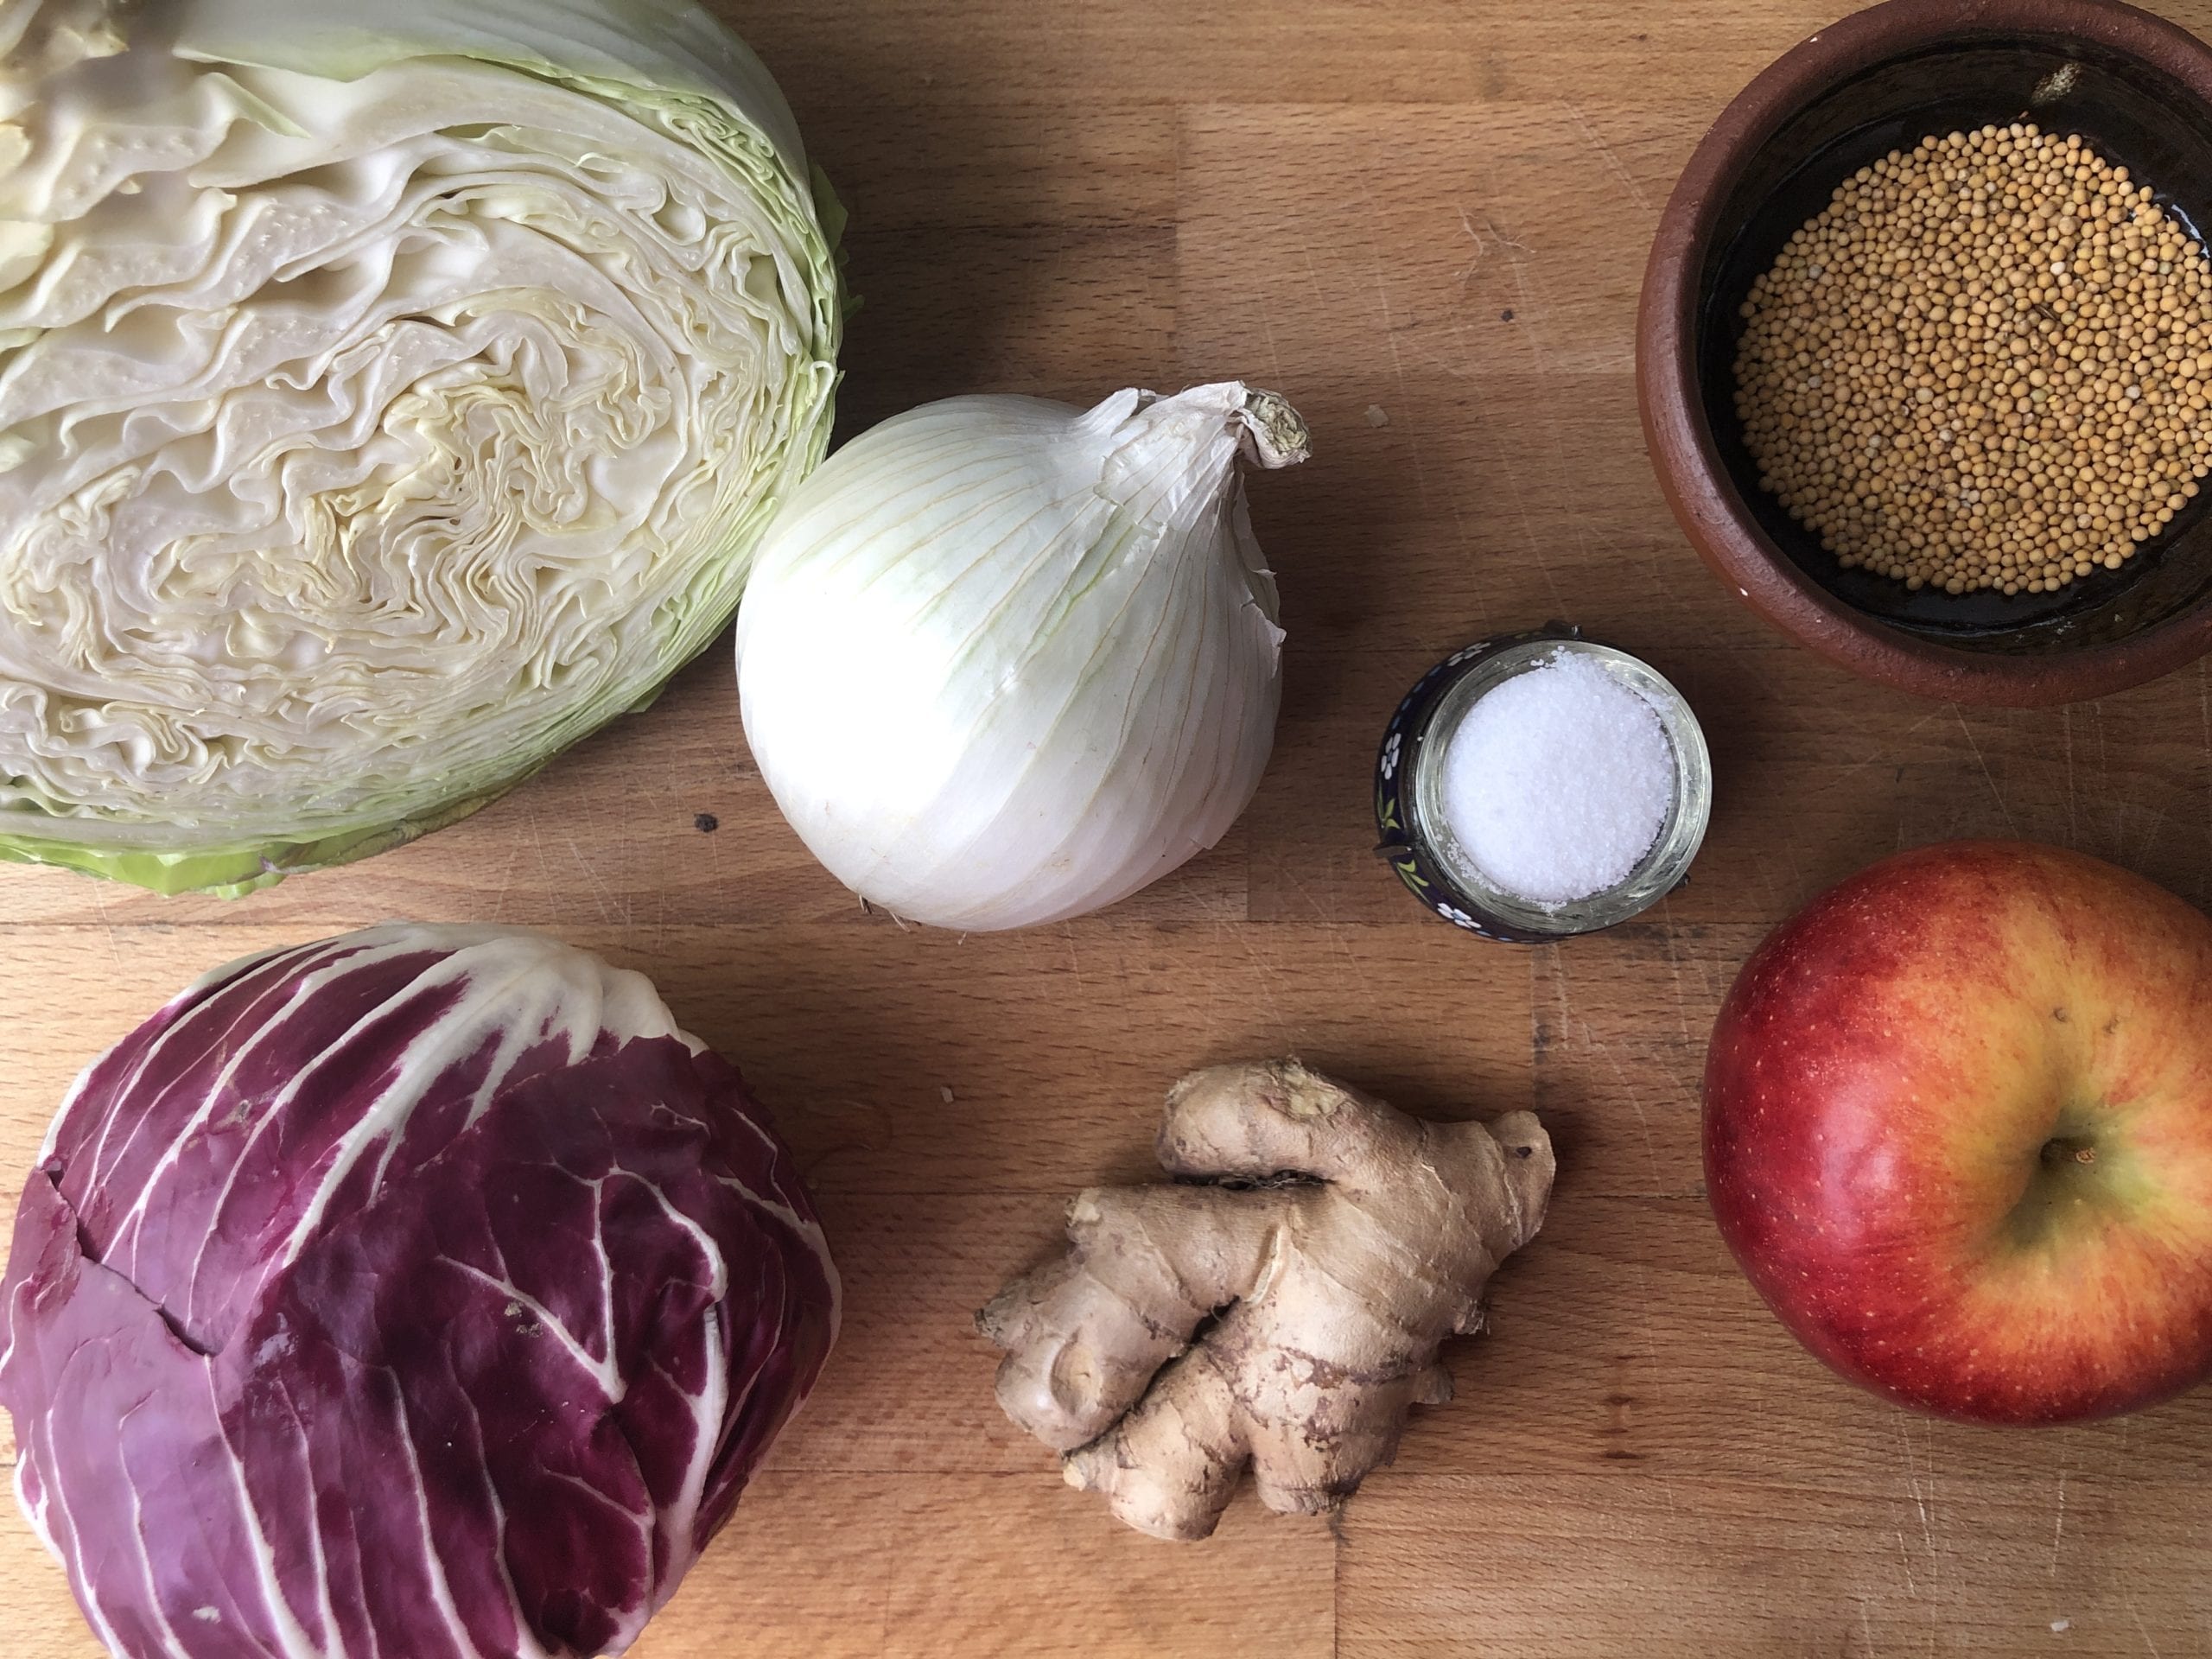
How to Make Sauerkraut: Fermented Cabbage Recipe
Servings: A 32 oz. jar
Ingredients & materials:
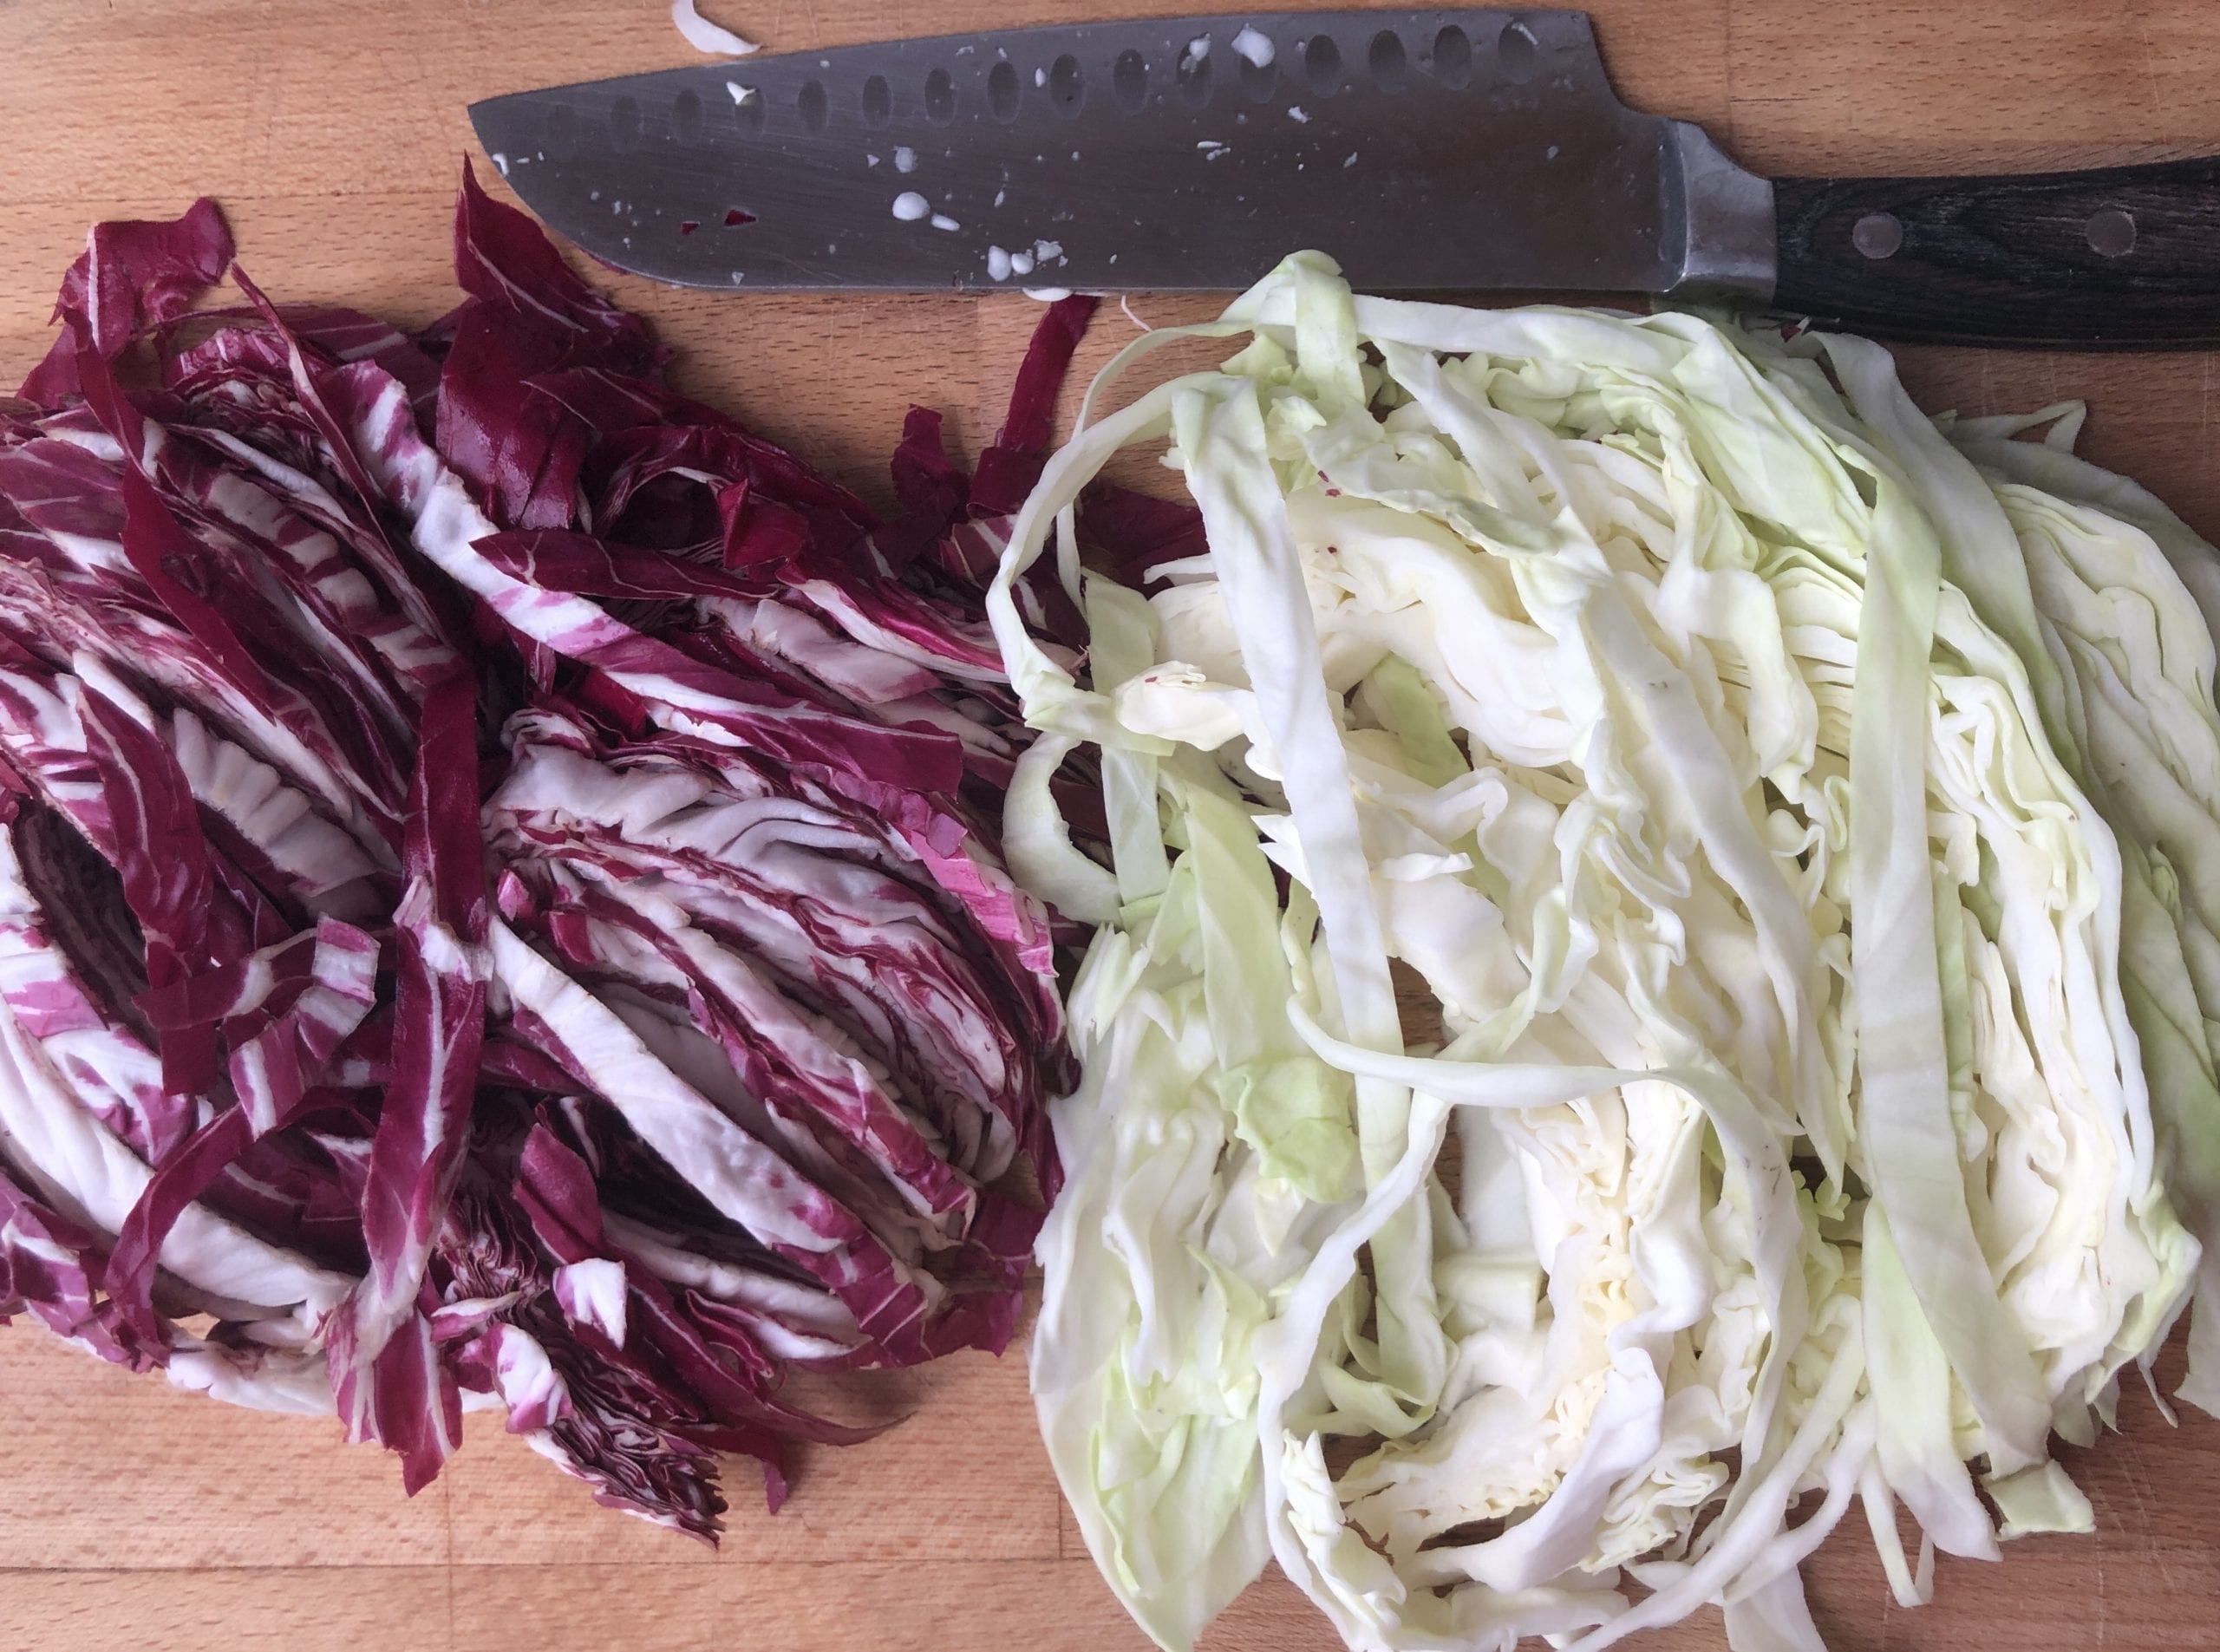
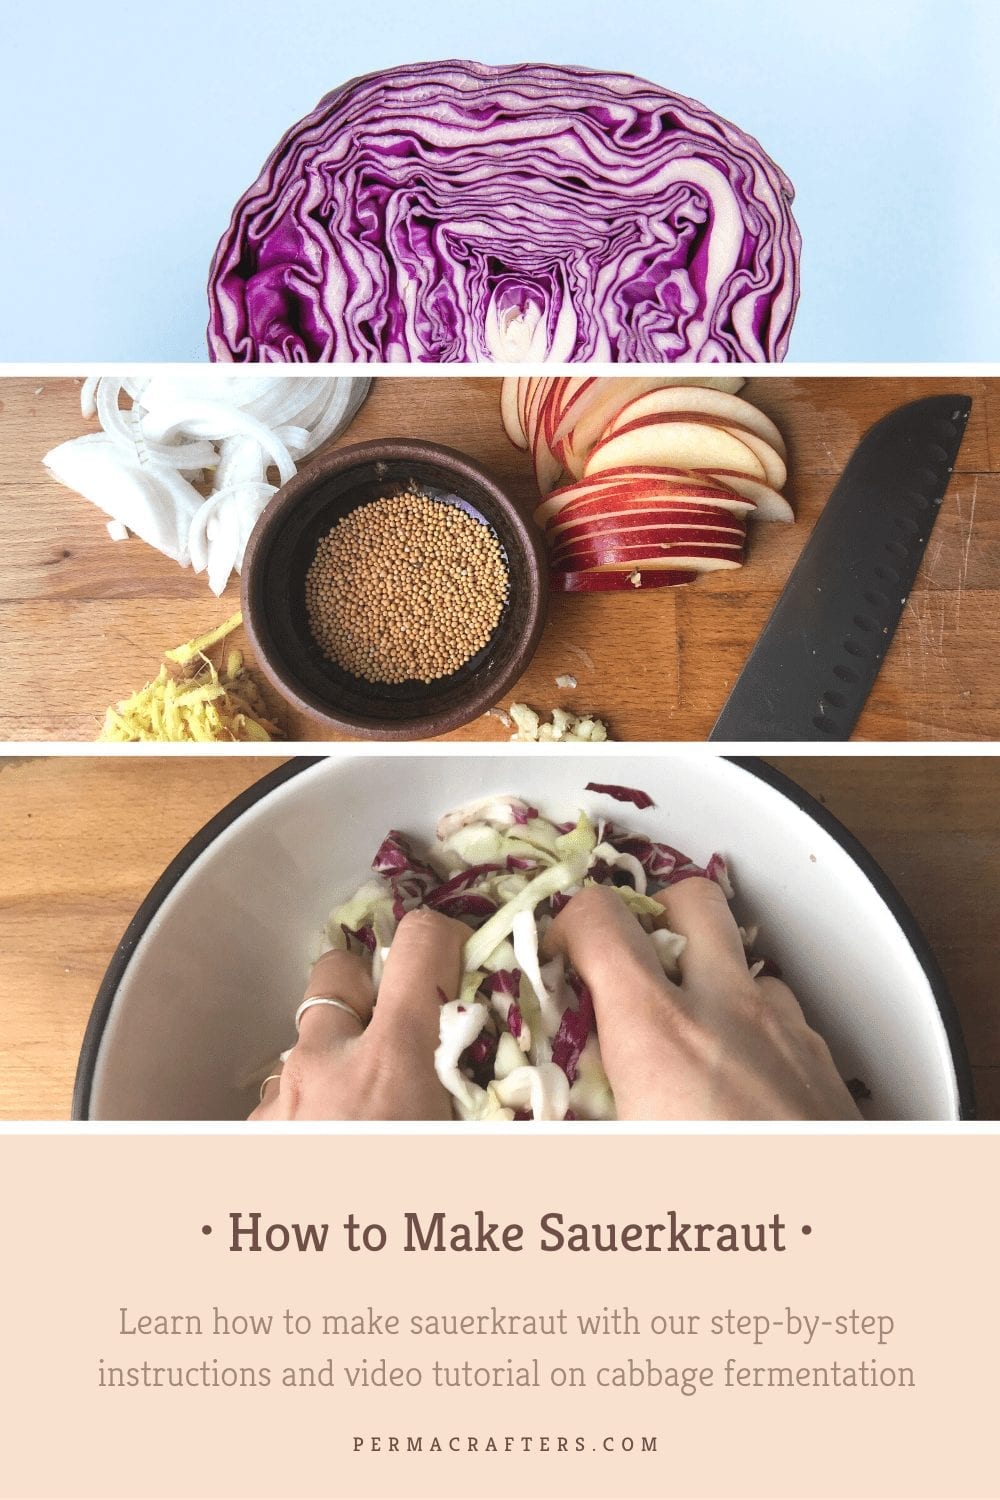
- 4 cups / 440g organic cabbage, chopped and packed (green, red, or both)
- Save the outermost cabbage leaf
- 1/2 white onion, sliced thinly
- 1/2 apple, sliced thinly
- 1/3 cup ginger, grated
- 1 tbsp mustard seeds
- 2 cloves garlic, minced
- 1 tsp sea salt (add more to taste)
- A large bowl
- A large knife
- A 32 oz Mason jar
- A weight (optional, not necessary)
- Wooden spoon
Directions:
1. Sterilize all the equipment that you will use for fermentation. To sterilize the jars and bands, place them in a large pot with a rack on the bottom, cover with water, and bring that water to a rapid boil for 10 minutes. Remove with tongs.
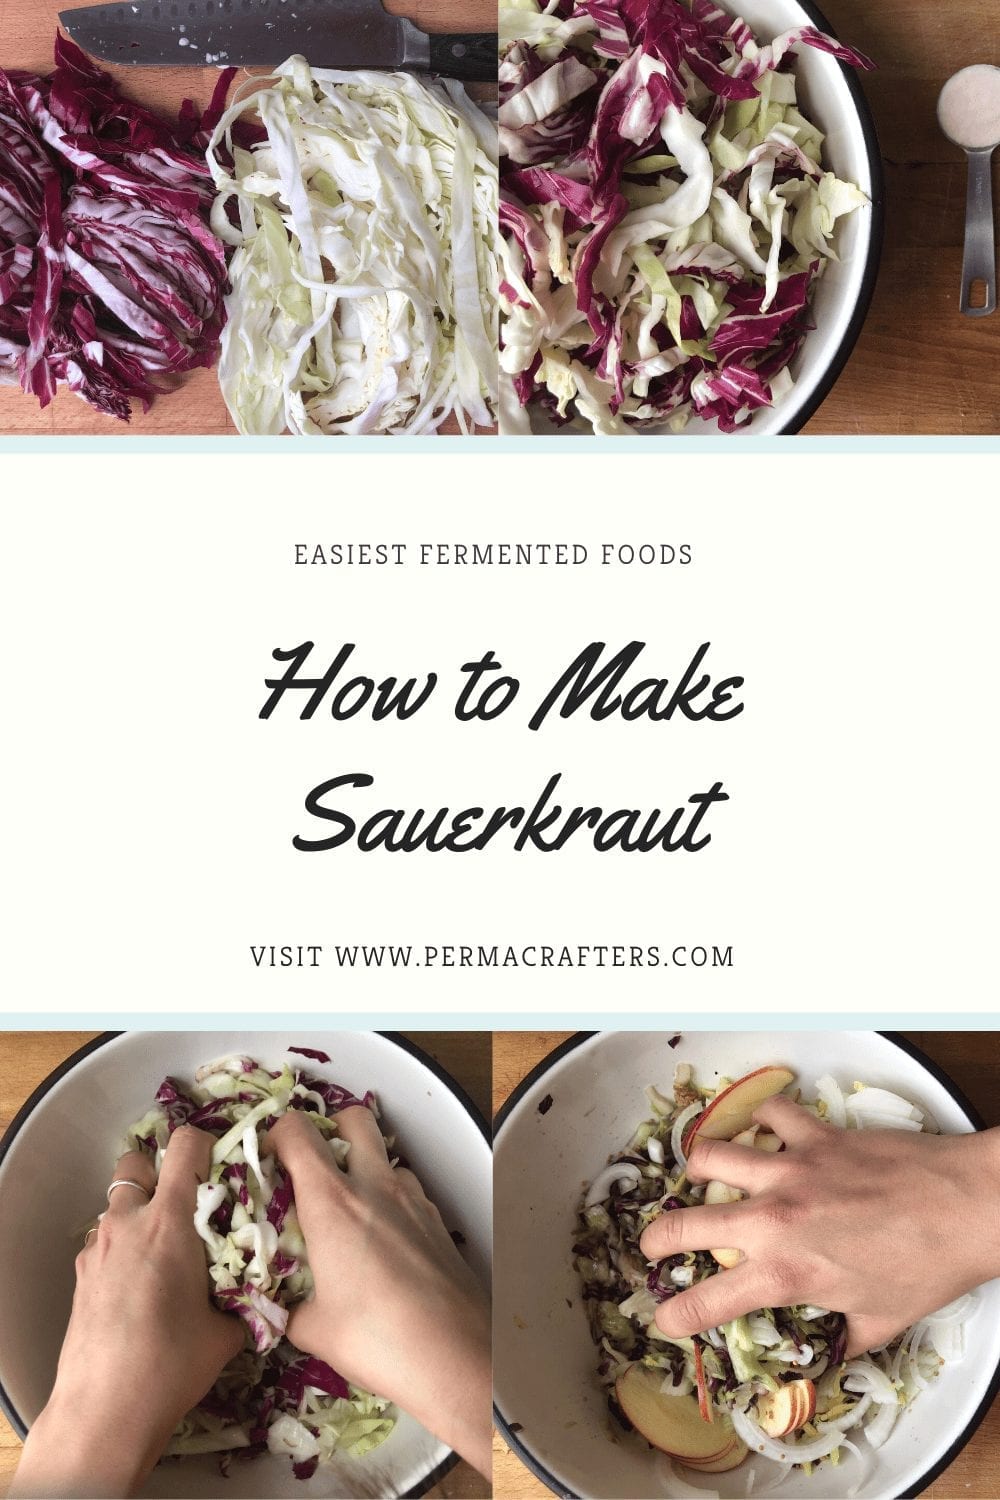
2. Place your chopped organic cabbage in a large bowl.
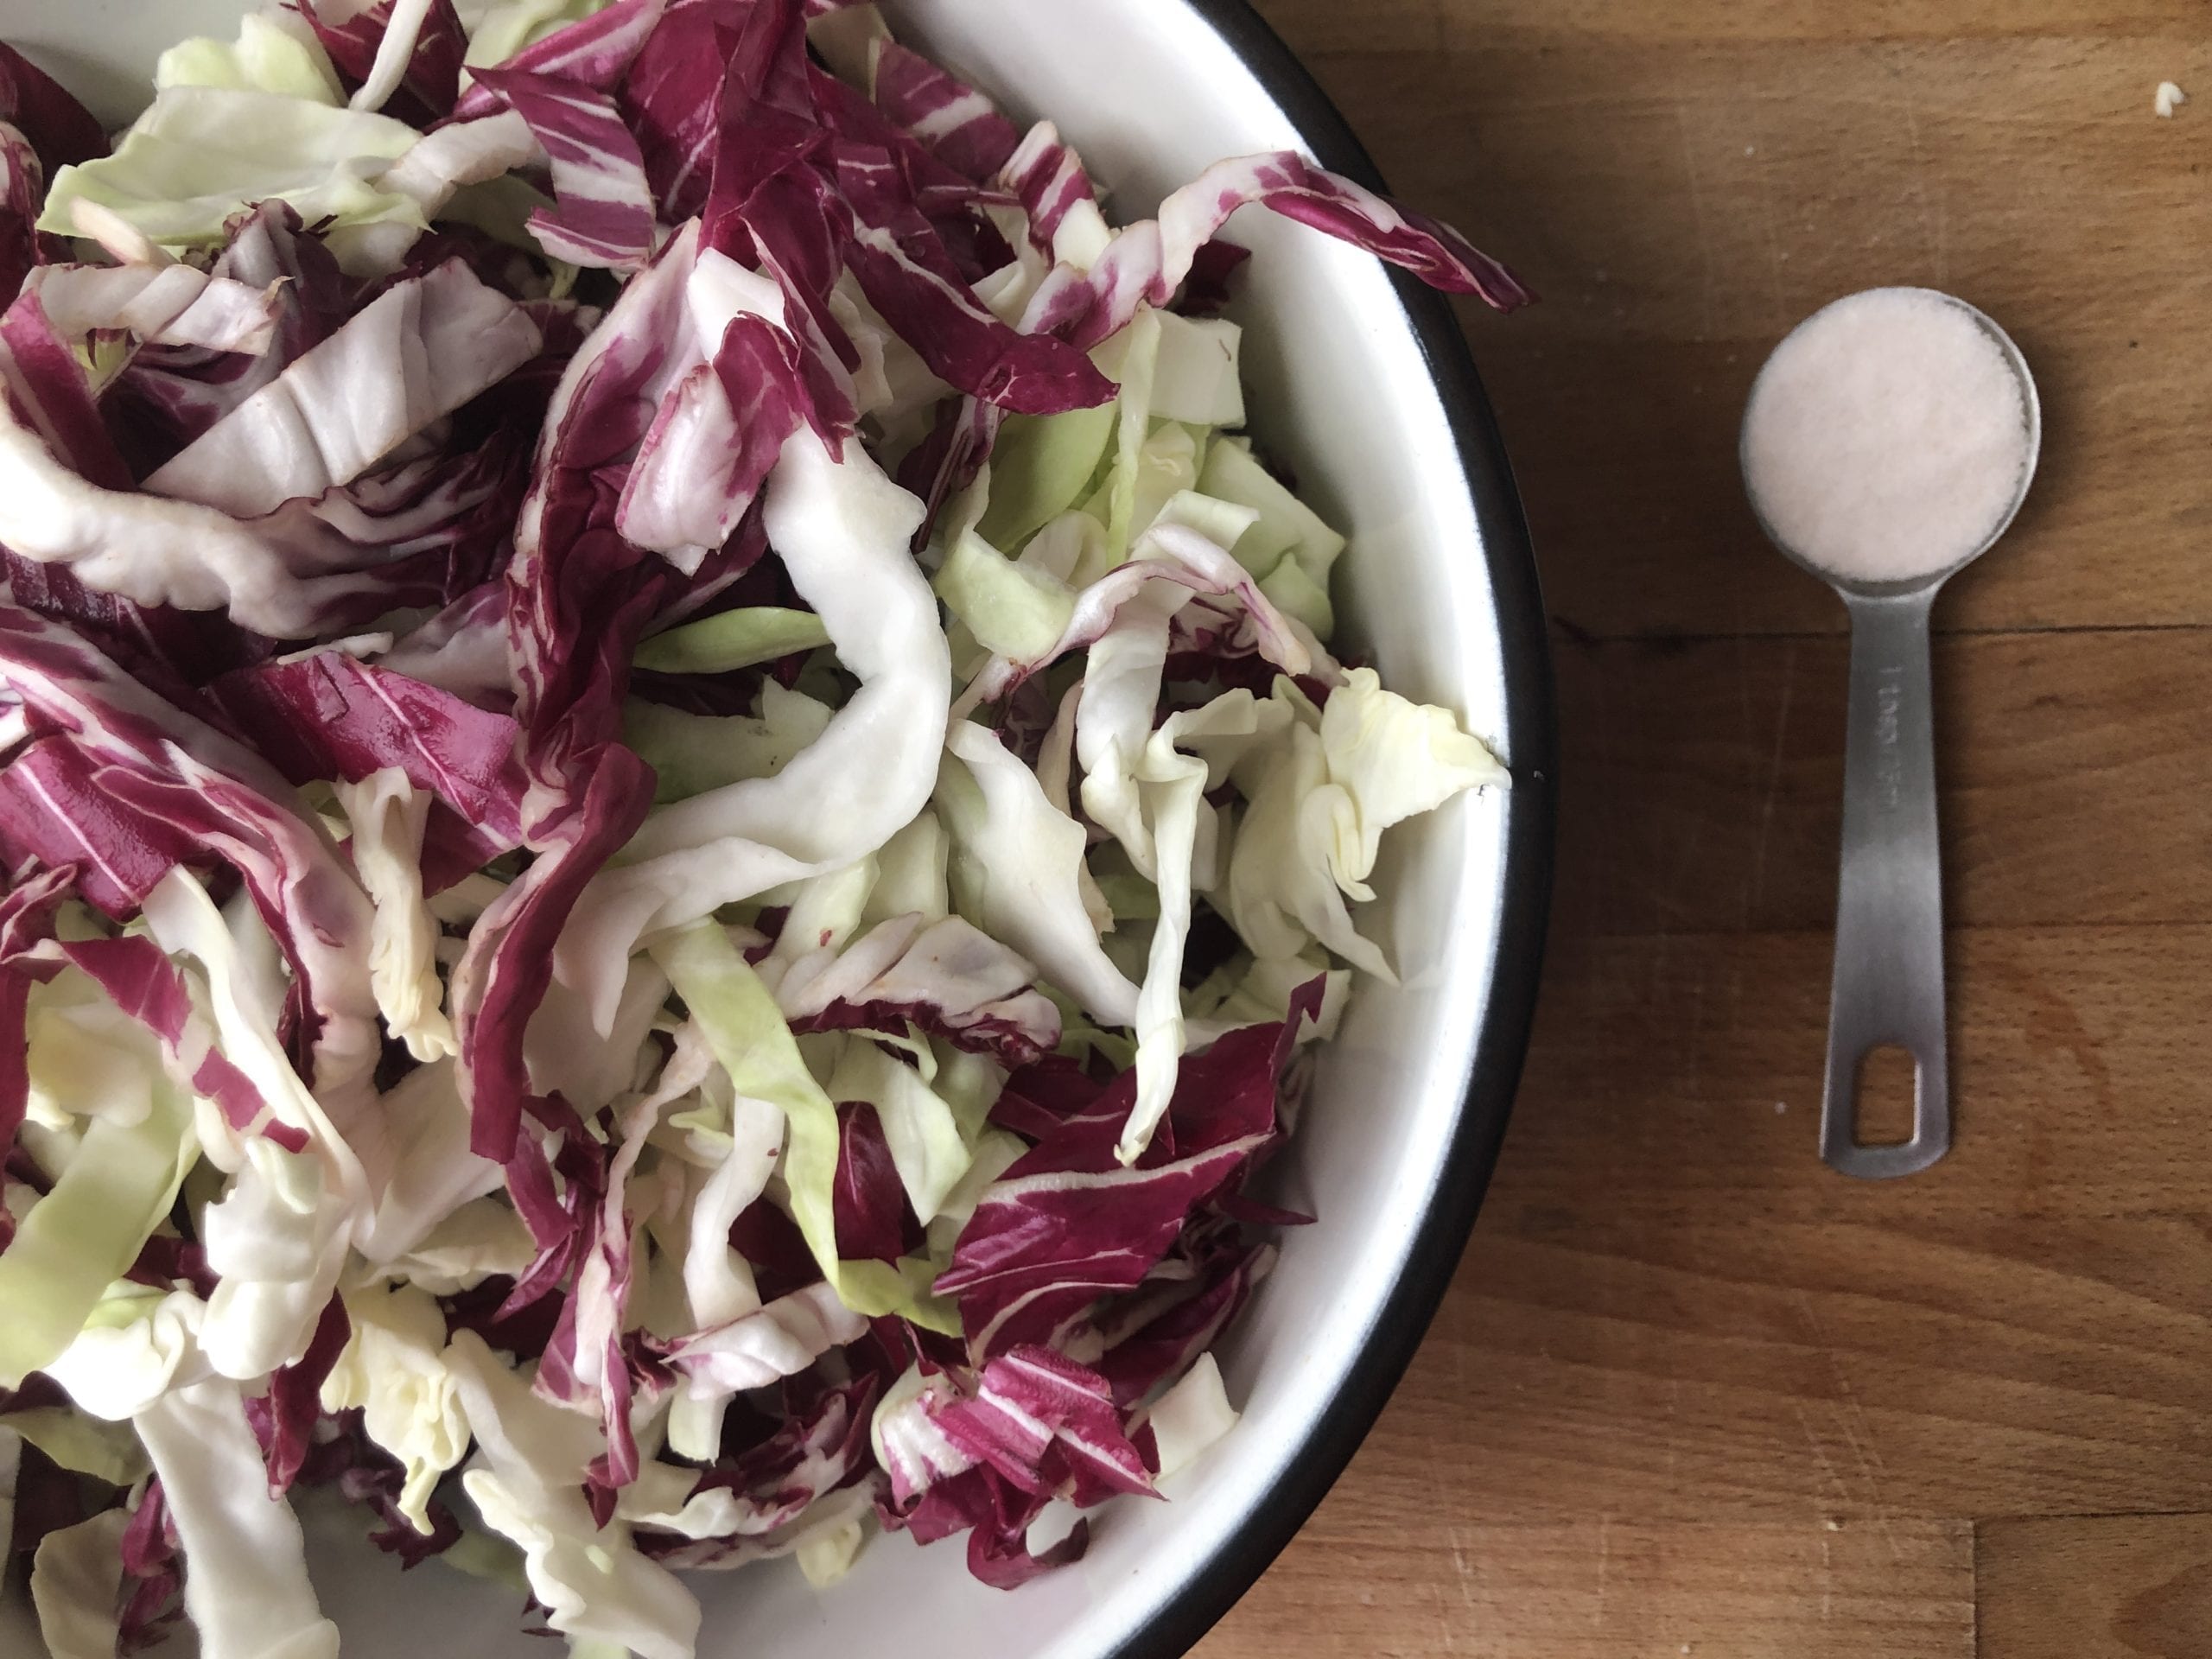
3. Add the teaspoon of salt to the cabbage (general rule: approx. 3 tbsp. for 5 lbs. of cabbage). Wash your hands thoroughly & massage it in for 10 minutes. This will start to draw the water out of the cabbage, and you’ll see brine begin to form (salt water). Tip: you don’t need to measure the salt exactly. Do a taste test. If the salt to cabbage ratio tastes yummy to you, you’re probably good to go.
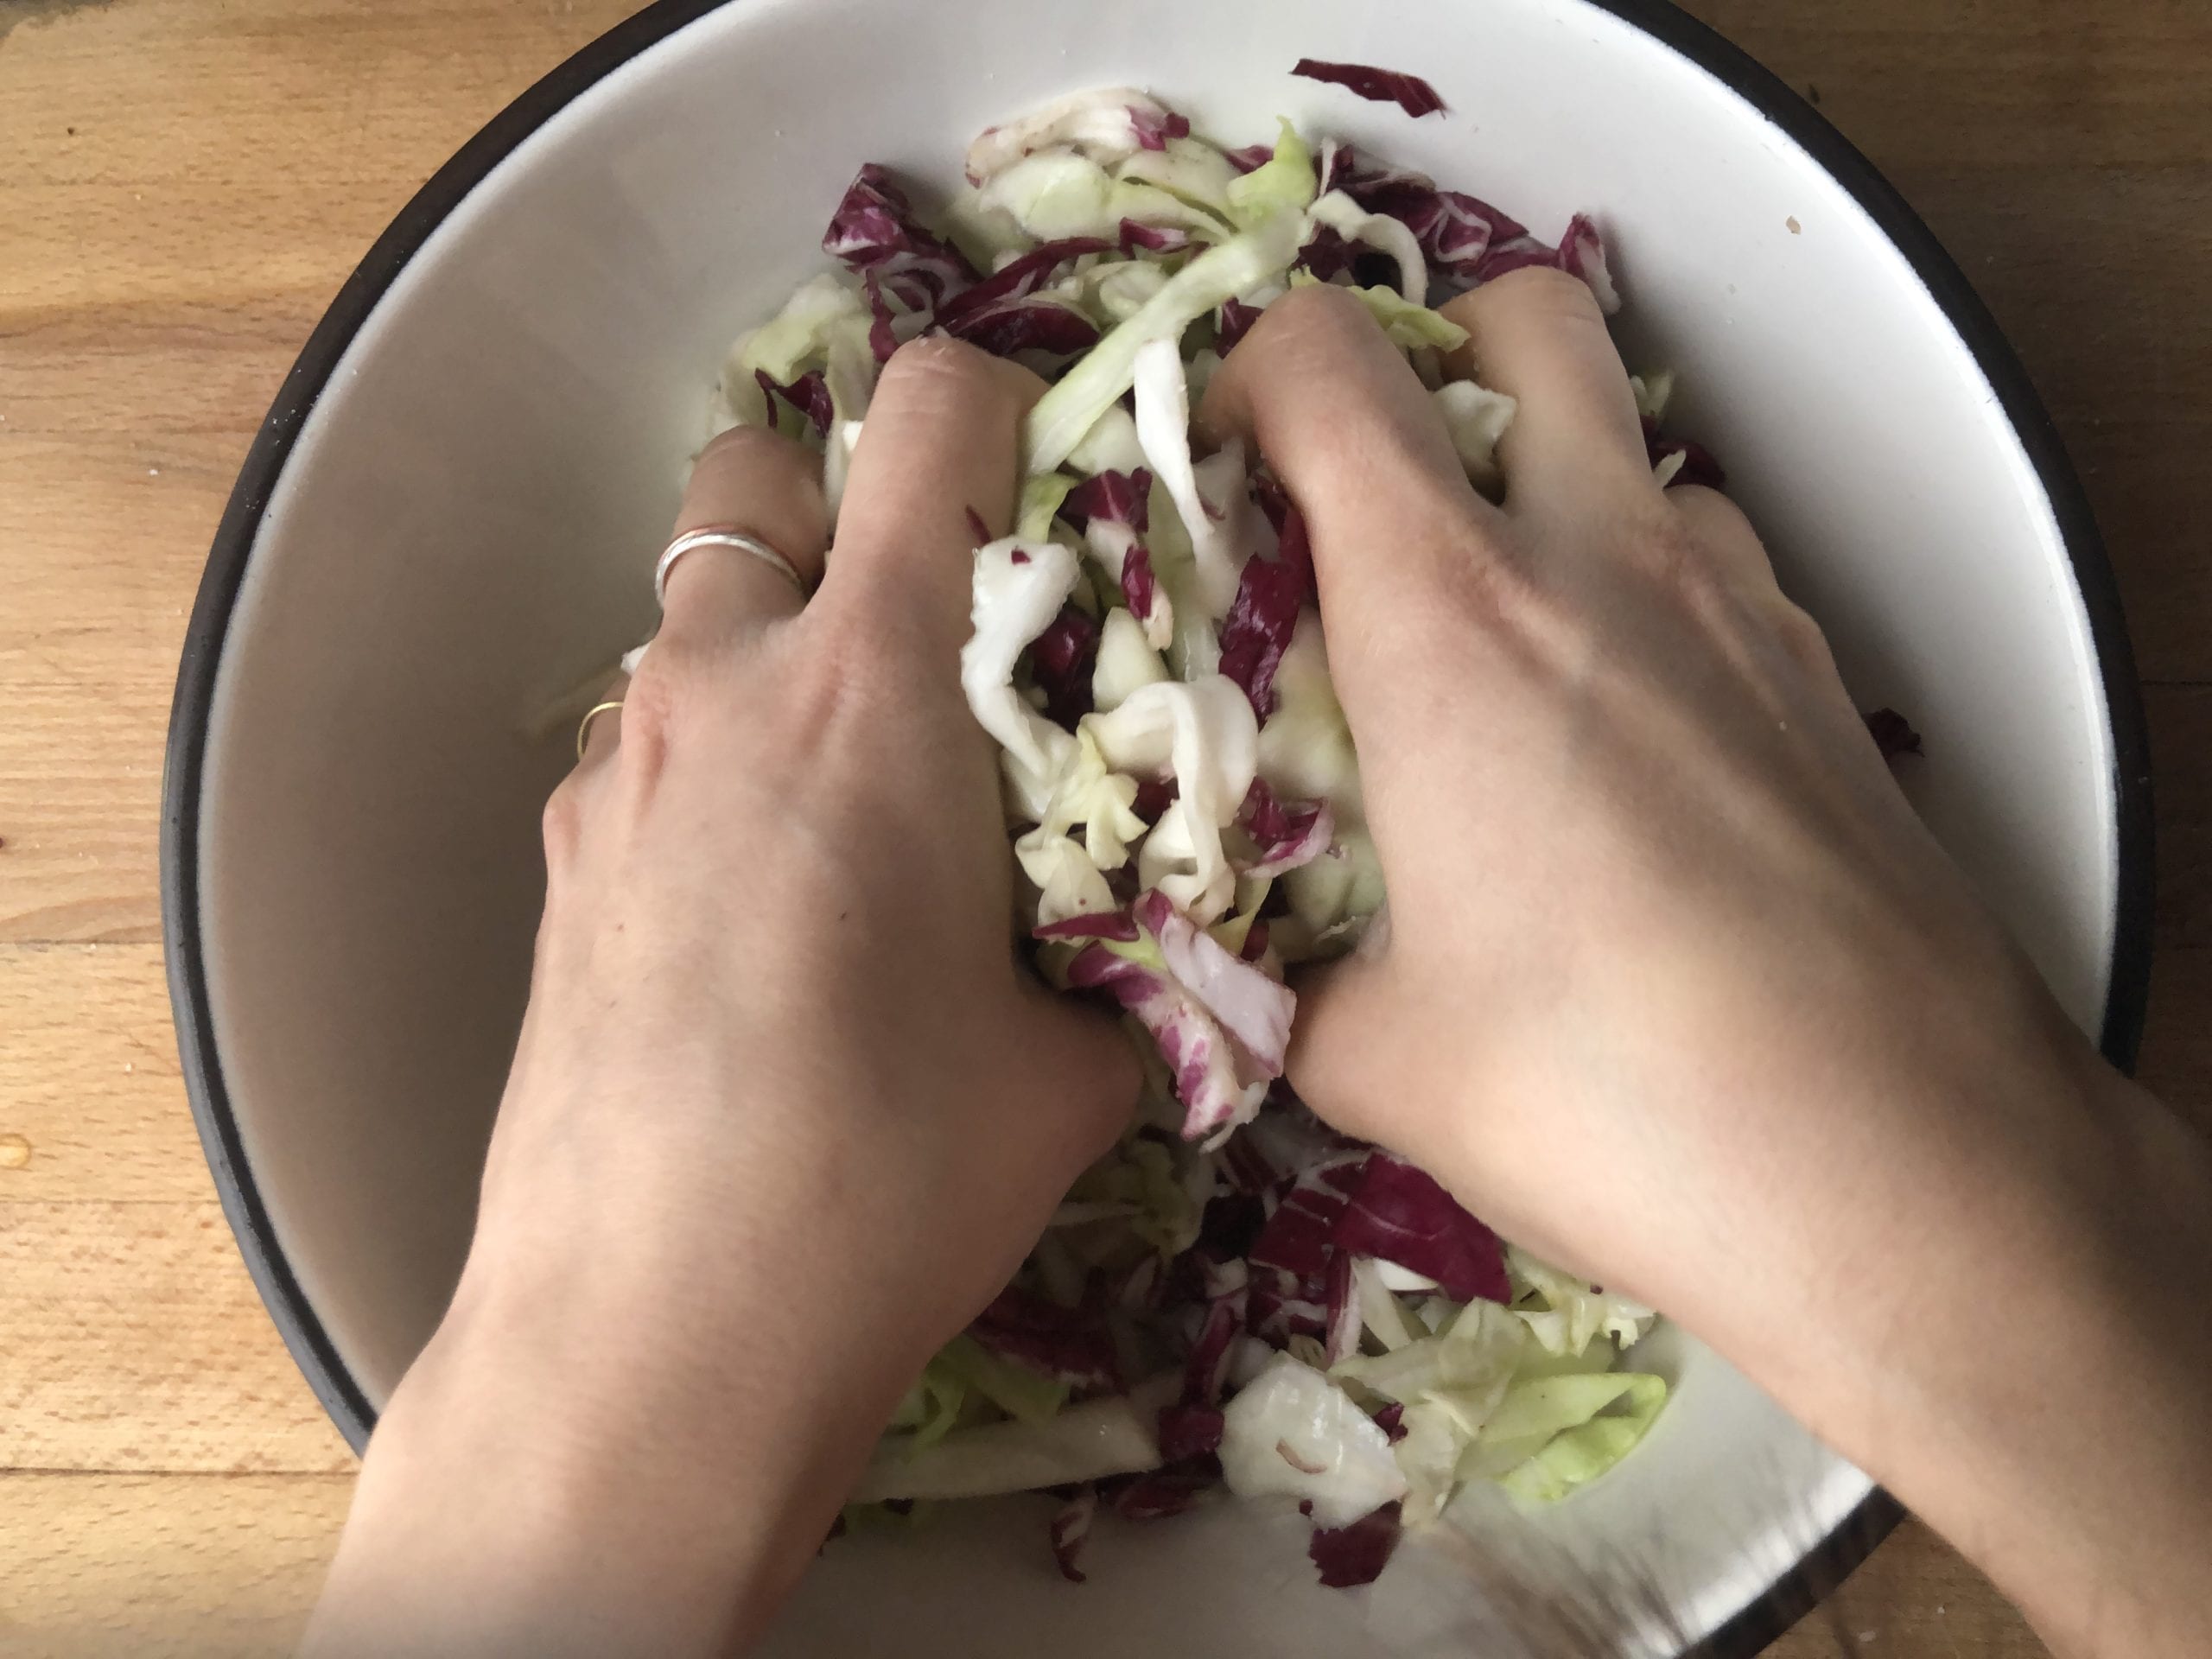
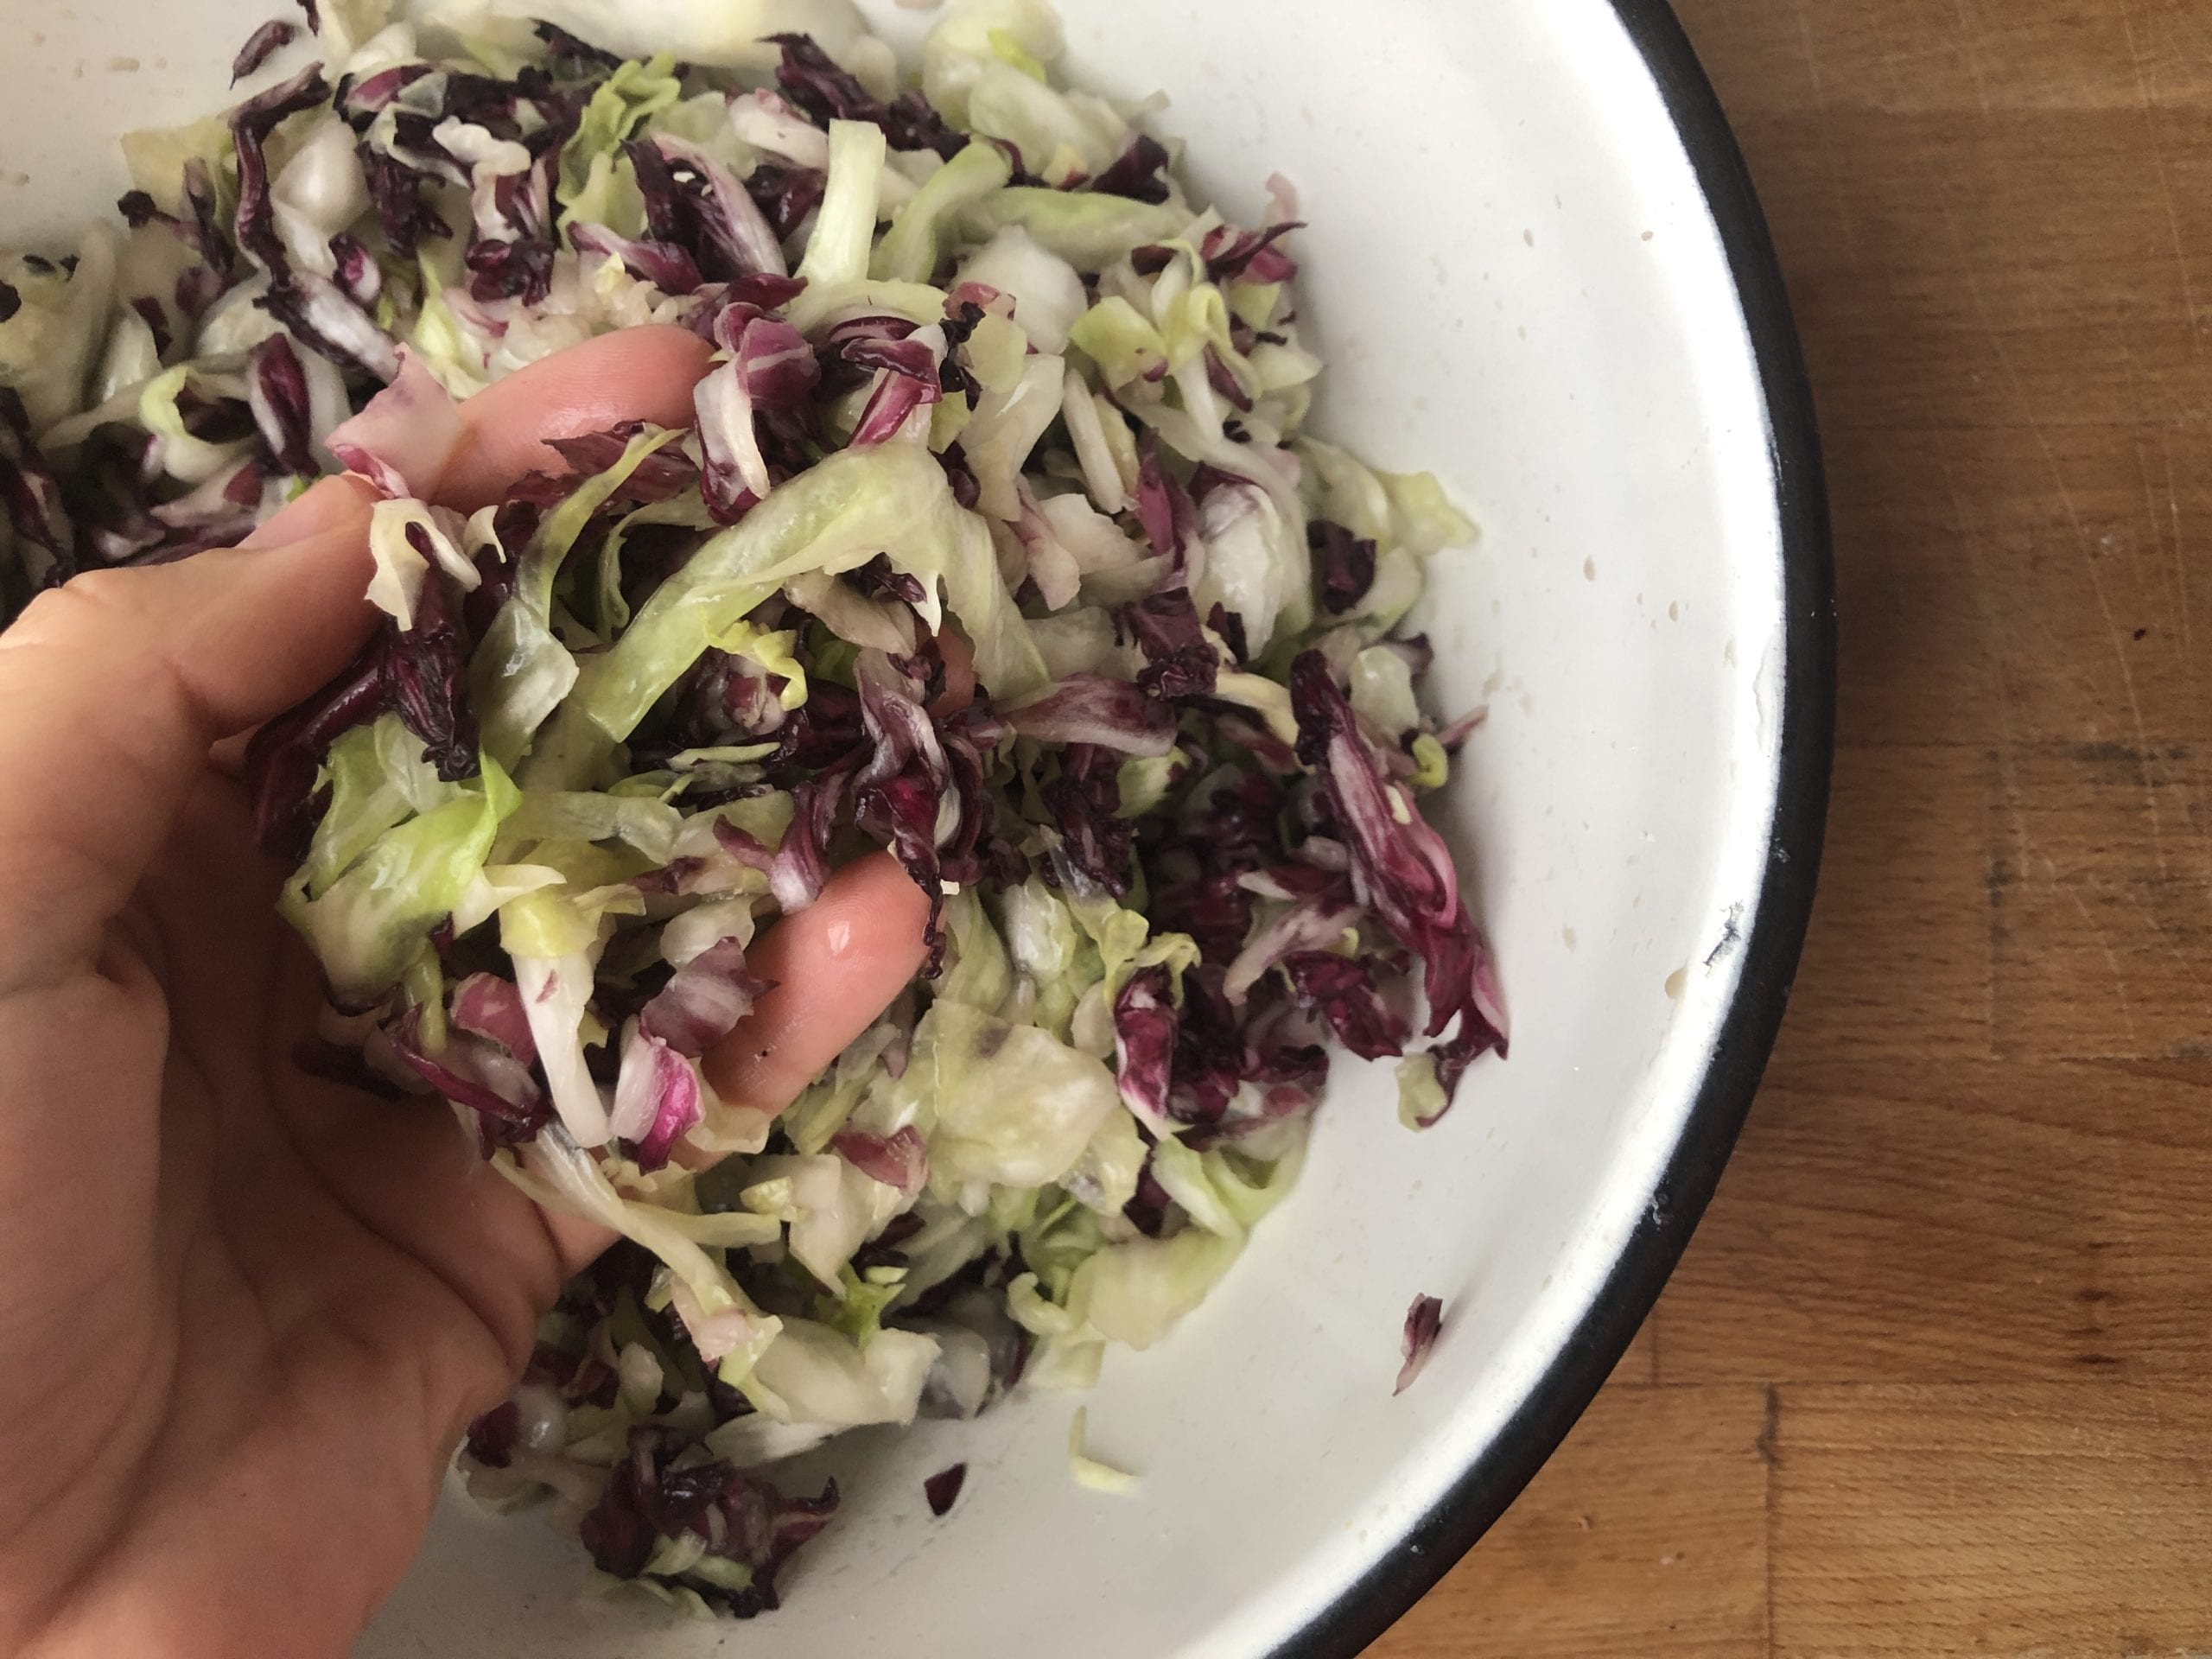
4. Add the sliced onion, grated ginger, sliced apple and minced garlic and massage once more with clean hands for 4-5 minutes. Do a taste test and adjust the ingredients for flavor. Add salt, ginger and garlic as you prefer. There should be a good amount of brine at this stage.
5. Add the mustard seeds to the mix.
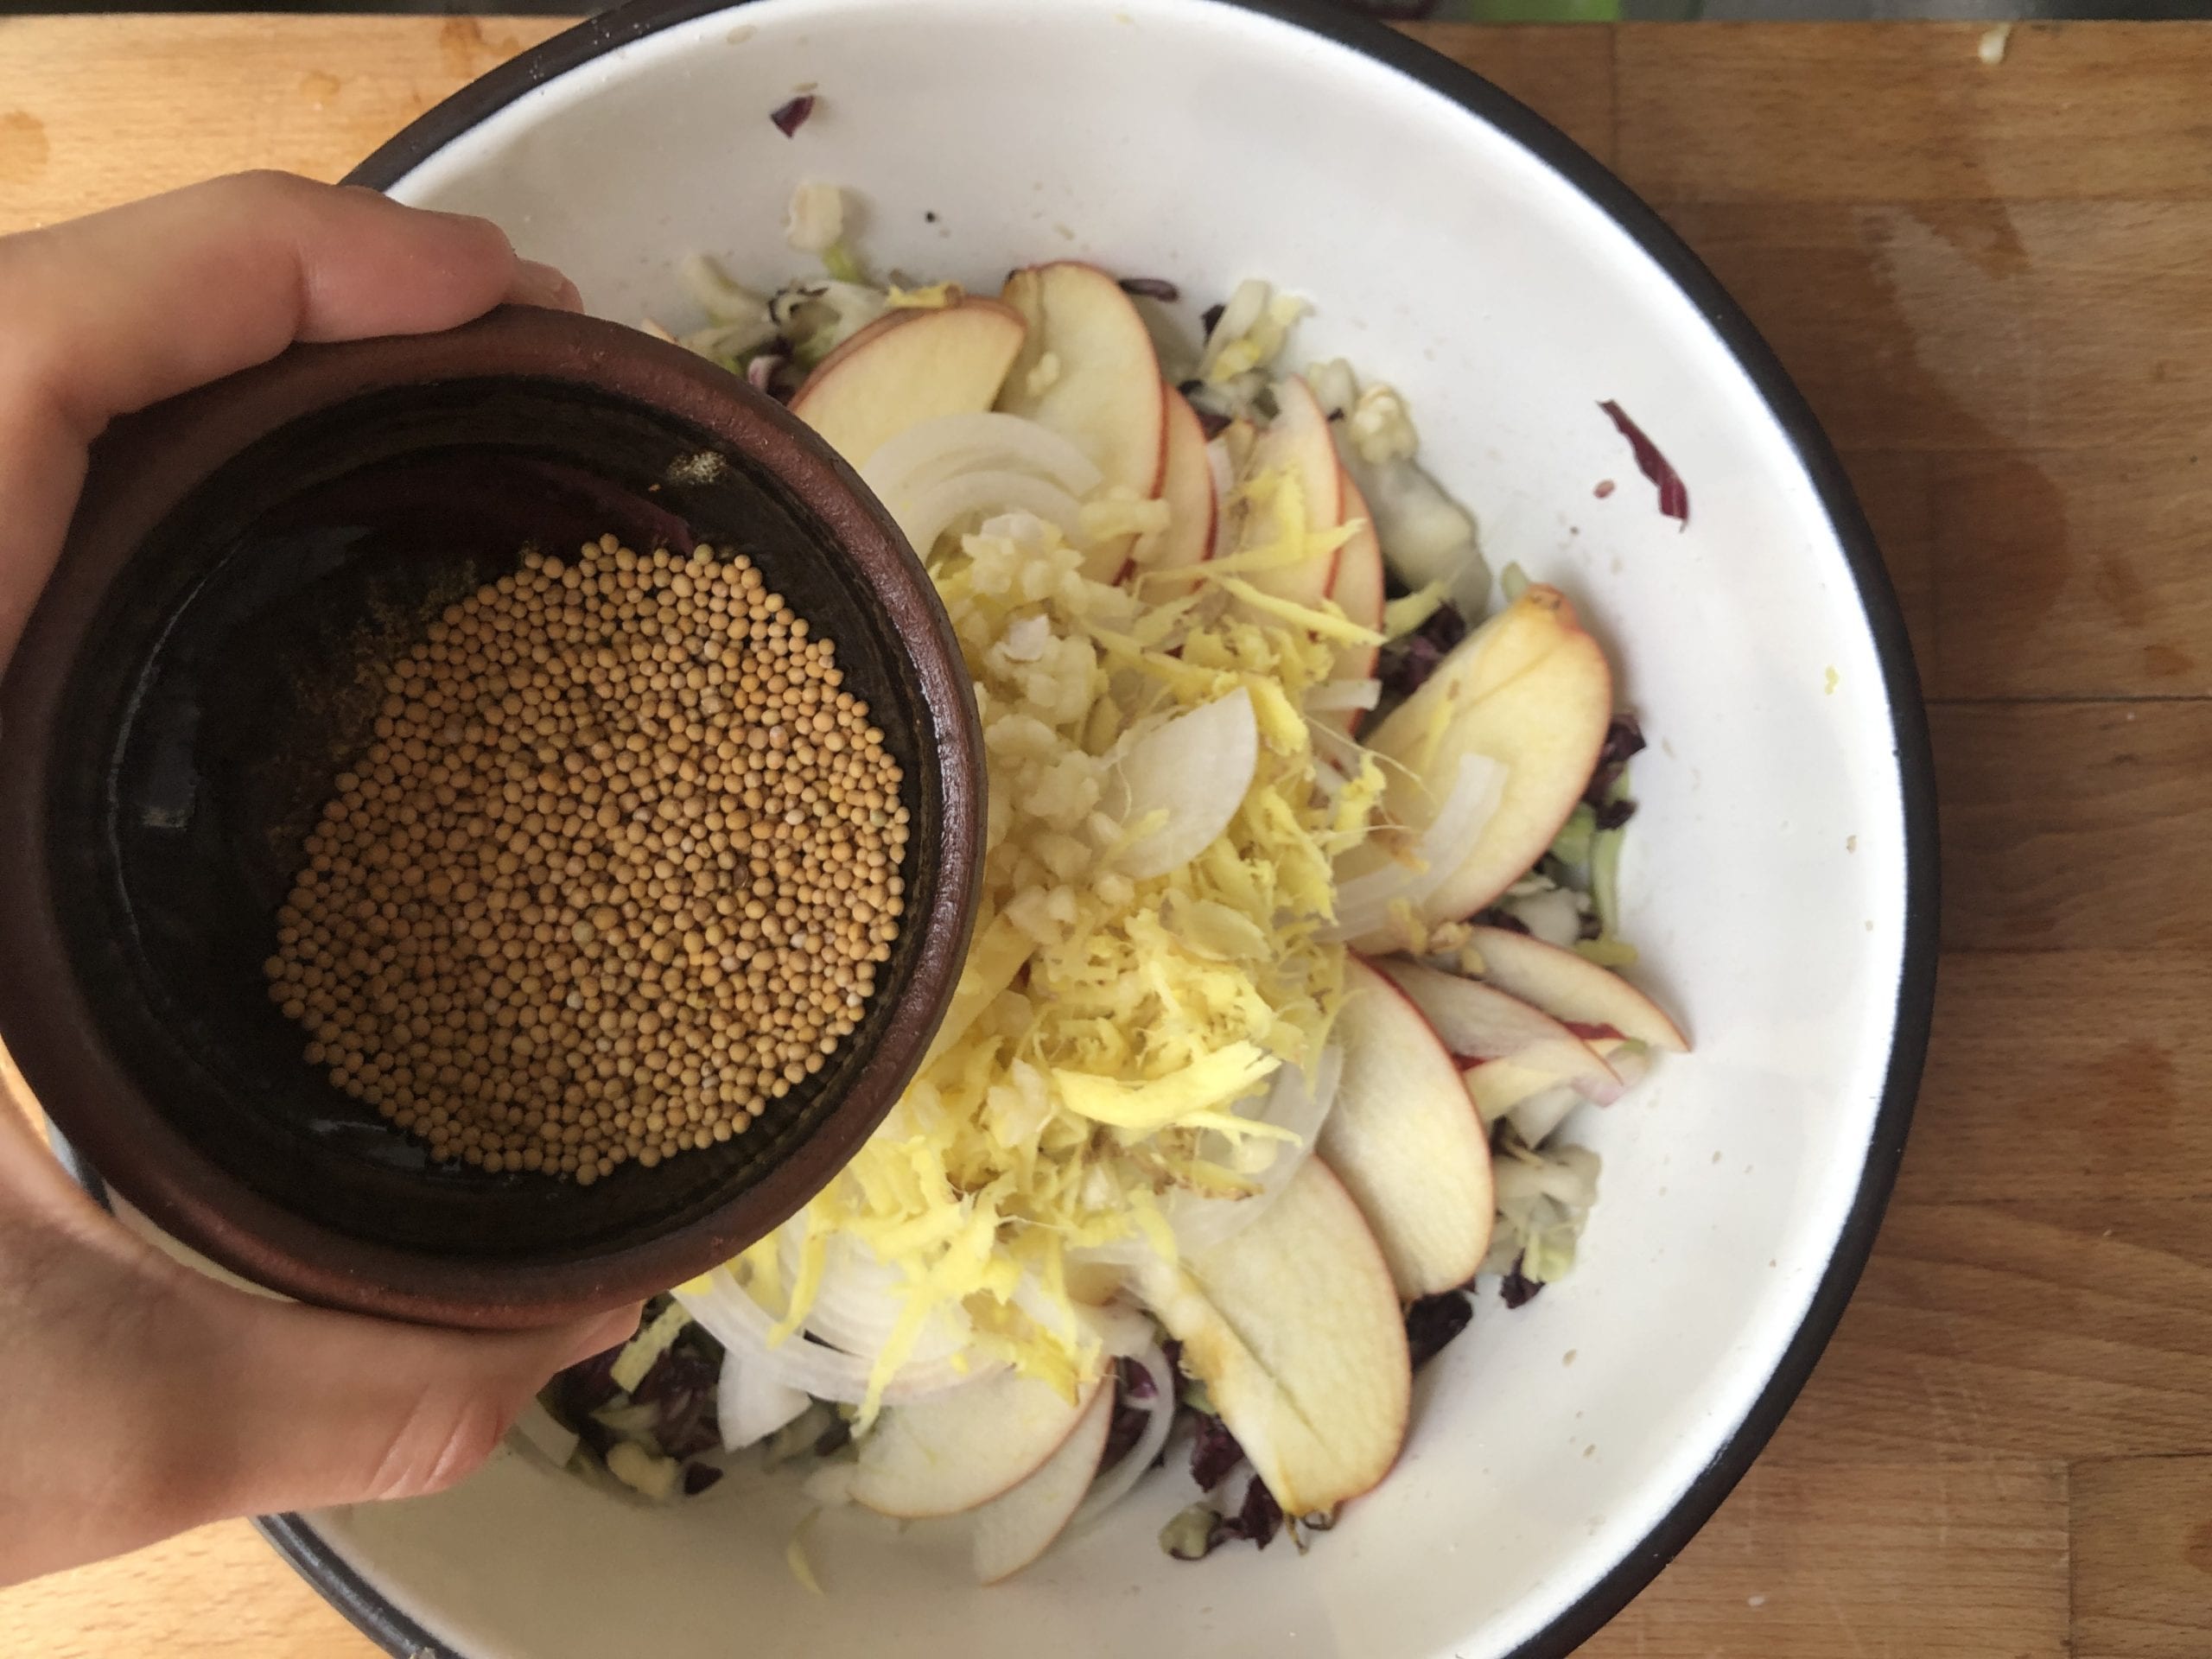
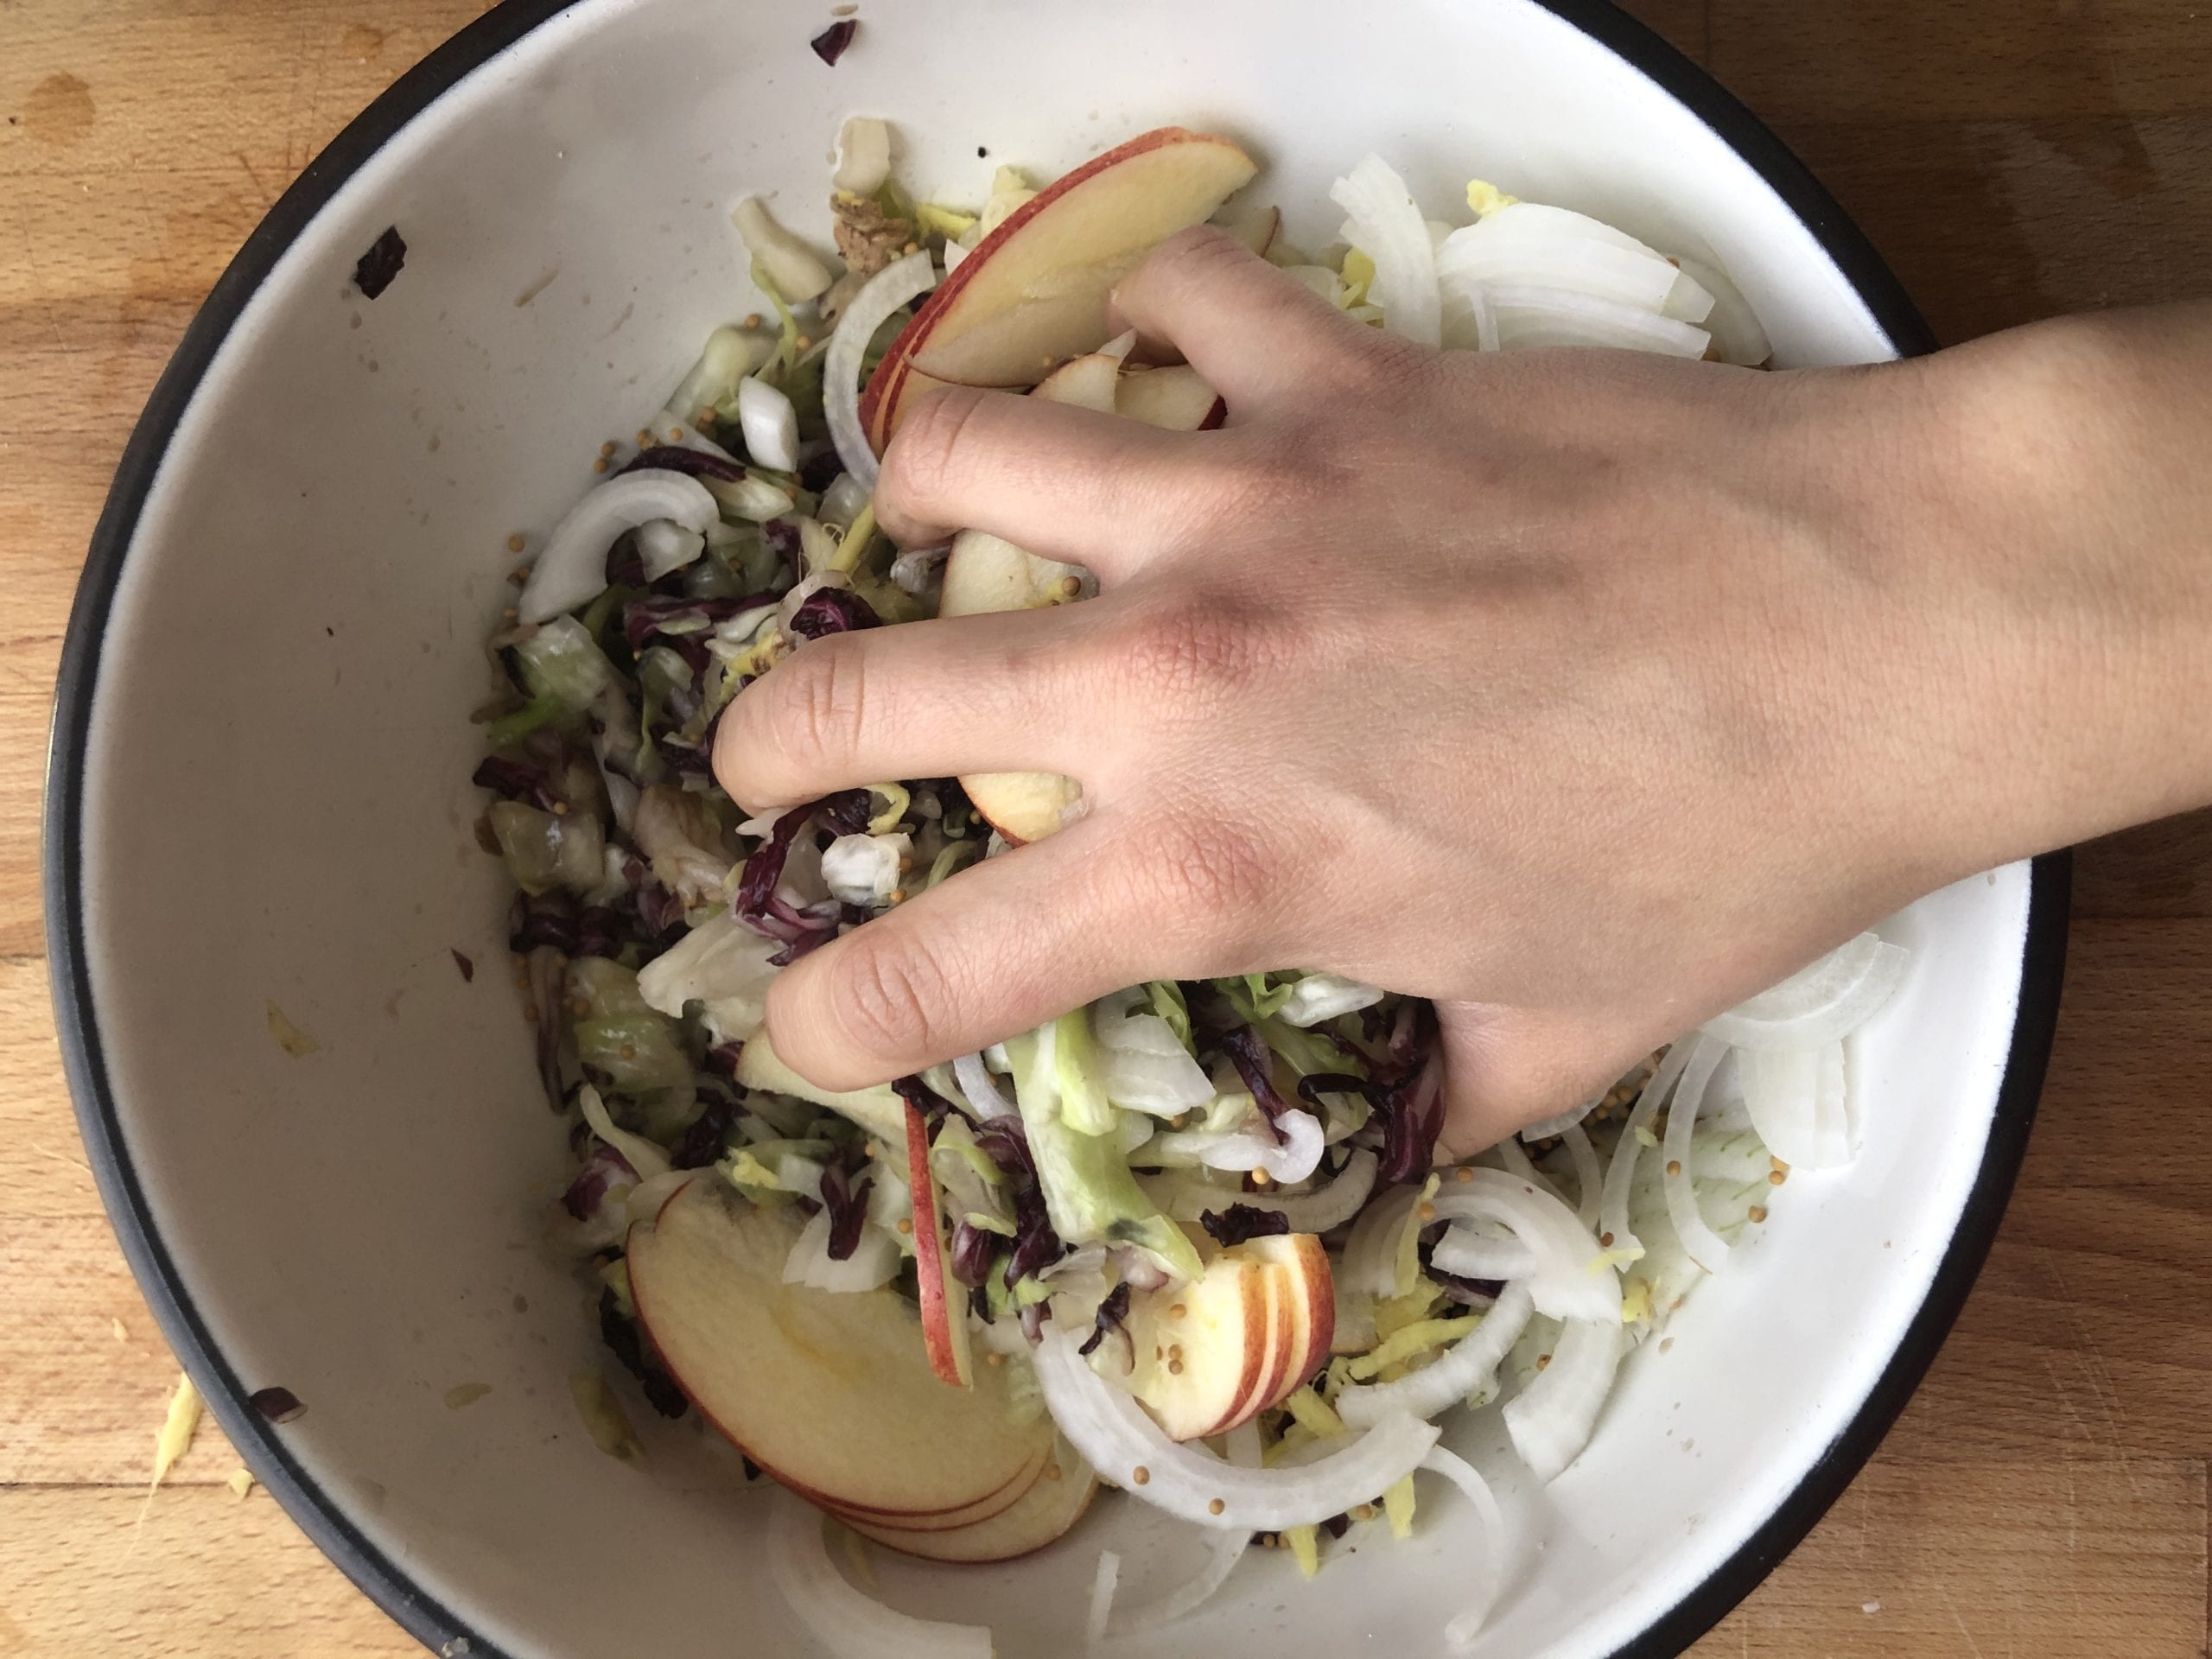
6. Tightly pack the cabbage mix into the mason jar. Tamp it down.
7. Place the large cabbage leaf on top of the kraut mix. Place the weight on top of the cabbage, press it down, making sure it fits snuggly in the jar. The sauerkraut must be submerged in brine. Make sure there is about 1.5“ between of free space before the lid. (Tip: Wait one day if you don’t manage to quite get the kraut under the brine. If it isn’t covered in the brine within 24 hours, add some DIY brine (1 tbsp. salt for 1 cup of water) until it covers the cabbage.)
8. Seal with a lid and set in a spot that doesn’t get much sunlight. Make sure your environment is on the warmer side (around 18C) to encourage microorganism activity. The warmer it is, the faster it’ll ferment. For us in our home, this process takes about 7 days.
9. VERY IMPORTANT: During the fermentation process, you MUST open your jars up DAILY to release the built-up gases. (You should feel a release of pressure and see gas bubbles when you open the jar). Press down with a sterilized object such as a spoon or the bottom of a drinking glass to ensure that the vegetables are still completely submerged in the brine.
10. The kraut’s flavor will evolve. The longer it ferments, the tangier it’ll taste. Sample occasionally with a clean utensil to see if it has reached a flavor you enjoy. Once it has reached the desired flavor, cover it and transfer to the fridge. This will practically (not quite) halt the fermentation process and should keep 3 to 6 months.
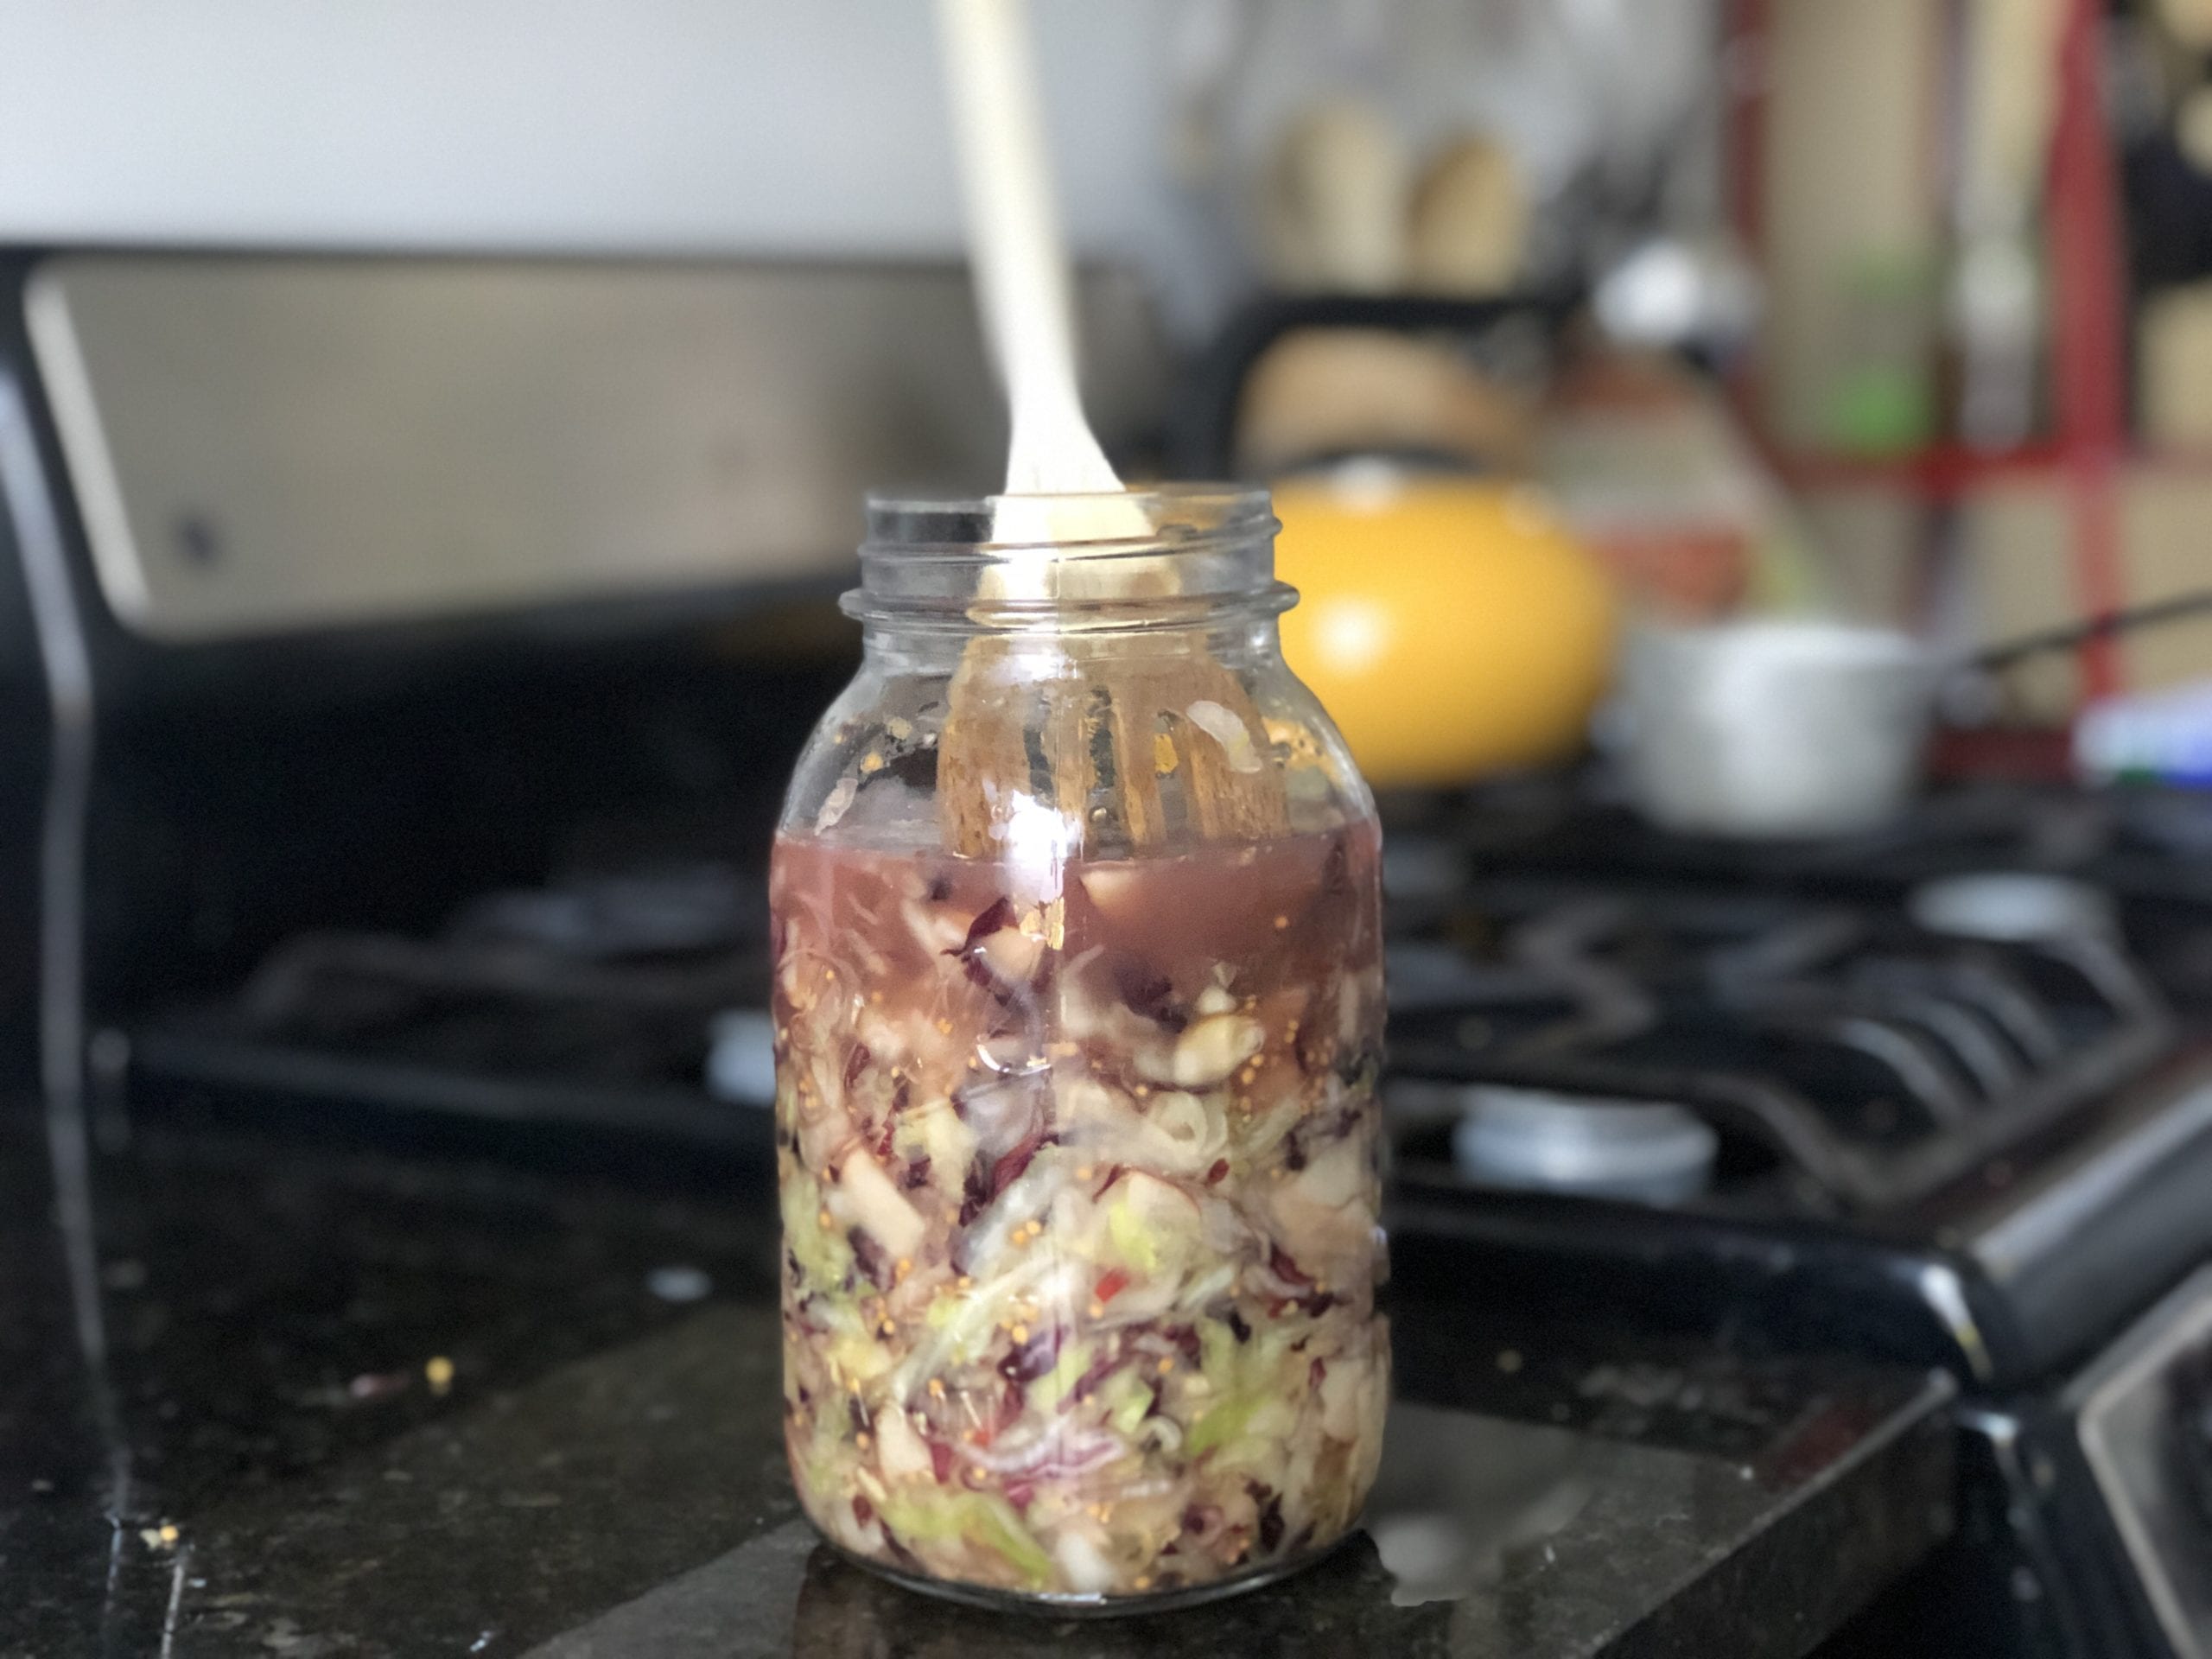
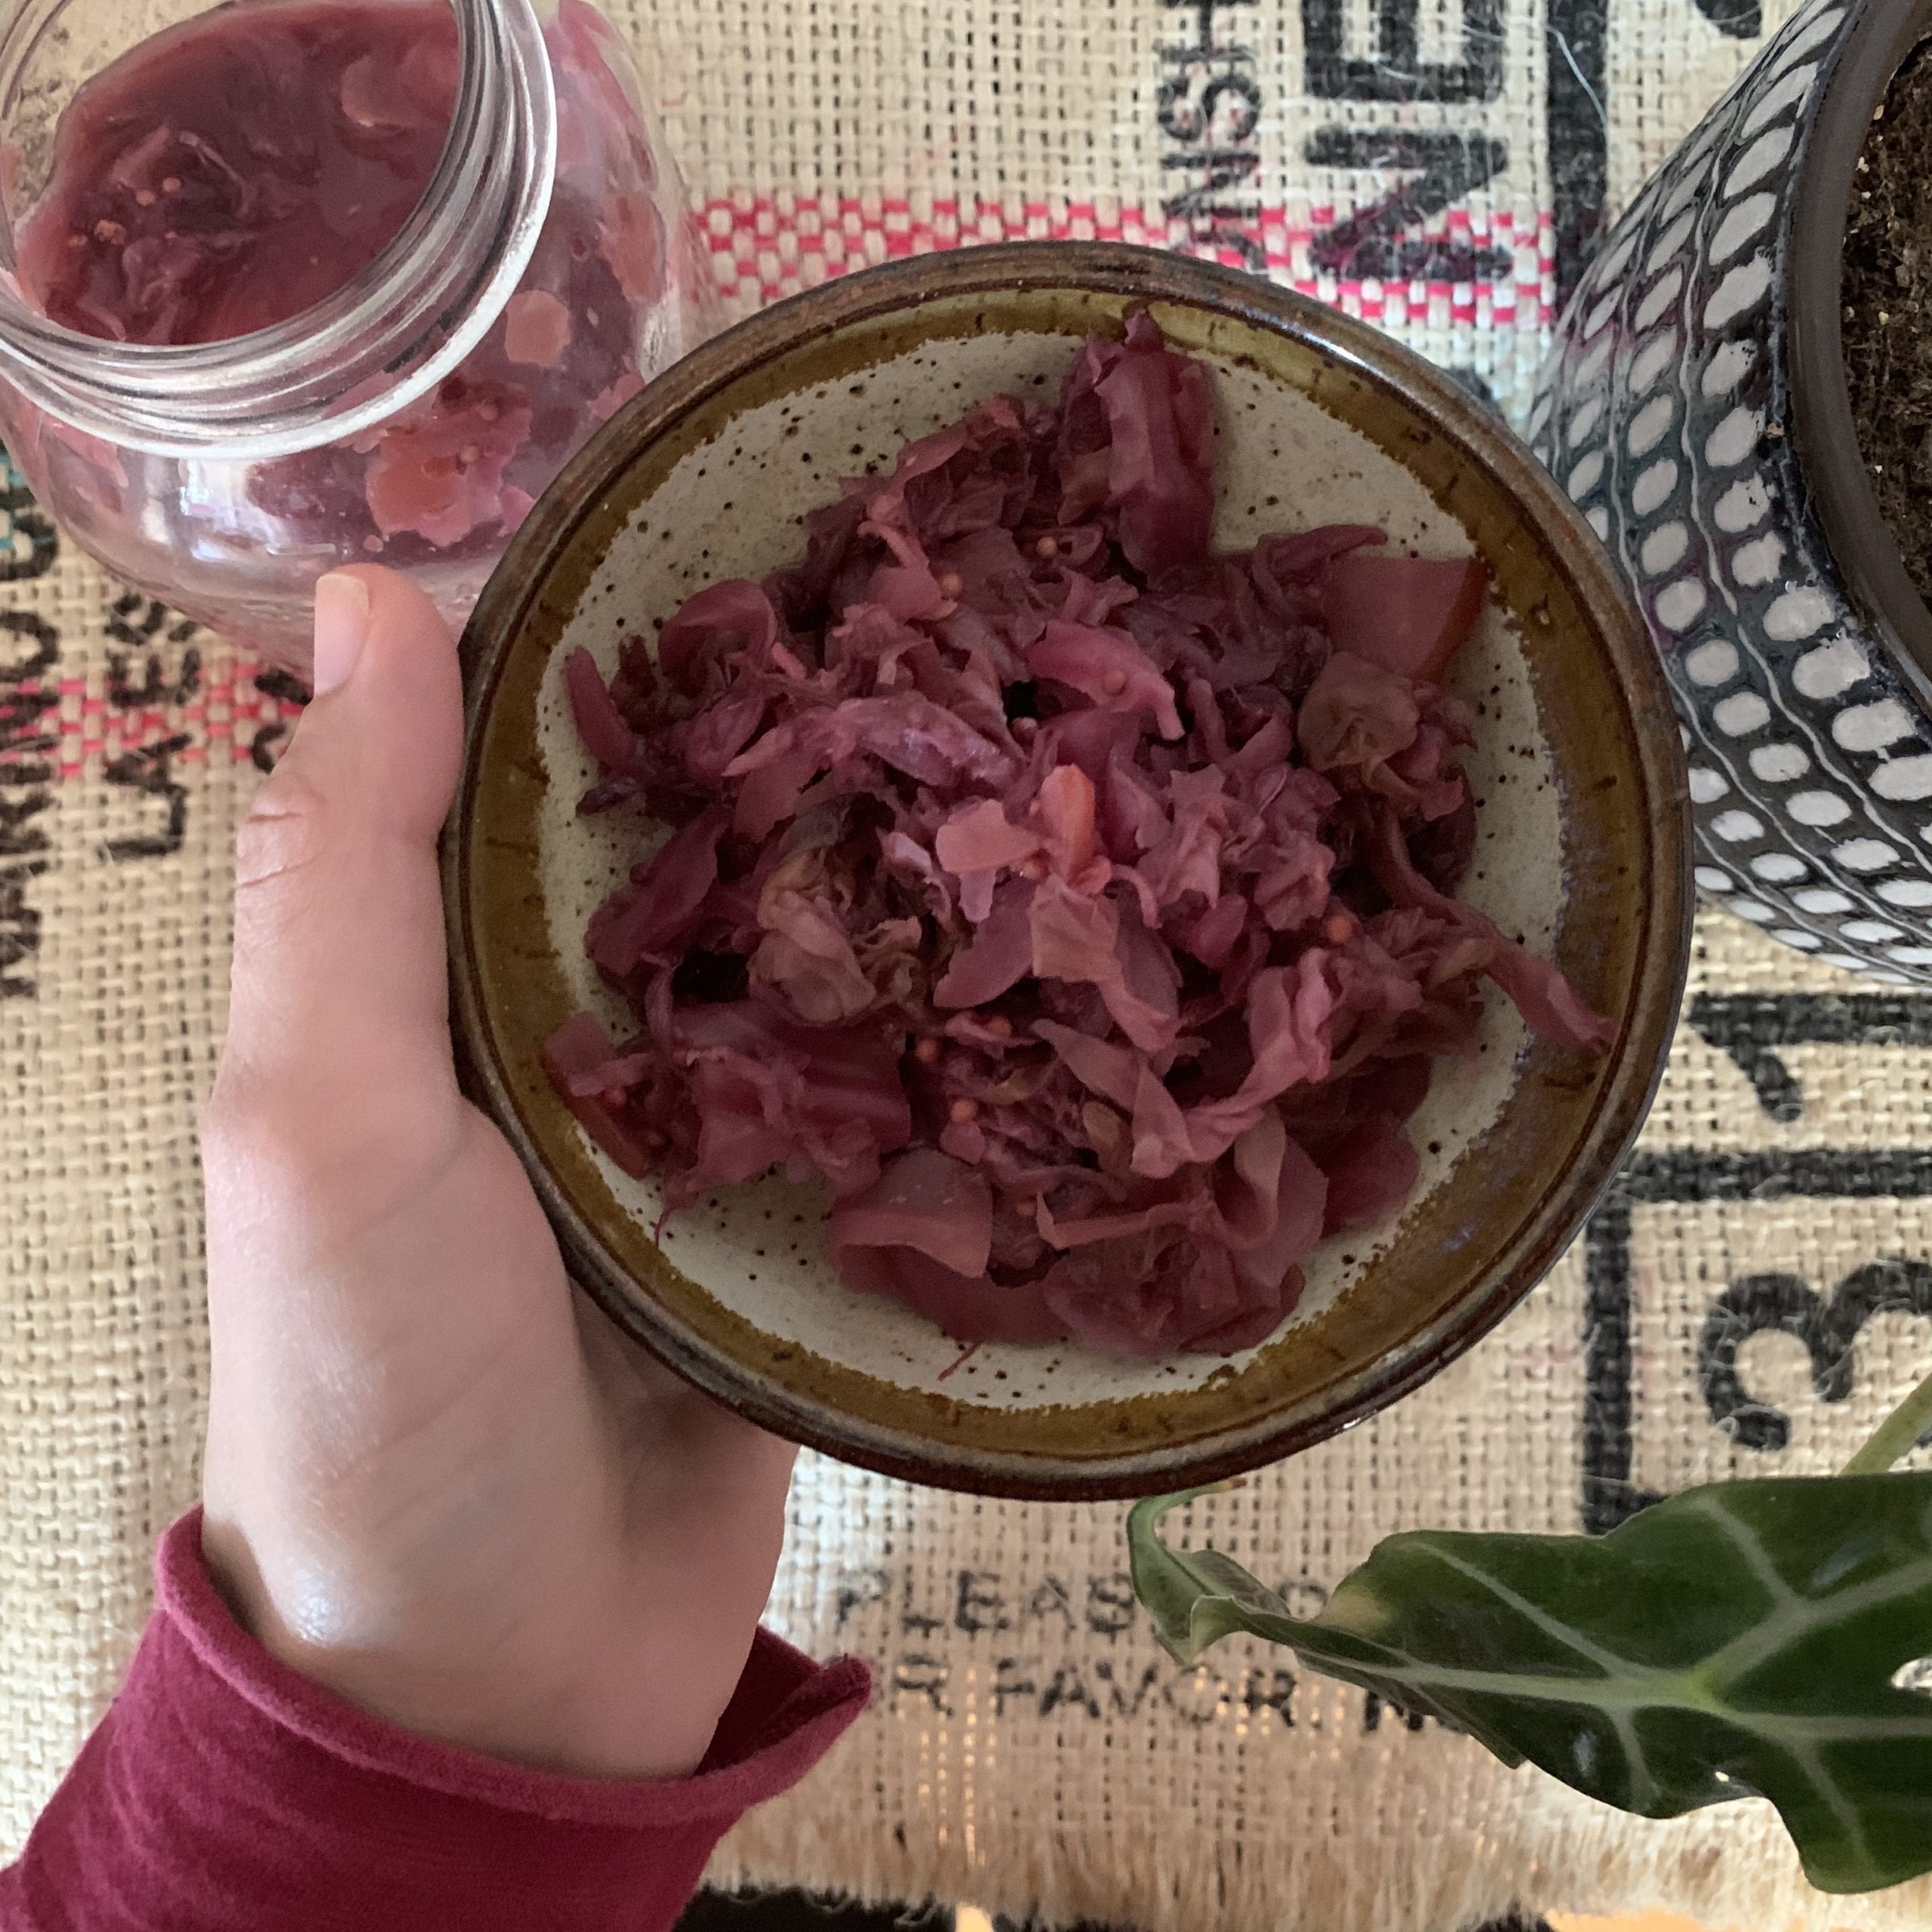
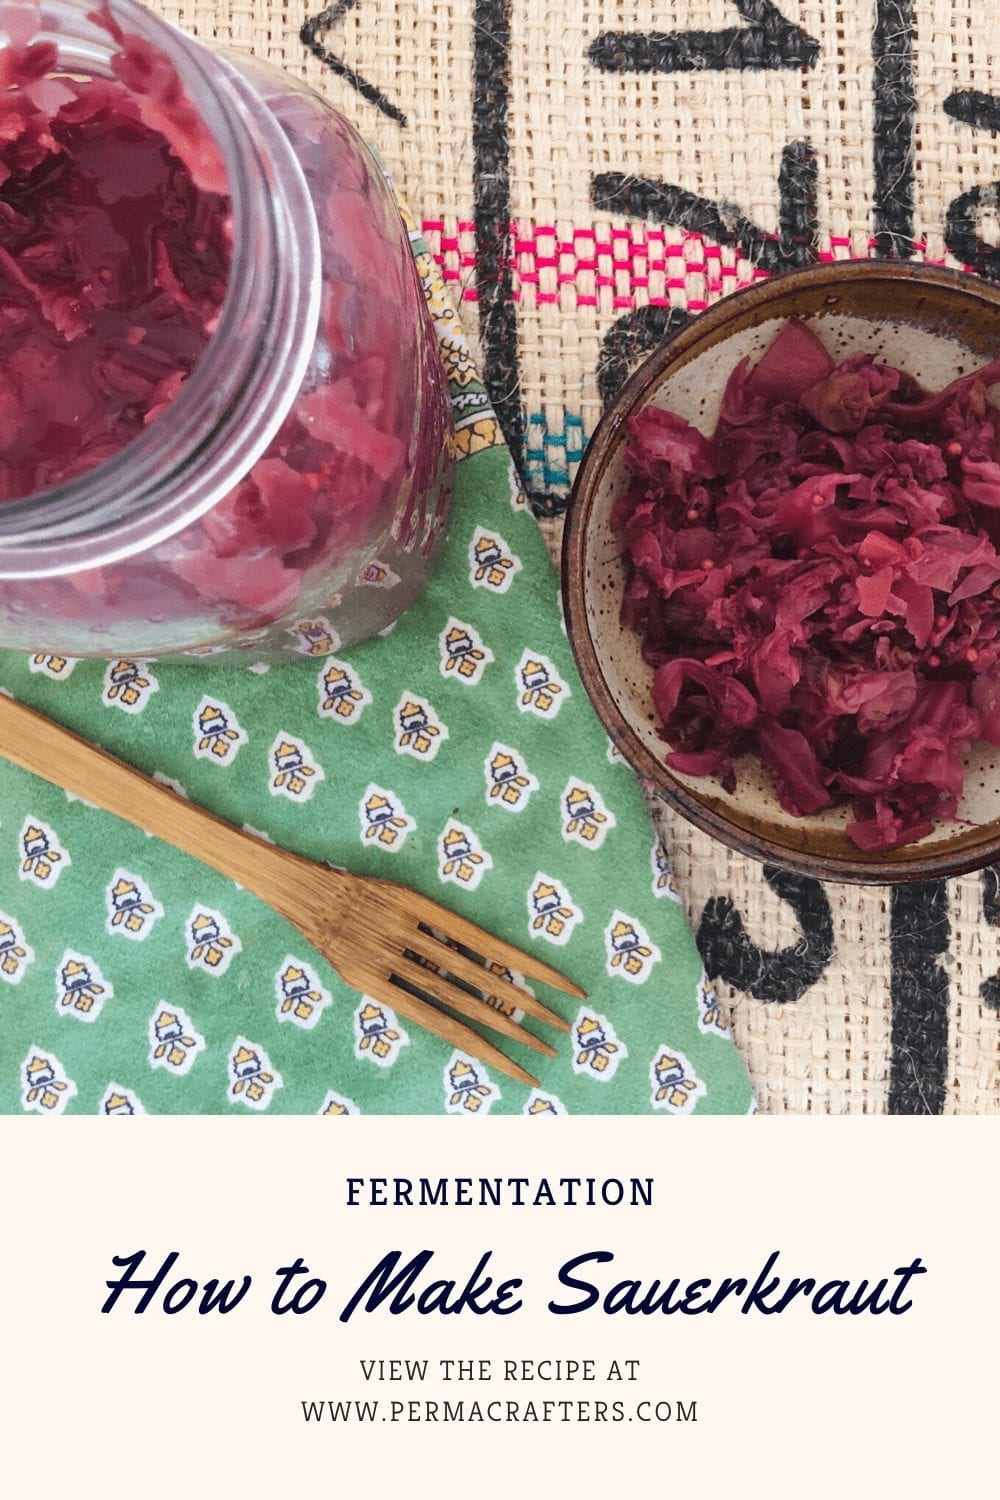
At this point, your sauerkraut is ready to be enjoyed in a salad, on a sandwich, or as a side dish! Let us know what you think of the recipe and how you end up incorporating it in your meals. (And make sure to watch our video tutorial below.) Want more harvest preservation inspiration?
Check out our Homemade Pickles Recipe and How to Make Pickled Grape Leaves with Lacto-Fermentation.
¡Buen provecho!
Cristina.
By commenting you accept our Privacy Policy.
Copyright © 2017 Permacrafters. All rights reserved. || Privacy Policy || Website Terms of Use || Health Disclaimer || Student Dismissal Policy ||




0 Comments
Trackbacks/Pingbacks