How to Sew a Face Mask to Slow the Spread of COVID-19
Learn how to sew a face mask with this easy DIY face mask pattern that can help slow the spread of Coronavirus.
CDC Face Mask Recommendations
The latest recommendations of the Center for Disease Control and Prevention (CDC) is to wear a cloth face covering to slow the spread of COVID-19 in public settings where social distancing is hard to maintain. Because many infected individuals may not know they are sick, wearing a face mask helps them slow the spread of the Coronavirus. We encourage you to read the CDC recommendations on how to use cloth face coverings for yourself. In a nutshell, the DIY face mask pattern should fit snugly, have several layers of fabric, allow for normal breathing, be secured, and washable without damage. These masks are not meant for children under the age of 2 or anyone “who has trouble breathing, or is unconscious, incapacitated or otherwise unable to remove the mask without assistance.”
UPDATE: Smart Air Filters has shared some new findings about the effectiveness of DIY face mask materials in filtering coronavirus-sized microparticles and breathability. They showed that these fabrics are the best ones: denim, bed sheets (80-120 thread count), paper towels, canvas (0.4-0.5mm thick) and shop towels. Read their research here. Please keep up to date on face mask recommendations as this is an evolving topic.
DIY Face Mask
As soon as the CDC made the announcement that we should be wearing cloth face-covering, I tried both the sew and no-sew options that they recommend. They worked fine as an emergency solution, but they didn’t pass the test of walking my (very energetic) rescue dog Griffin at the park. The mask kept falling off.
Desperate to find a better solution and eager to keep crafting, I looked into several patterns and recommendations as to what types of fabrics were better. I found that the STATE the Label mask pattern is my favorite one. You can buy a mask from them if you are not into sewing.
In terms of the materials to use and the layering of fabrics for DIY face masks, there are a couple of studies that test their filtering percentages, breathability, and effectiveness. Smart Air has a good article that goes over the findings of these studies. You want to make sure your fabric is breathable and comfortable. I reused a 100% cotton tea towel for the main fabric and 100% cotton pillowcase for the liner fabric.
Before jumping into the DIY, I have to state that this may not be the best option for you. We all need to wear a face covering mask in public settings even if it’s not perfect. This mask happens to fit me perfectly, but you may need to adjust the pattern to make it bigger or smaller. This face mask pattern is too small for my husband and his beard, for instance. If you don’t have a sewing machine and the fabrics on hand at home, it may also not be the best choice if you’re in confinement with limited options. The CDC also gives no-sew instructions for cloth face-covering if you prefer.
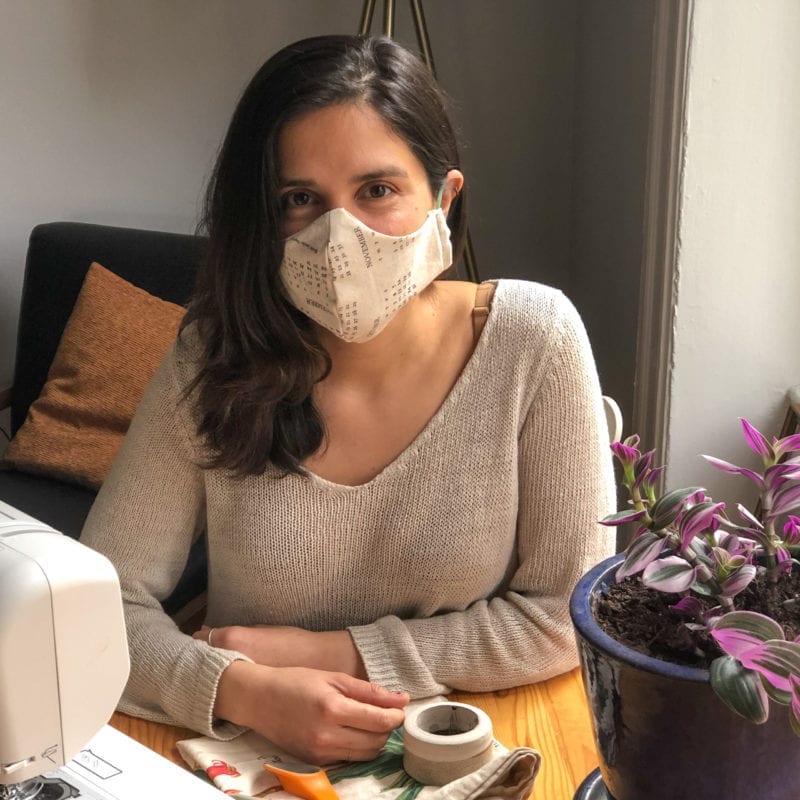
How to Sew a Face Mask:
Materials & Equipment:
- Mask pattern by STATE the Label
- 100% cotton tea towel *
- 100% cotton pillow case *
- 2 large rubber bands or one or two elastic strings
- Safety pin
- Thread
- Pins
- Chalk
- Scissors
- Sewing machine
* Scroll up to read updated Smart Air fabric recommendations
Instructions:
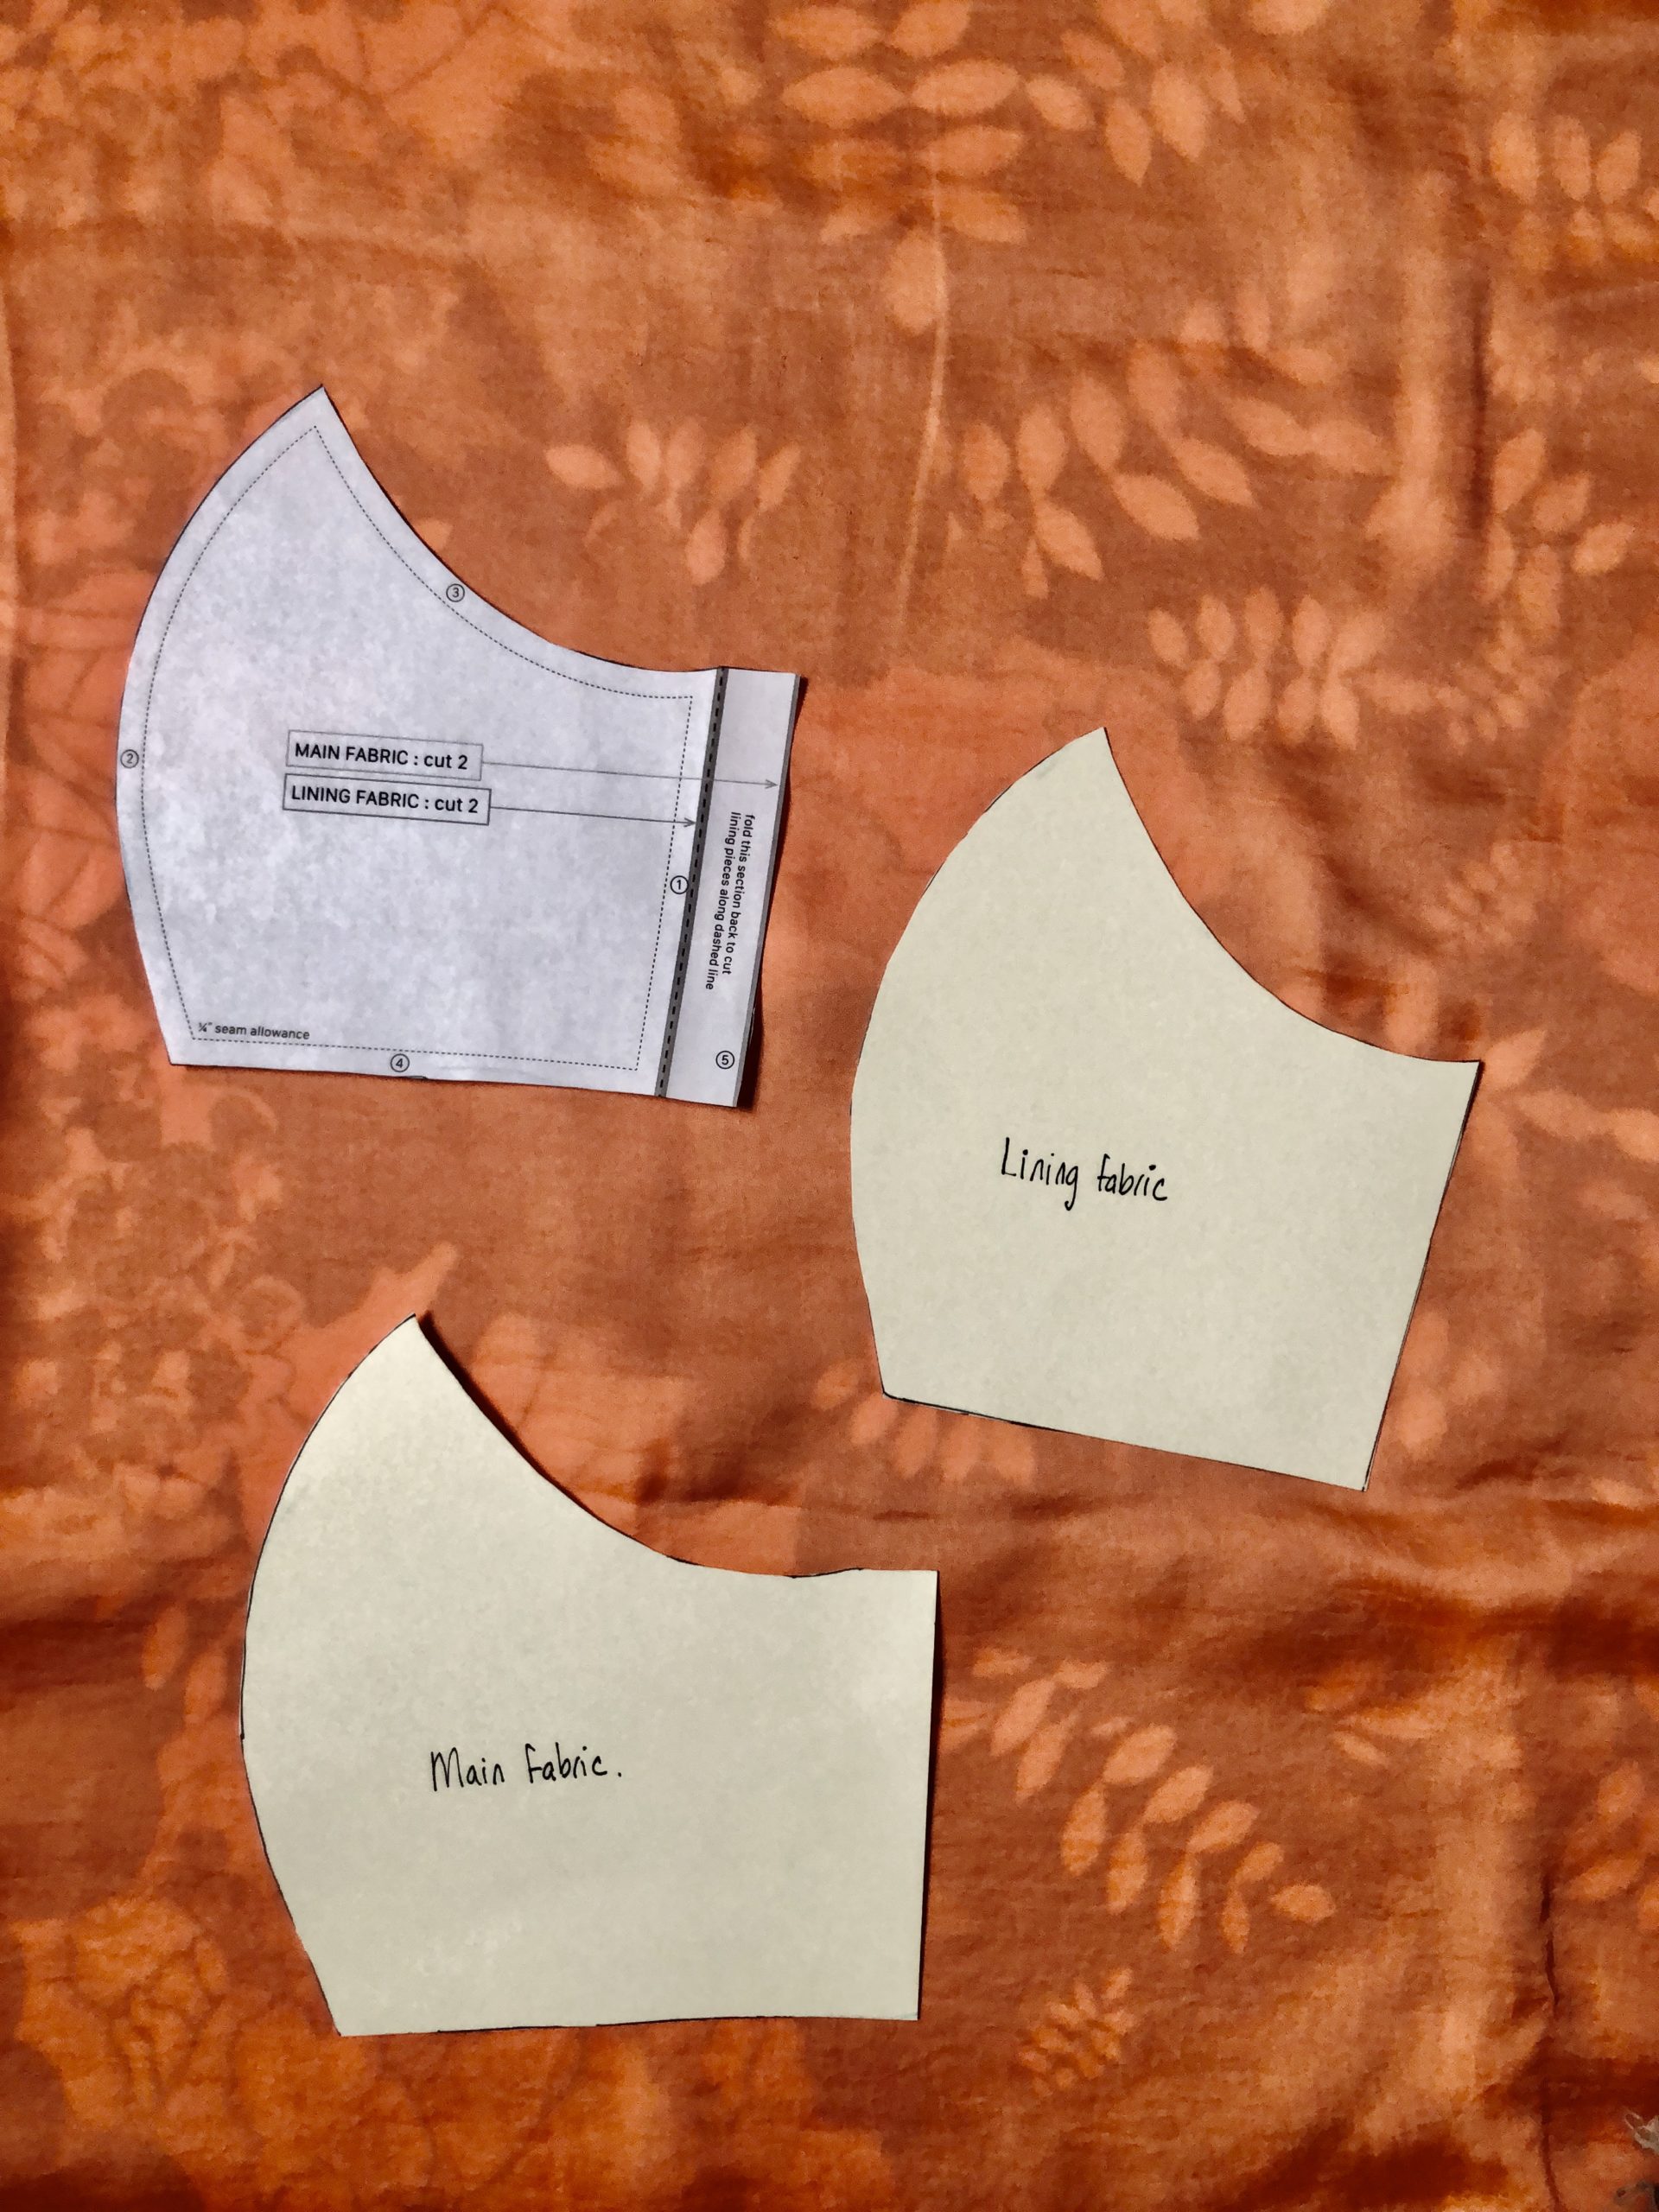
1. Print and cut the patterns from STATE the Label.
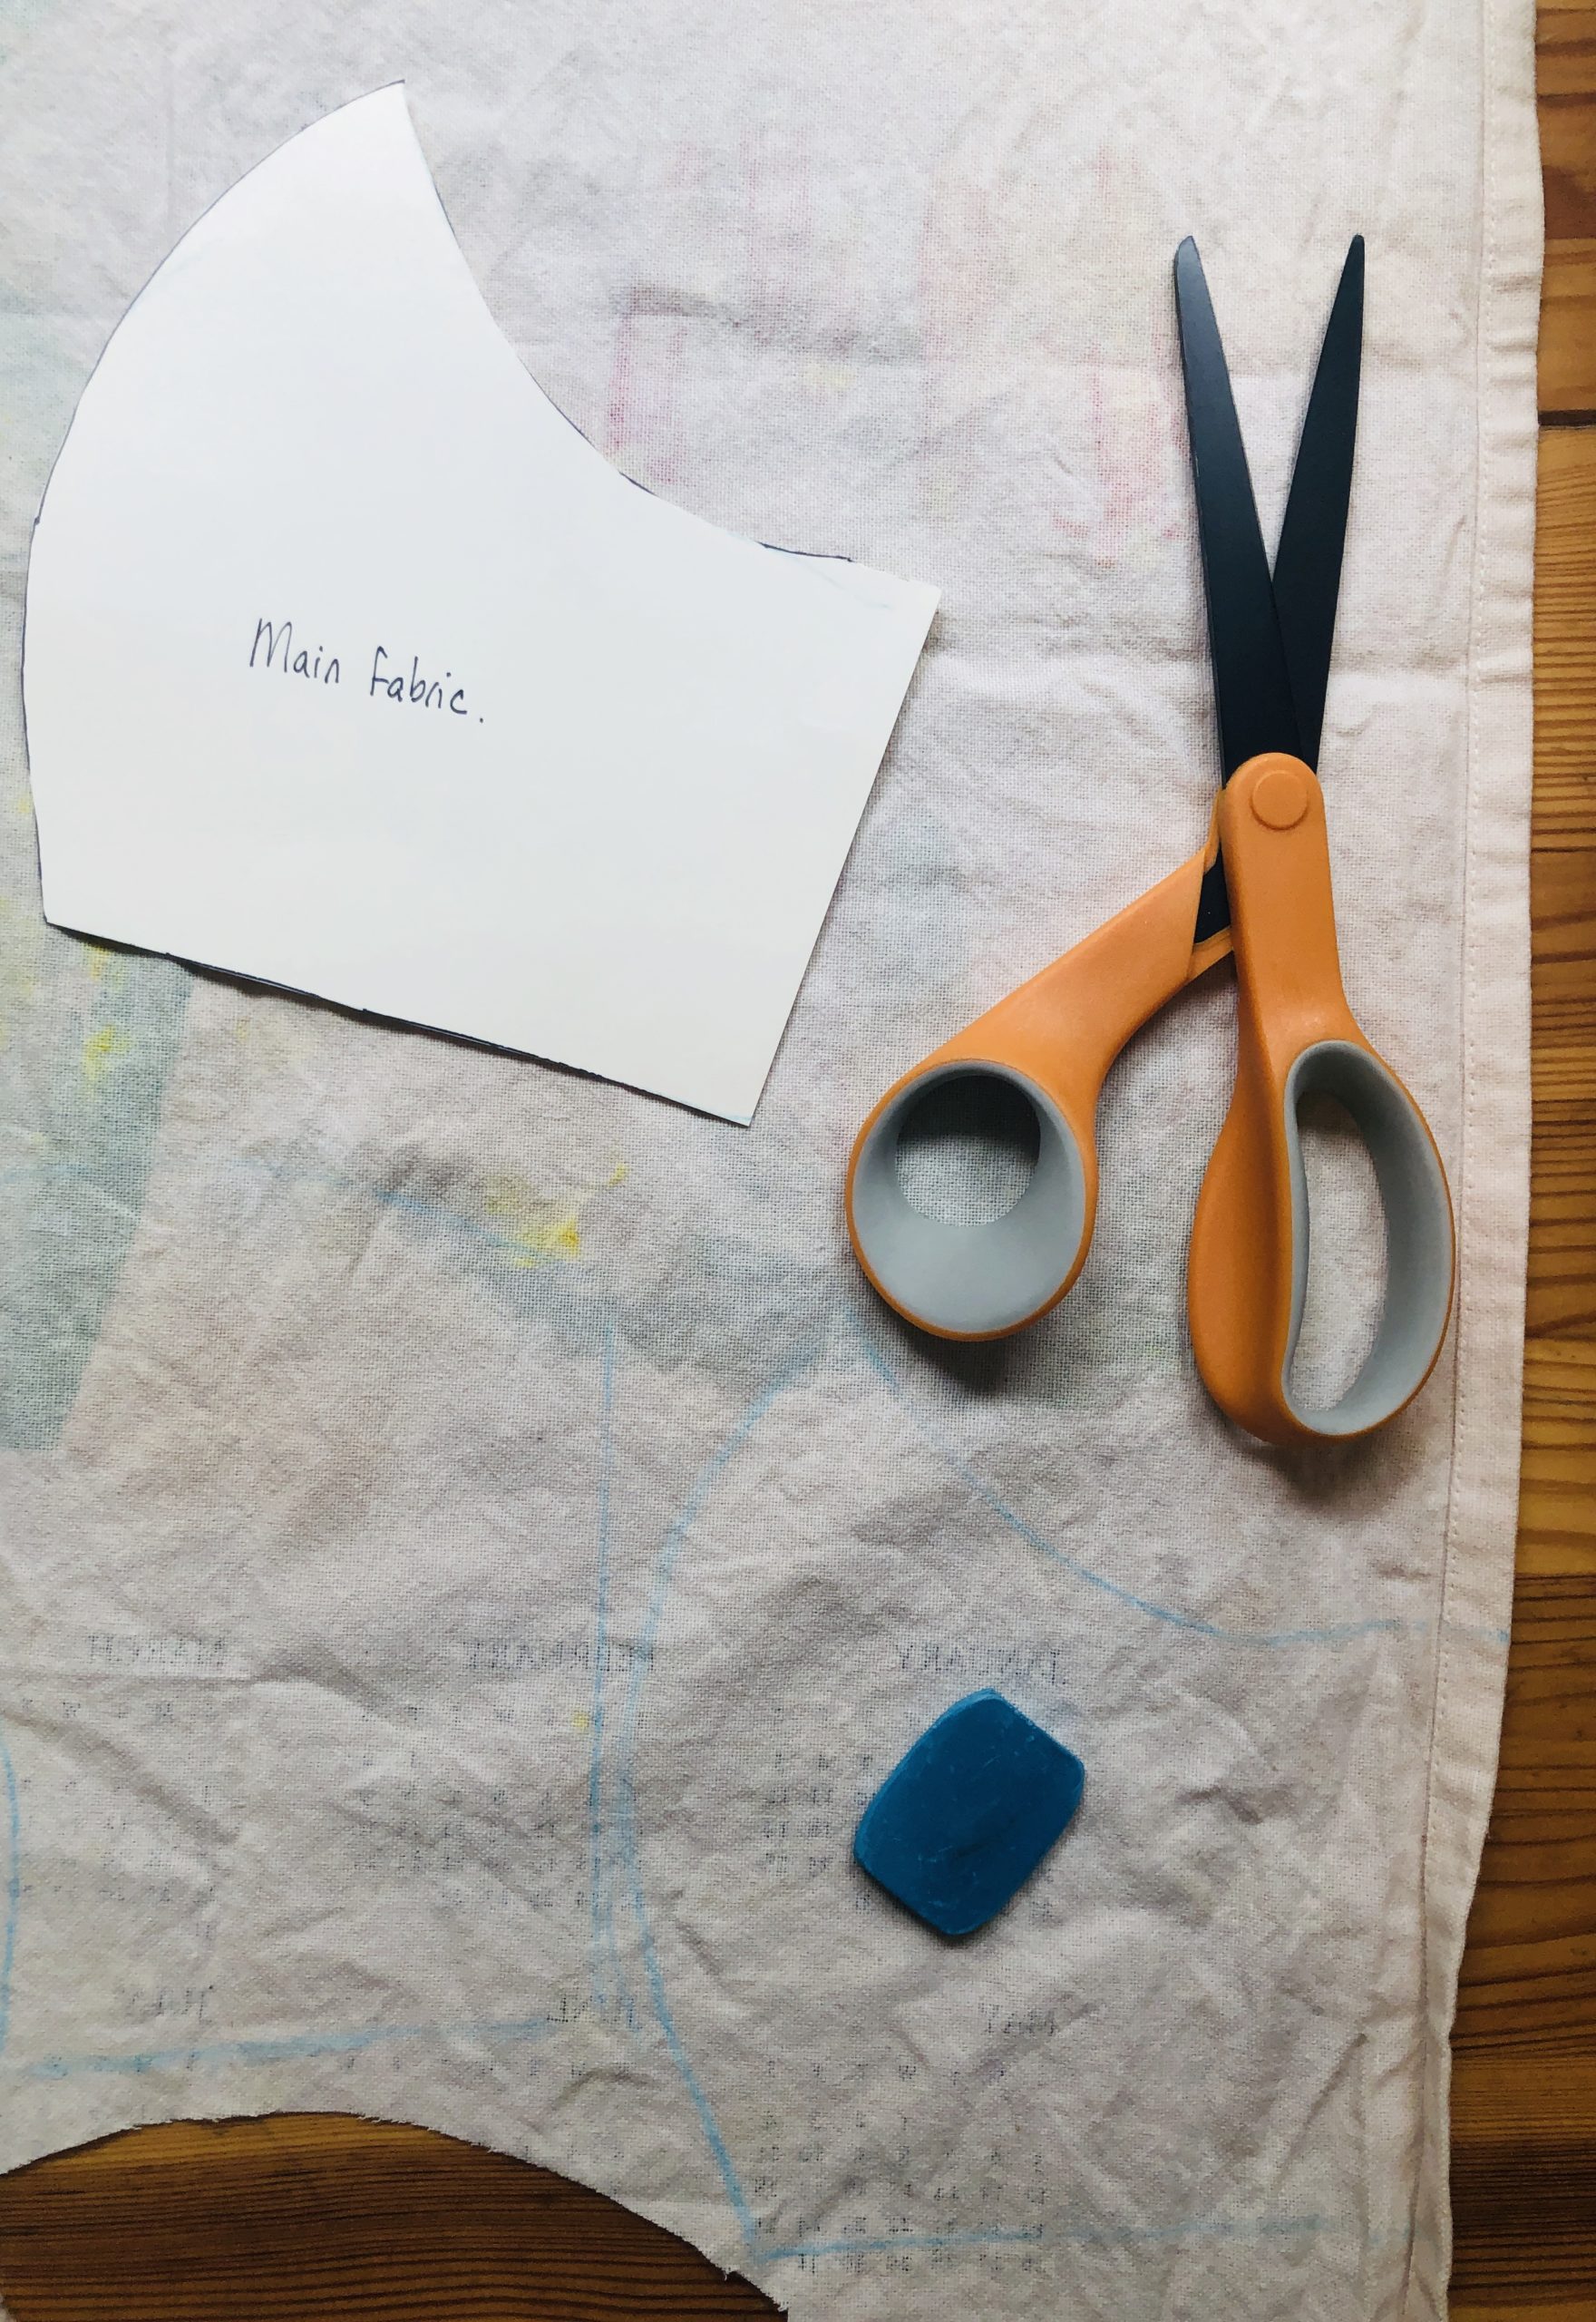
2. Make sturdy cutouts from cardboard using your printed patterns (main fabric shape and lining fabric shape).
3. Using these cutouts, cut 2 pieces of main fabric and cut 2 pieces of lining fabric.
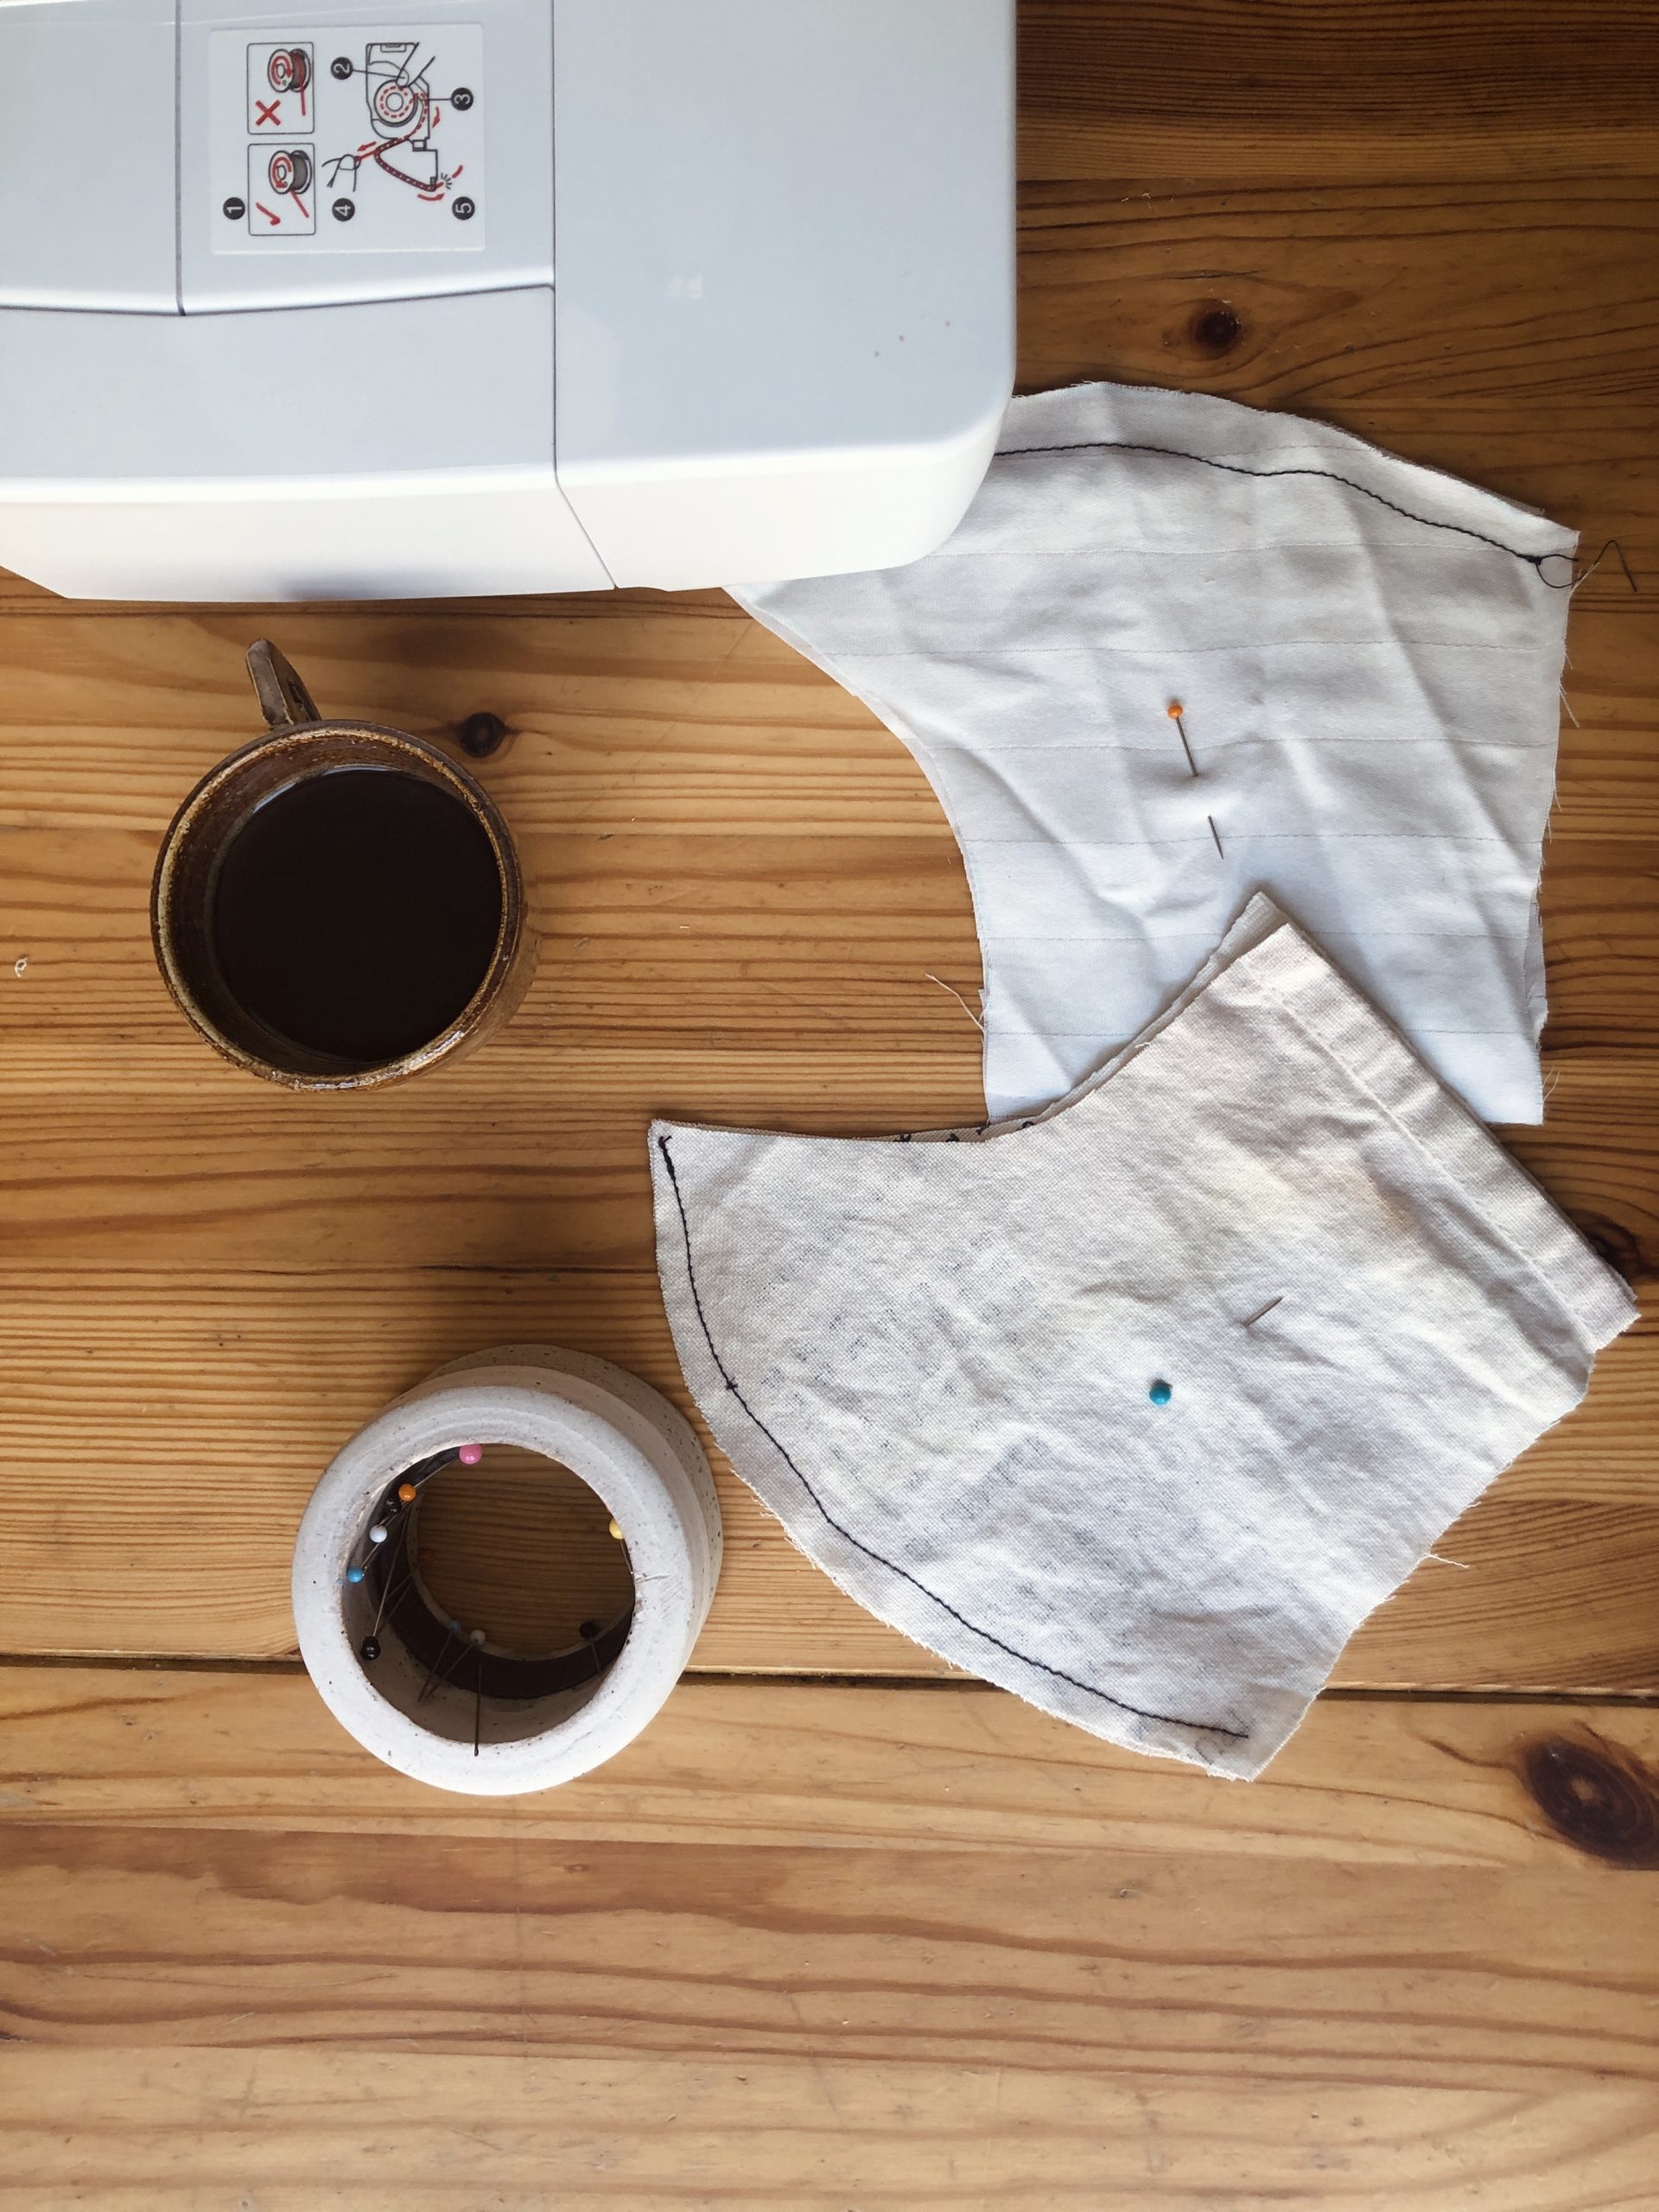
4. Place the pattern sides (front sides) of the lining fabric together. Sew the front seam of the lining fabrics (the curved side).
5. Place the pattern sides (front sides) of the main fabric together. Sew the front seam of the main fabrics (the curved side).
6. Place the pattern sides (front sides) of the lining fabric and the main fabric together. Align the center front seams.
7. Sew the top border from one end to the other.
8. Sew the bottom border from one end to the other.
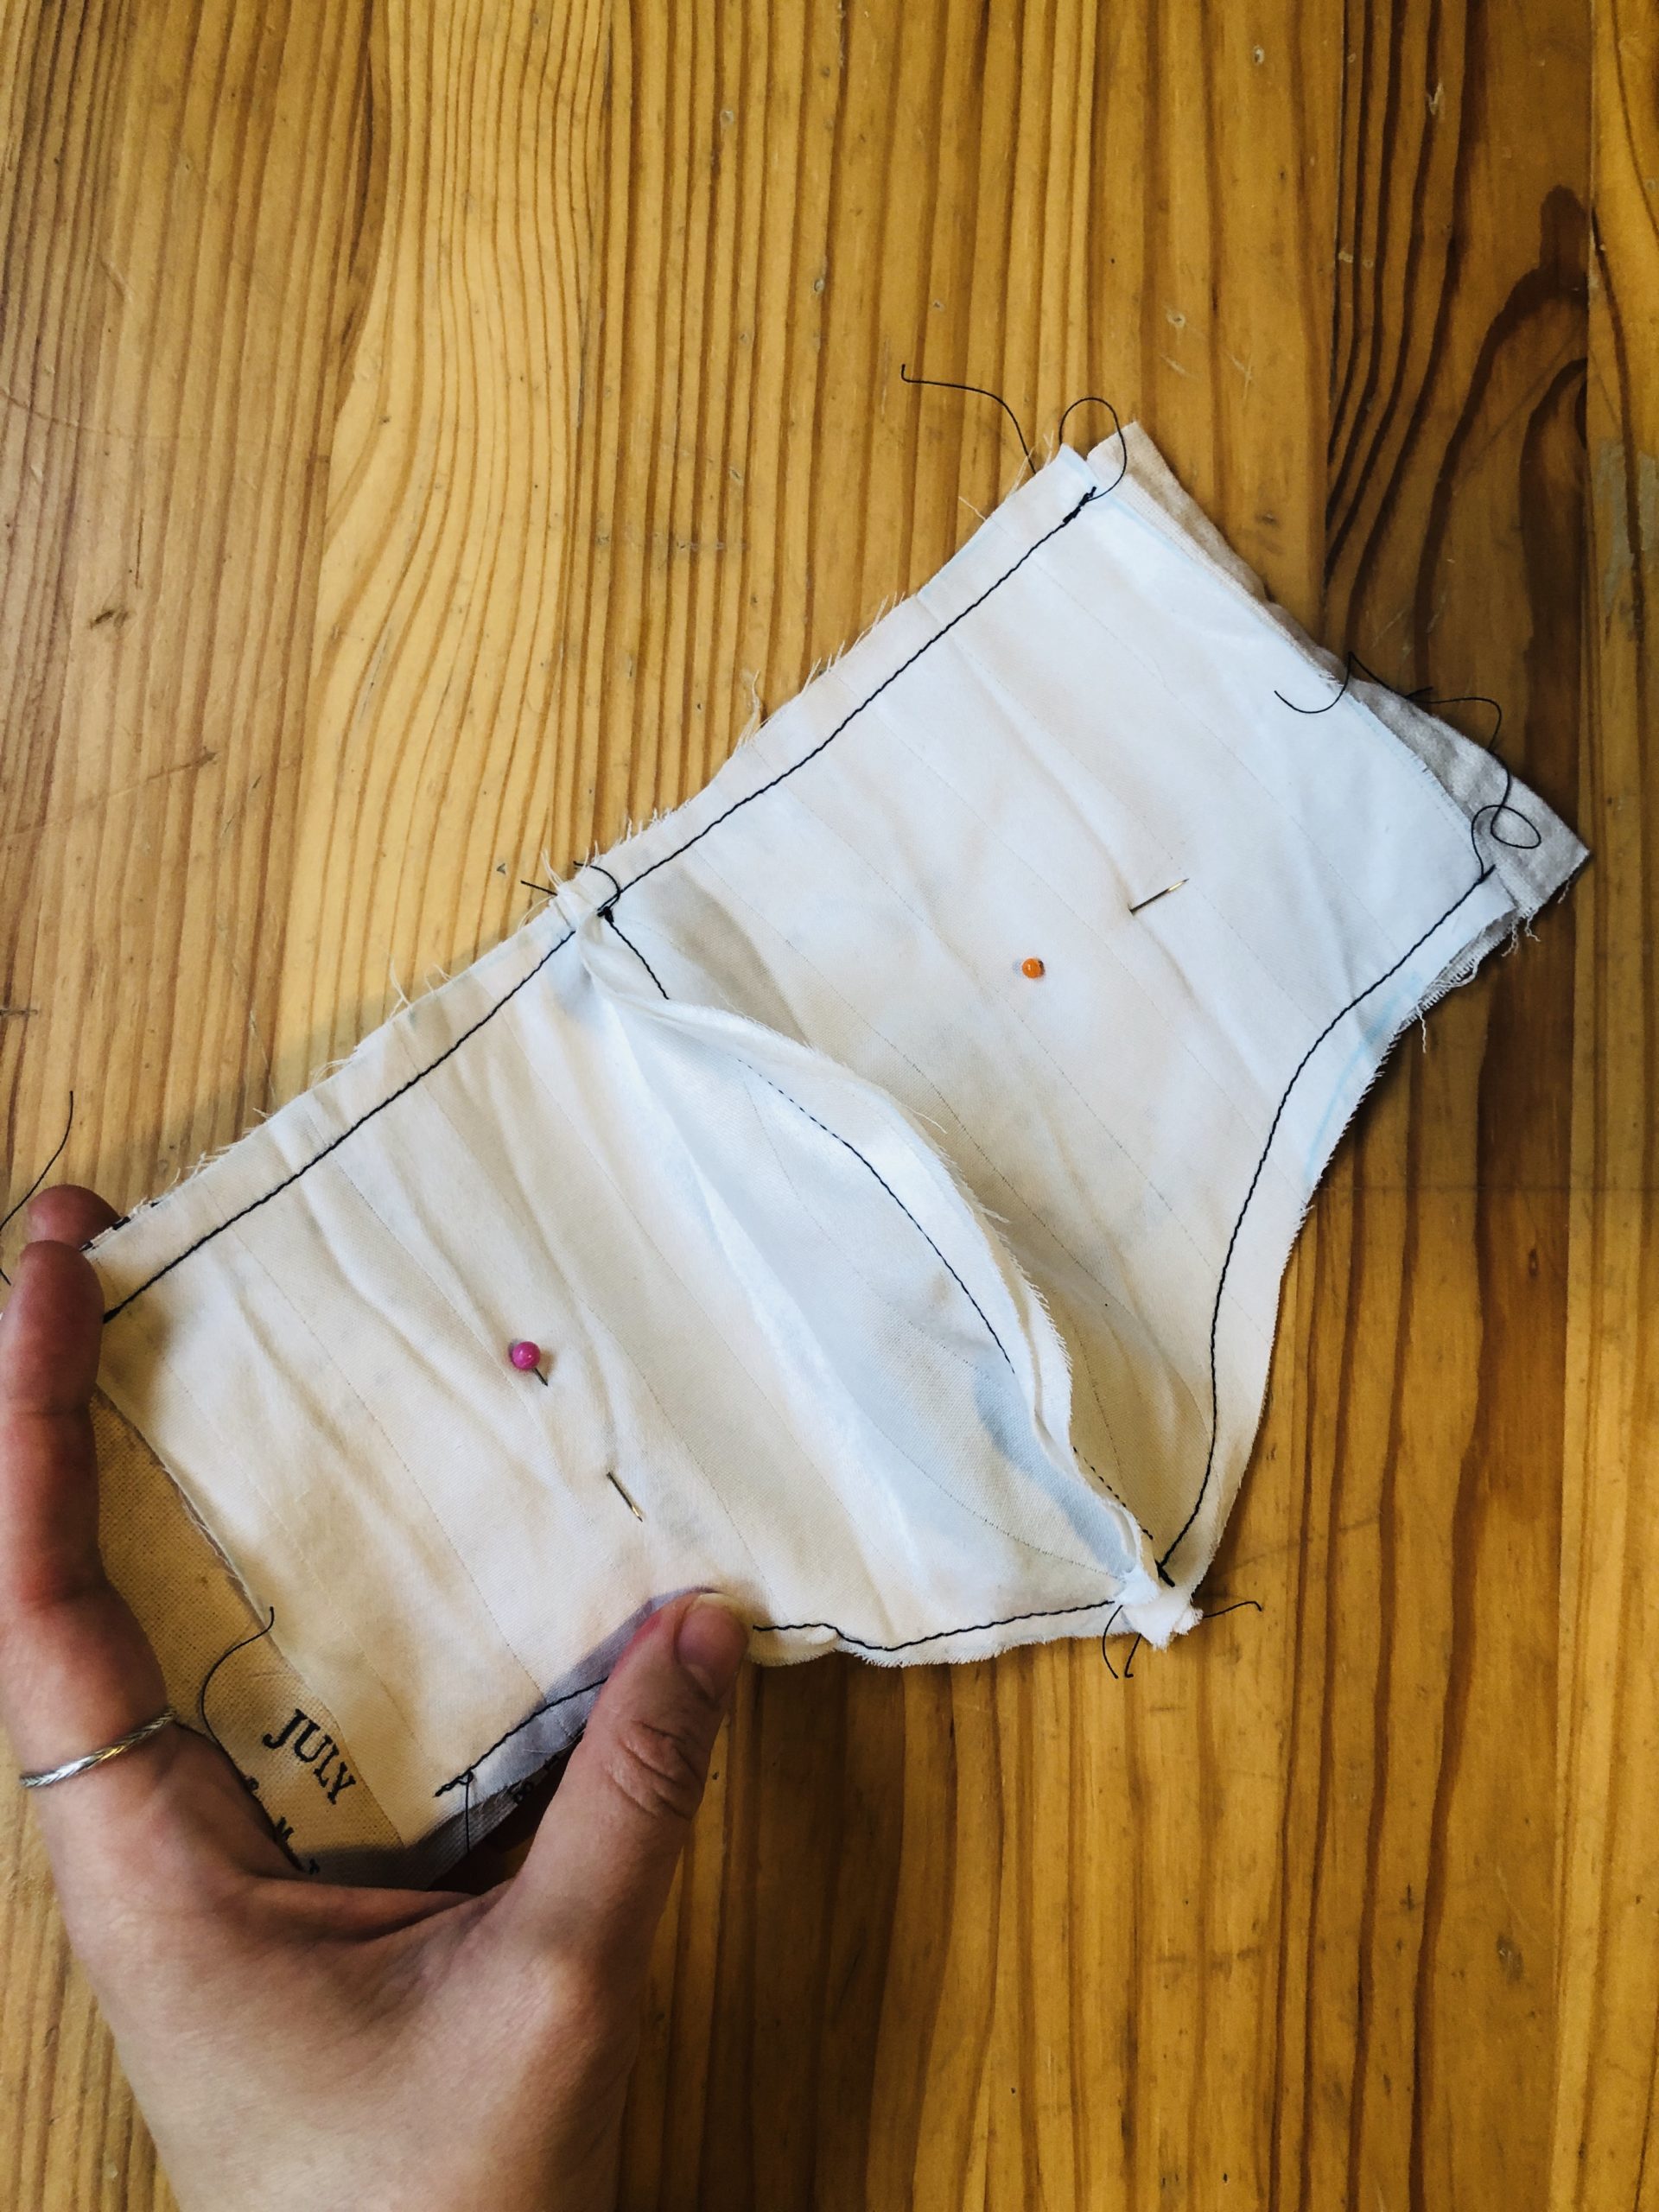
9. Turn the mask inside out. I used the tip of a pair of scissors to help flip it inside out.
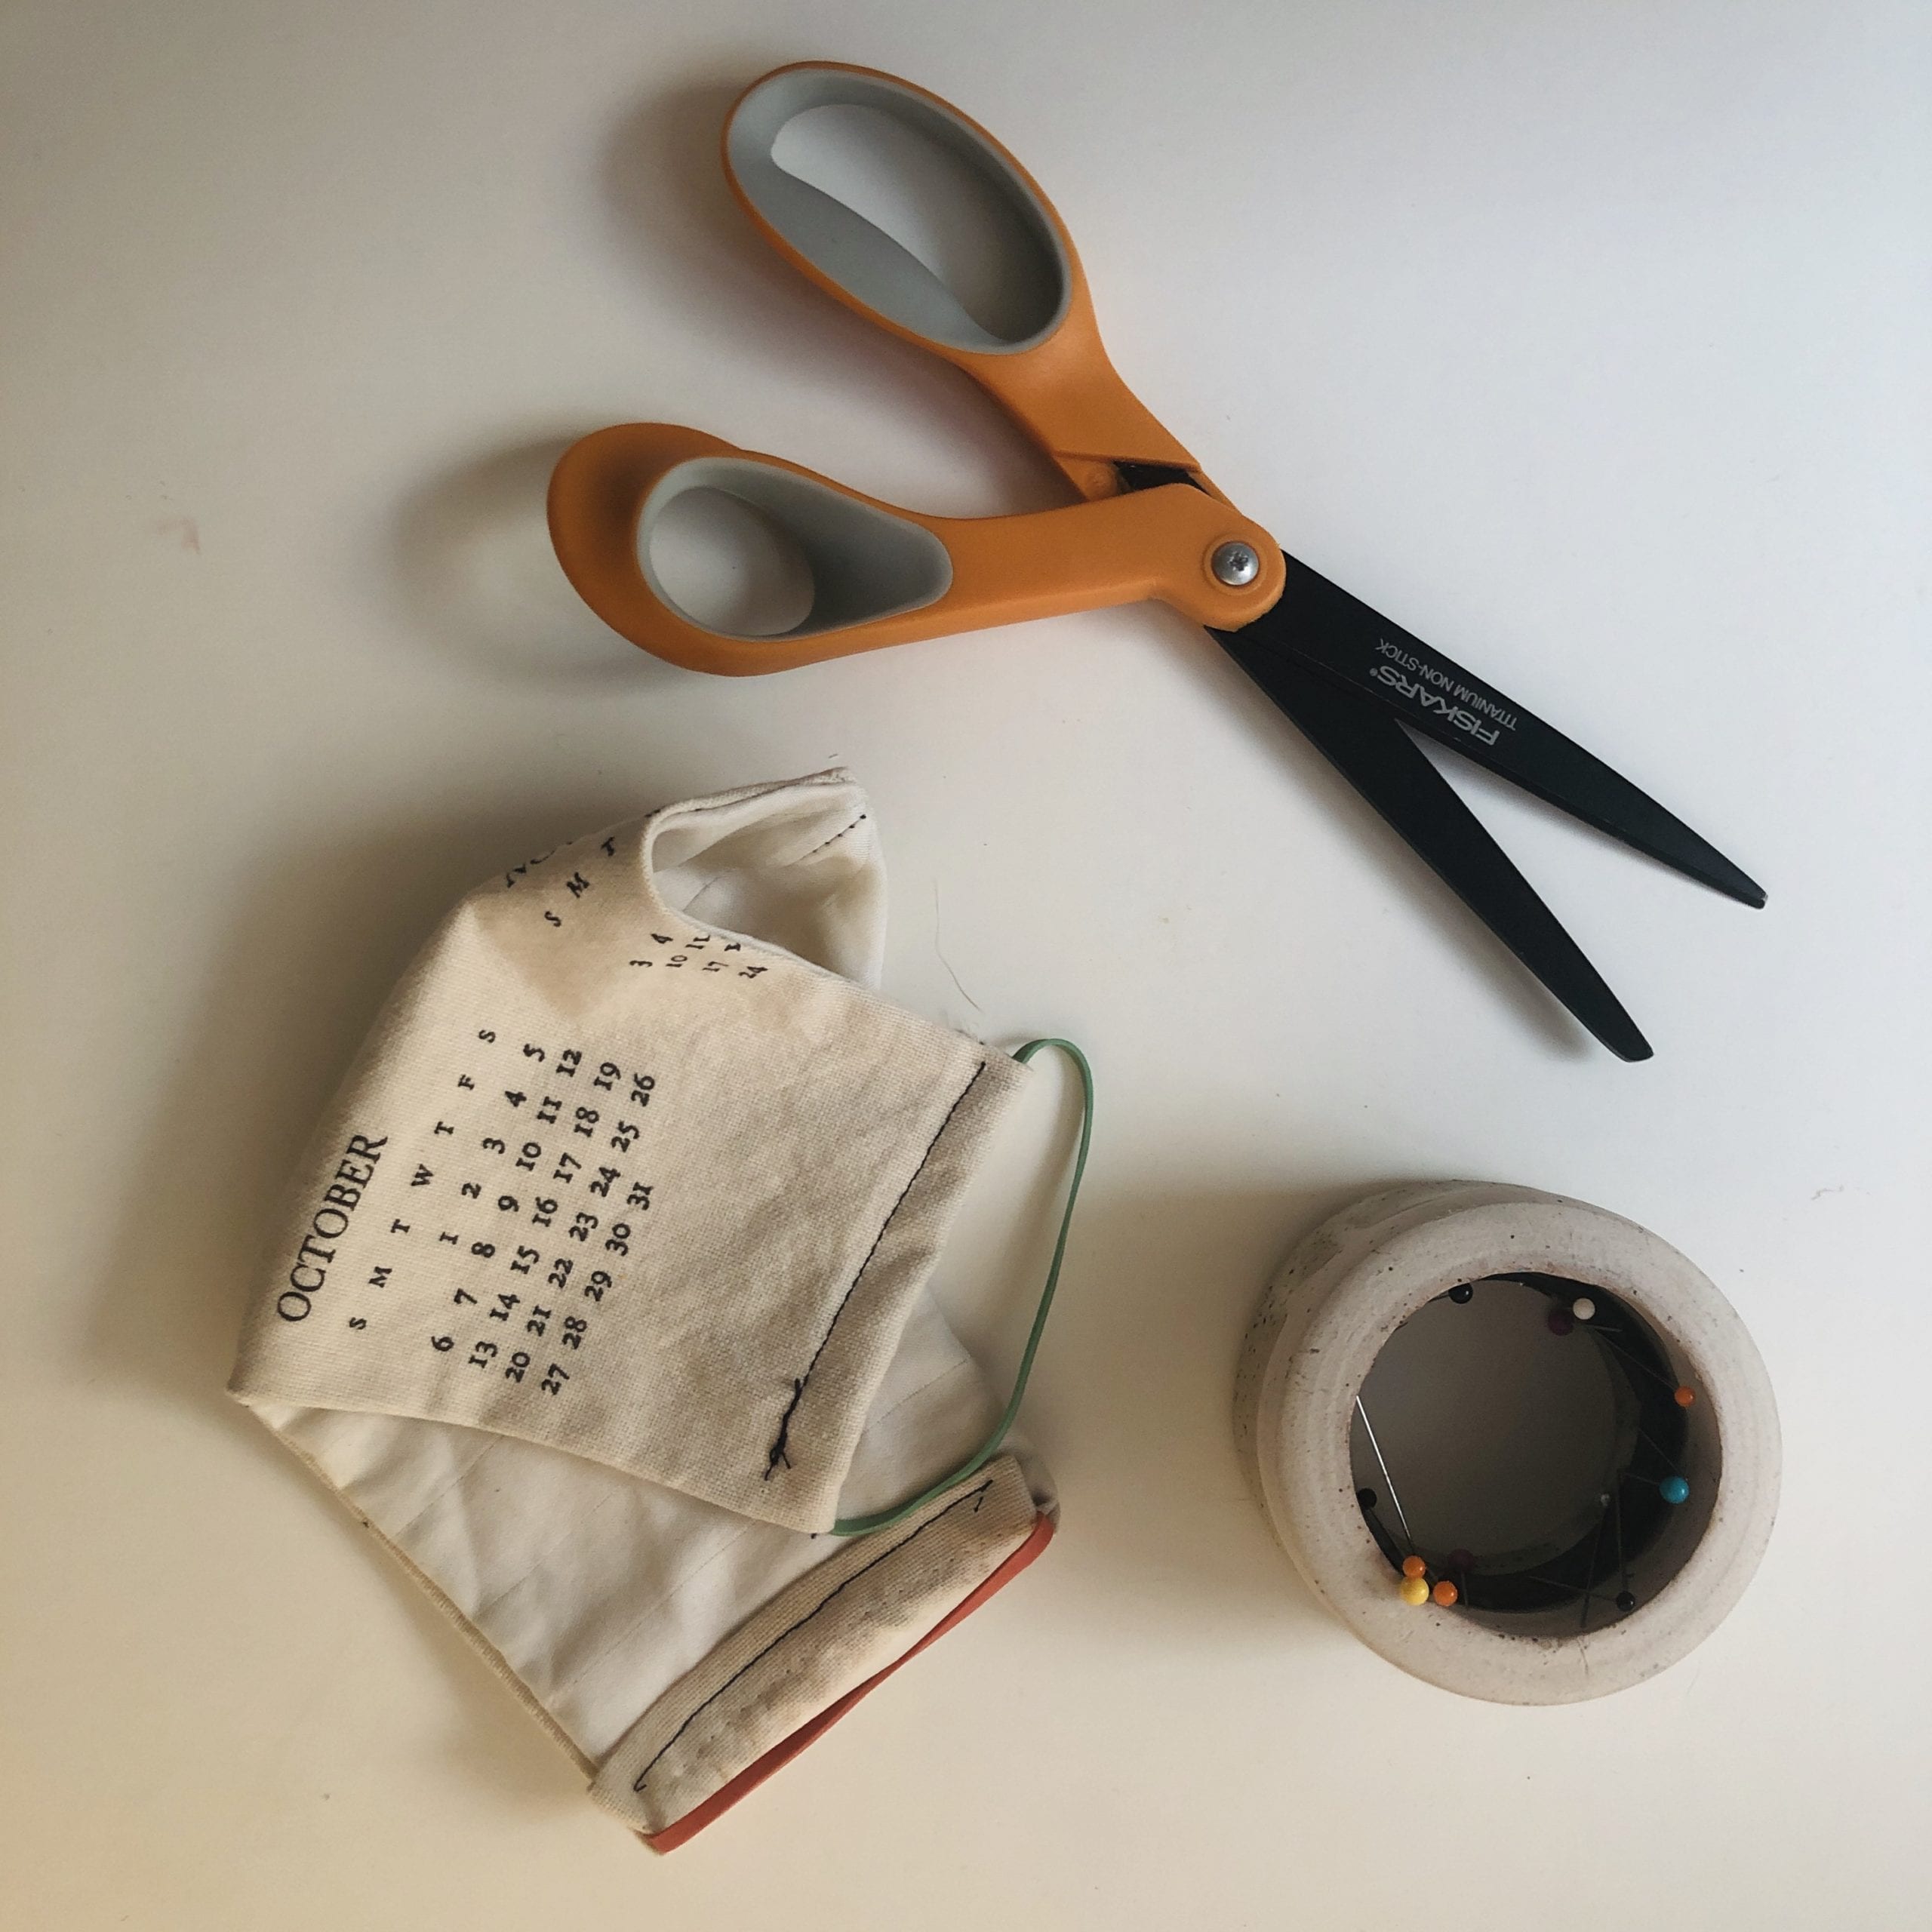
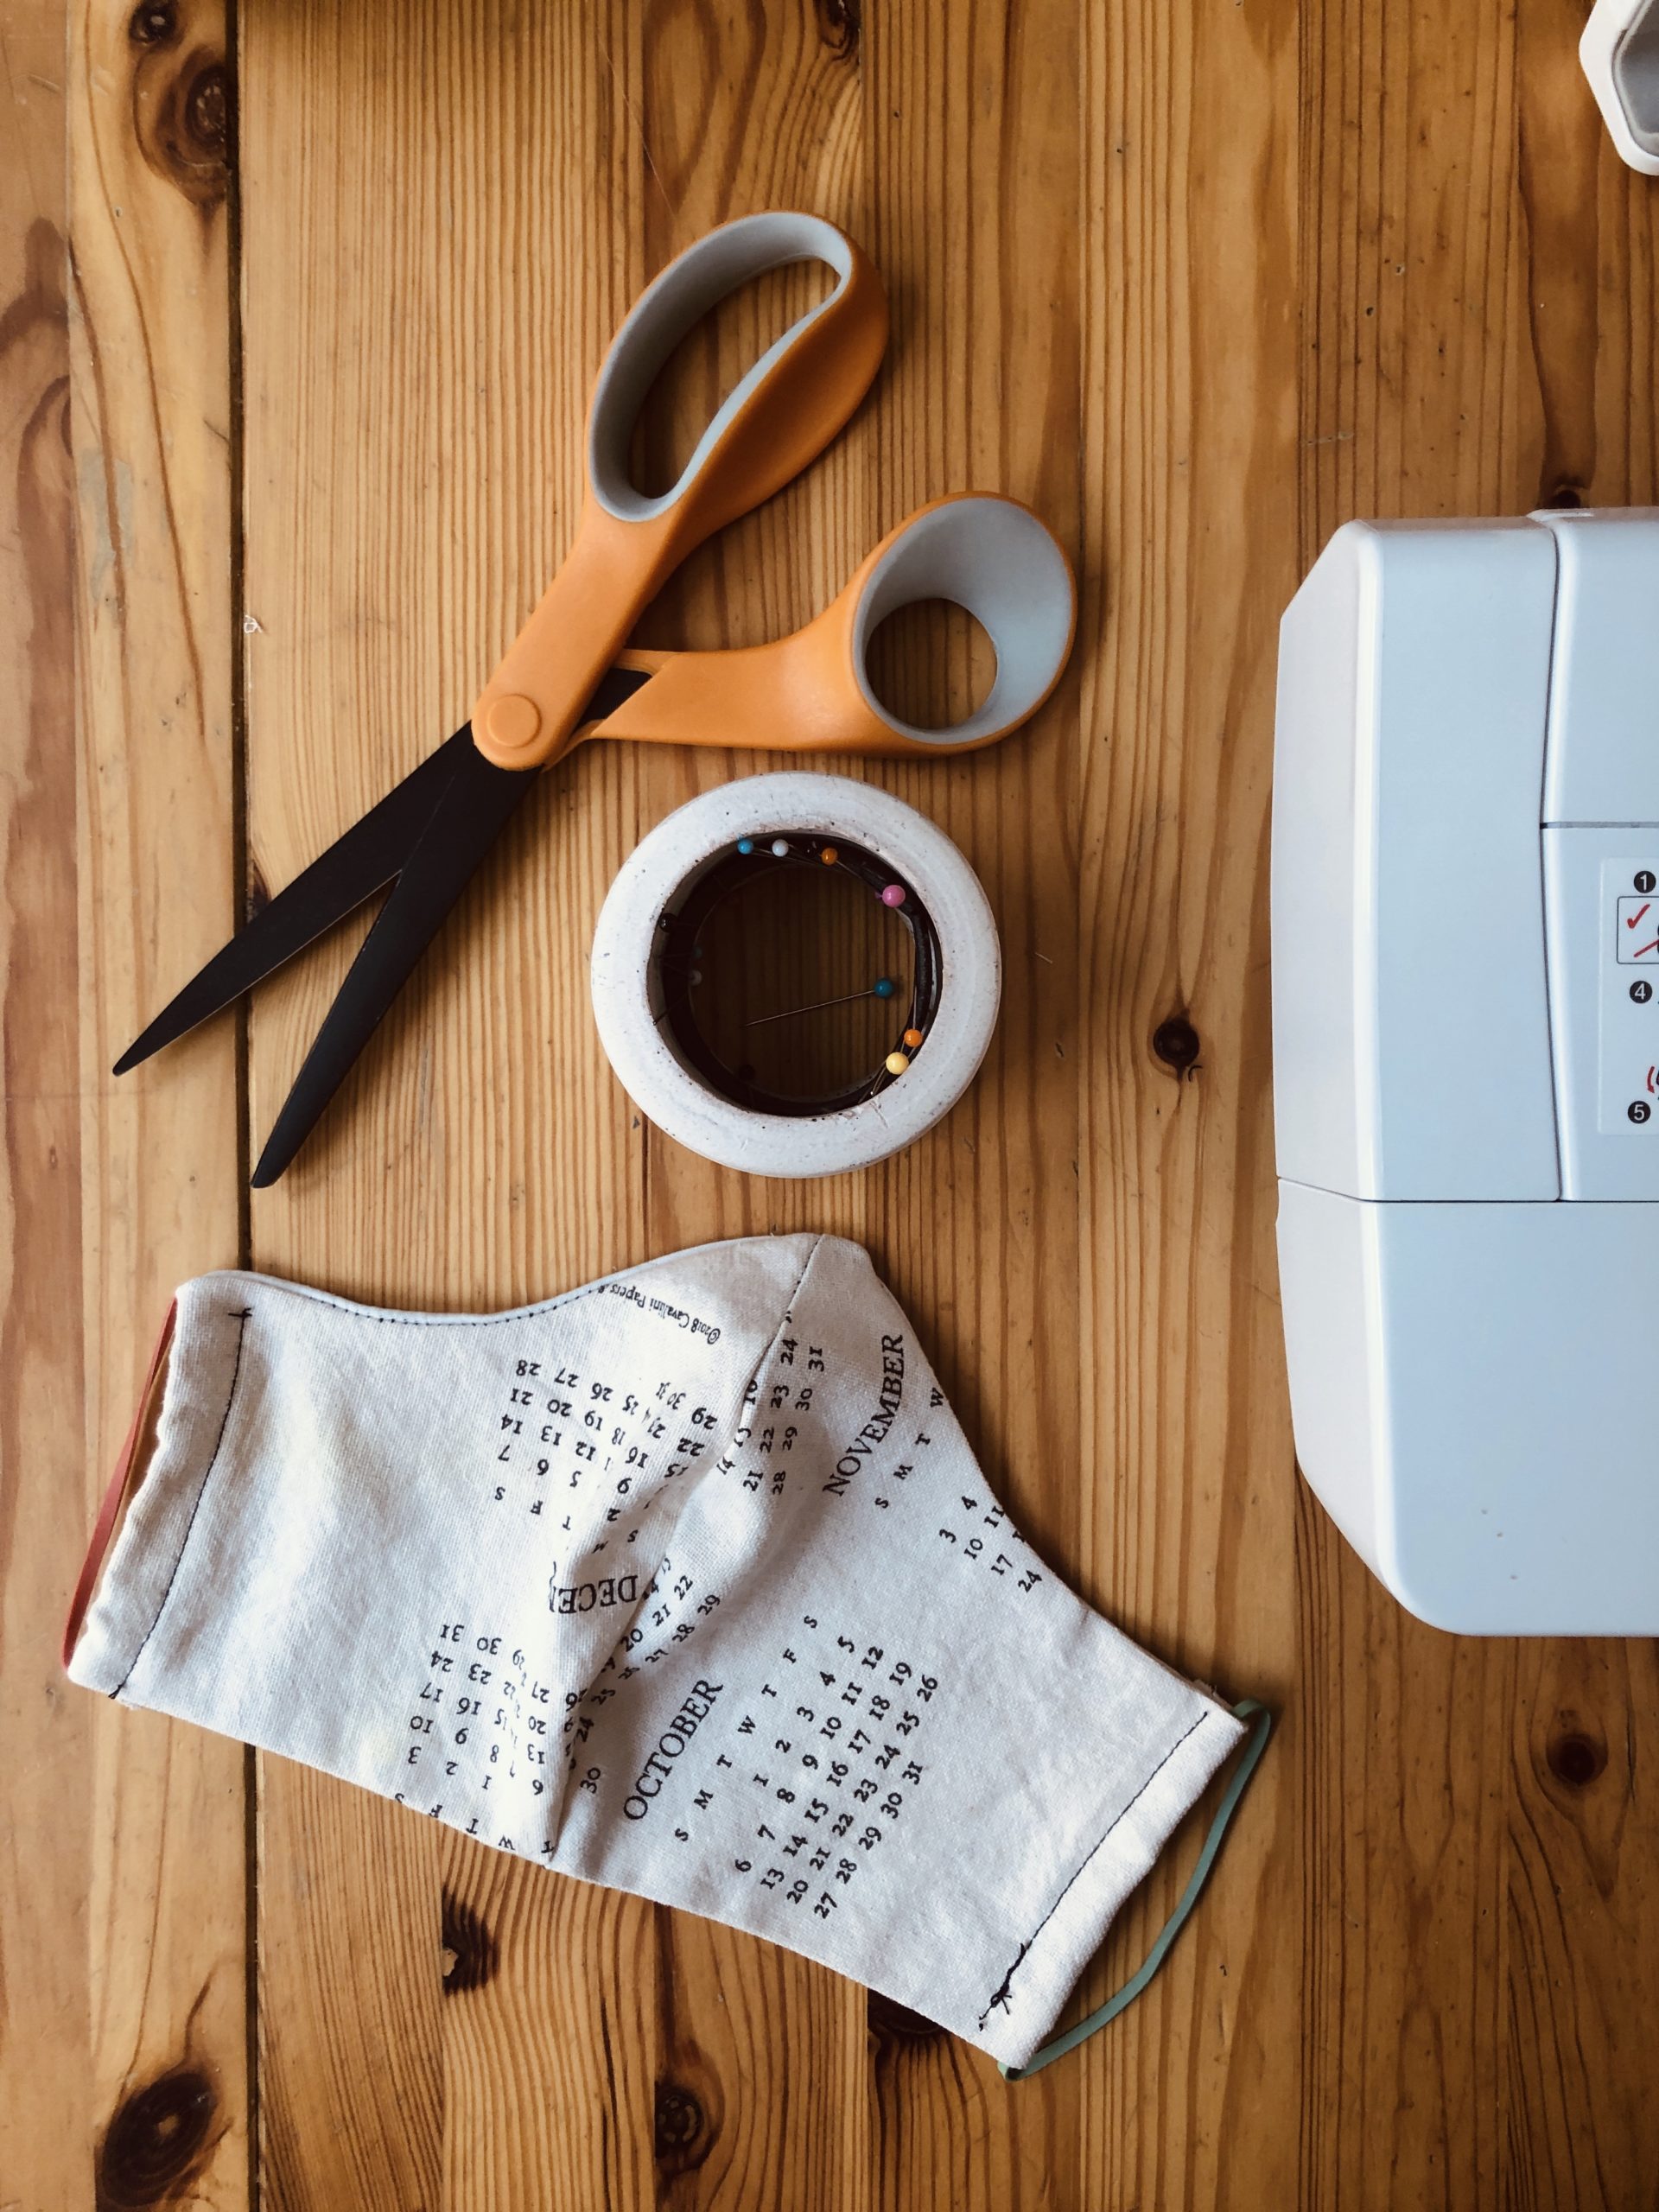
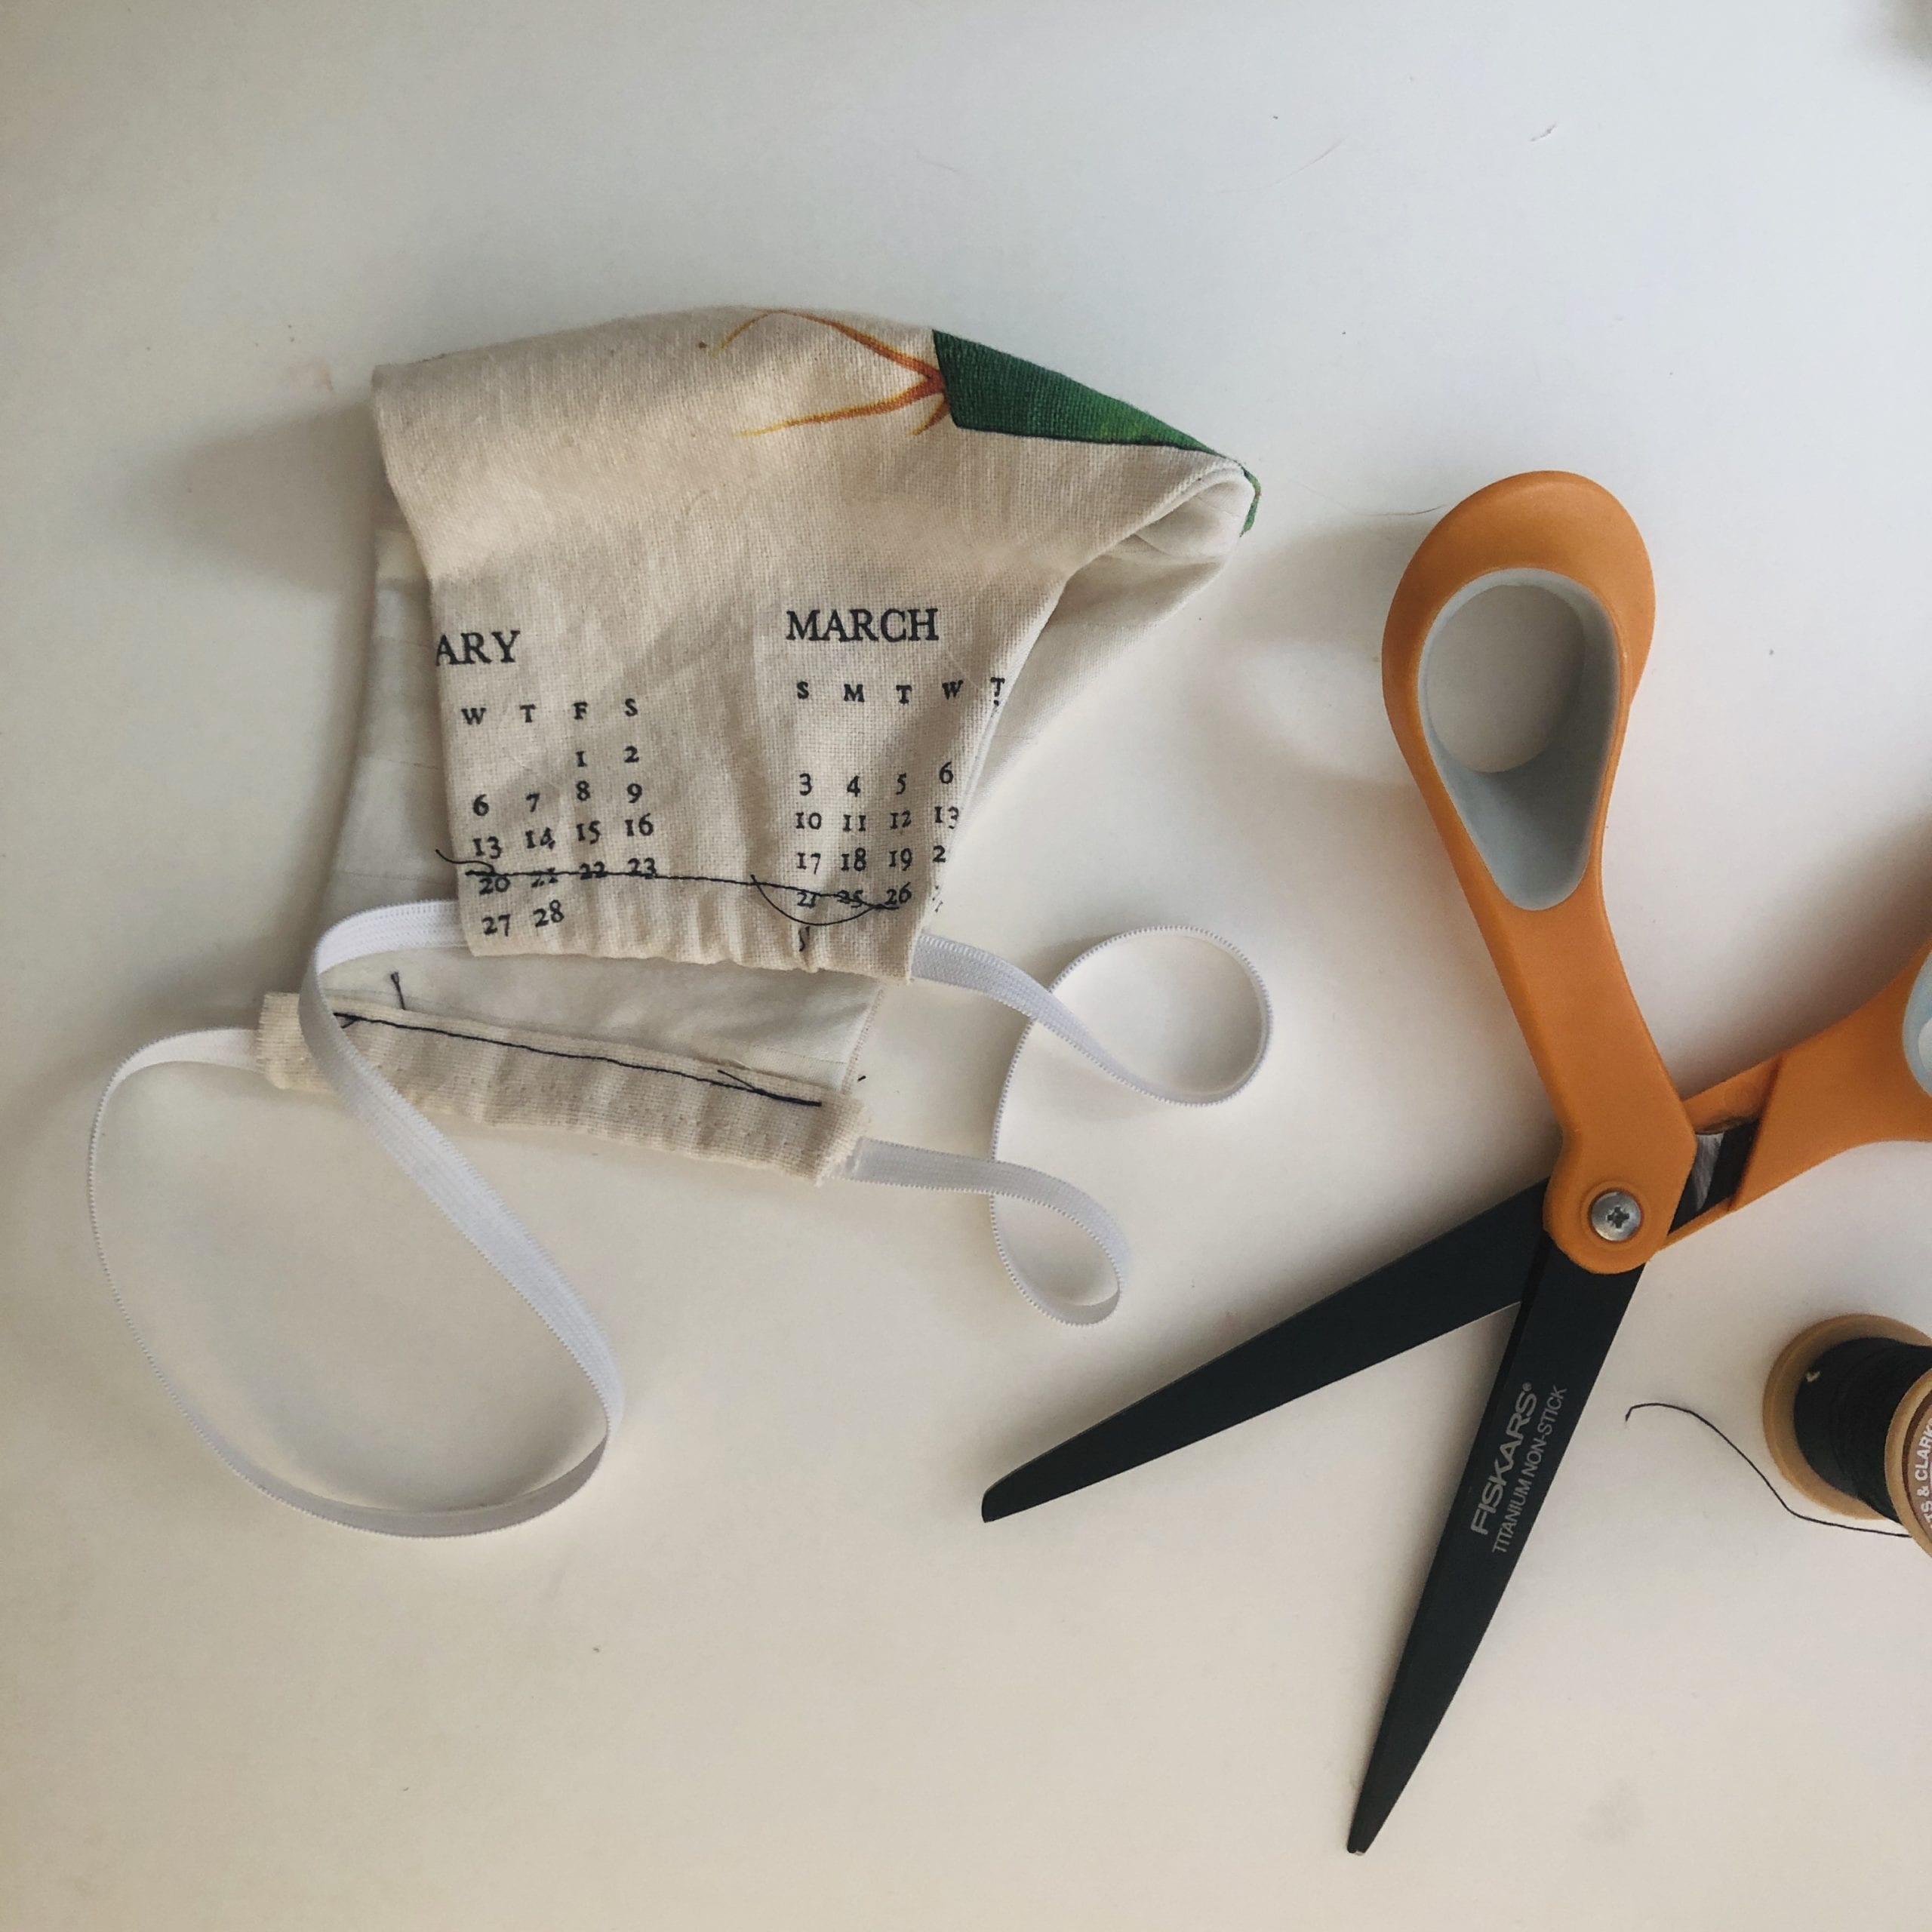
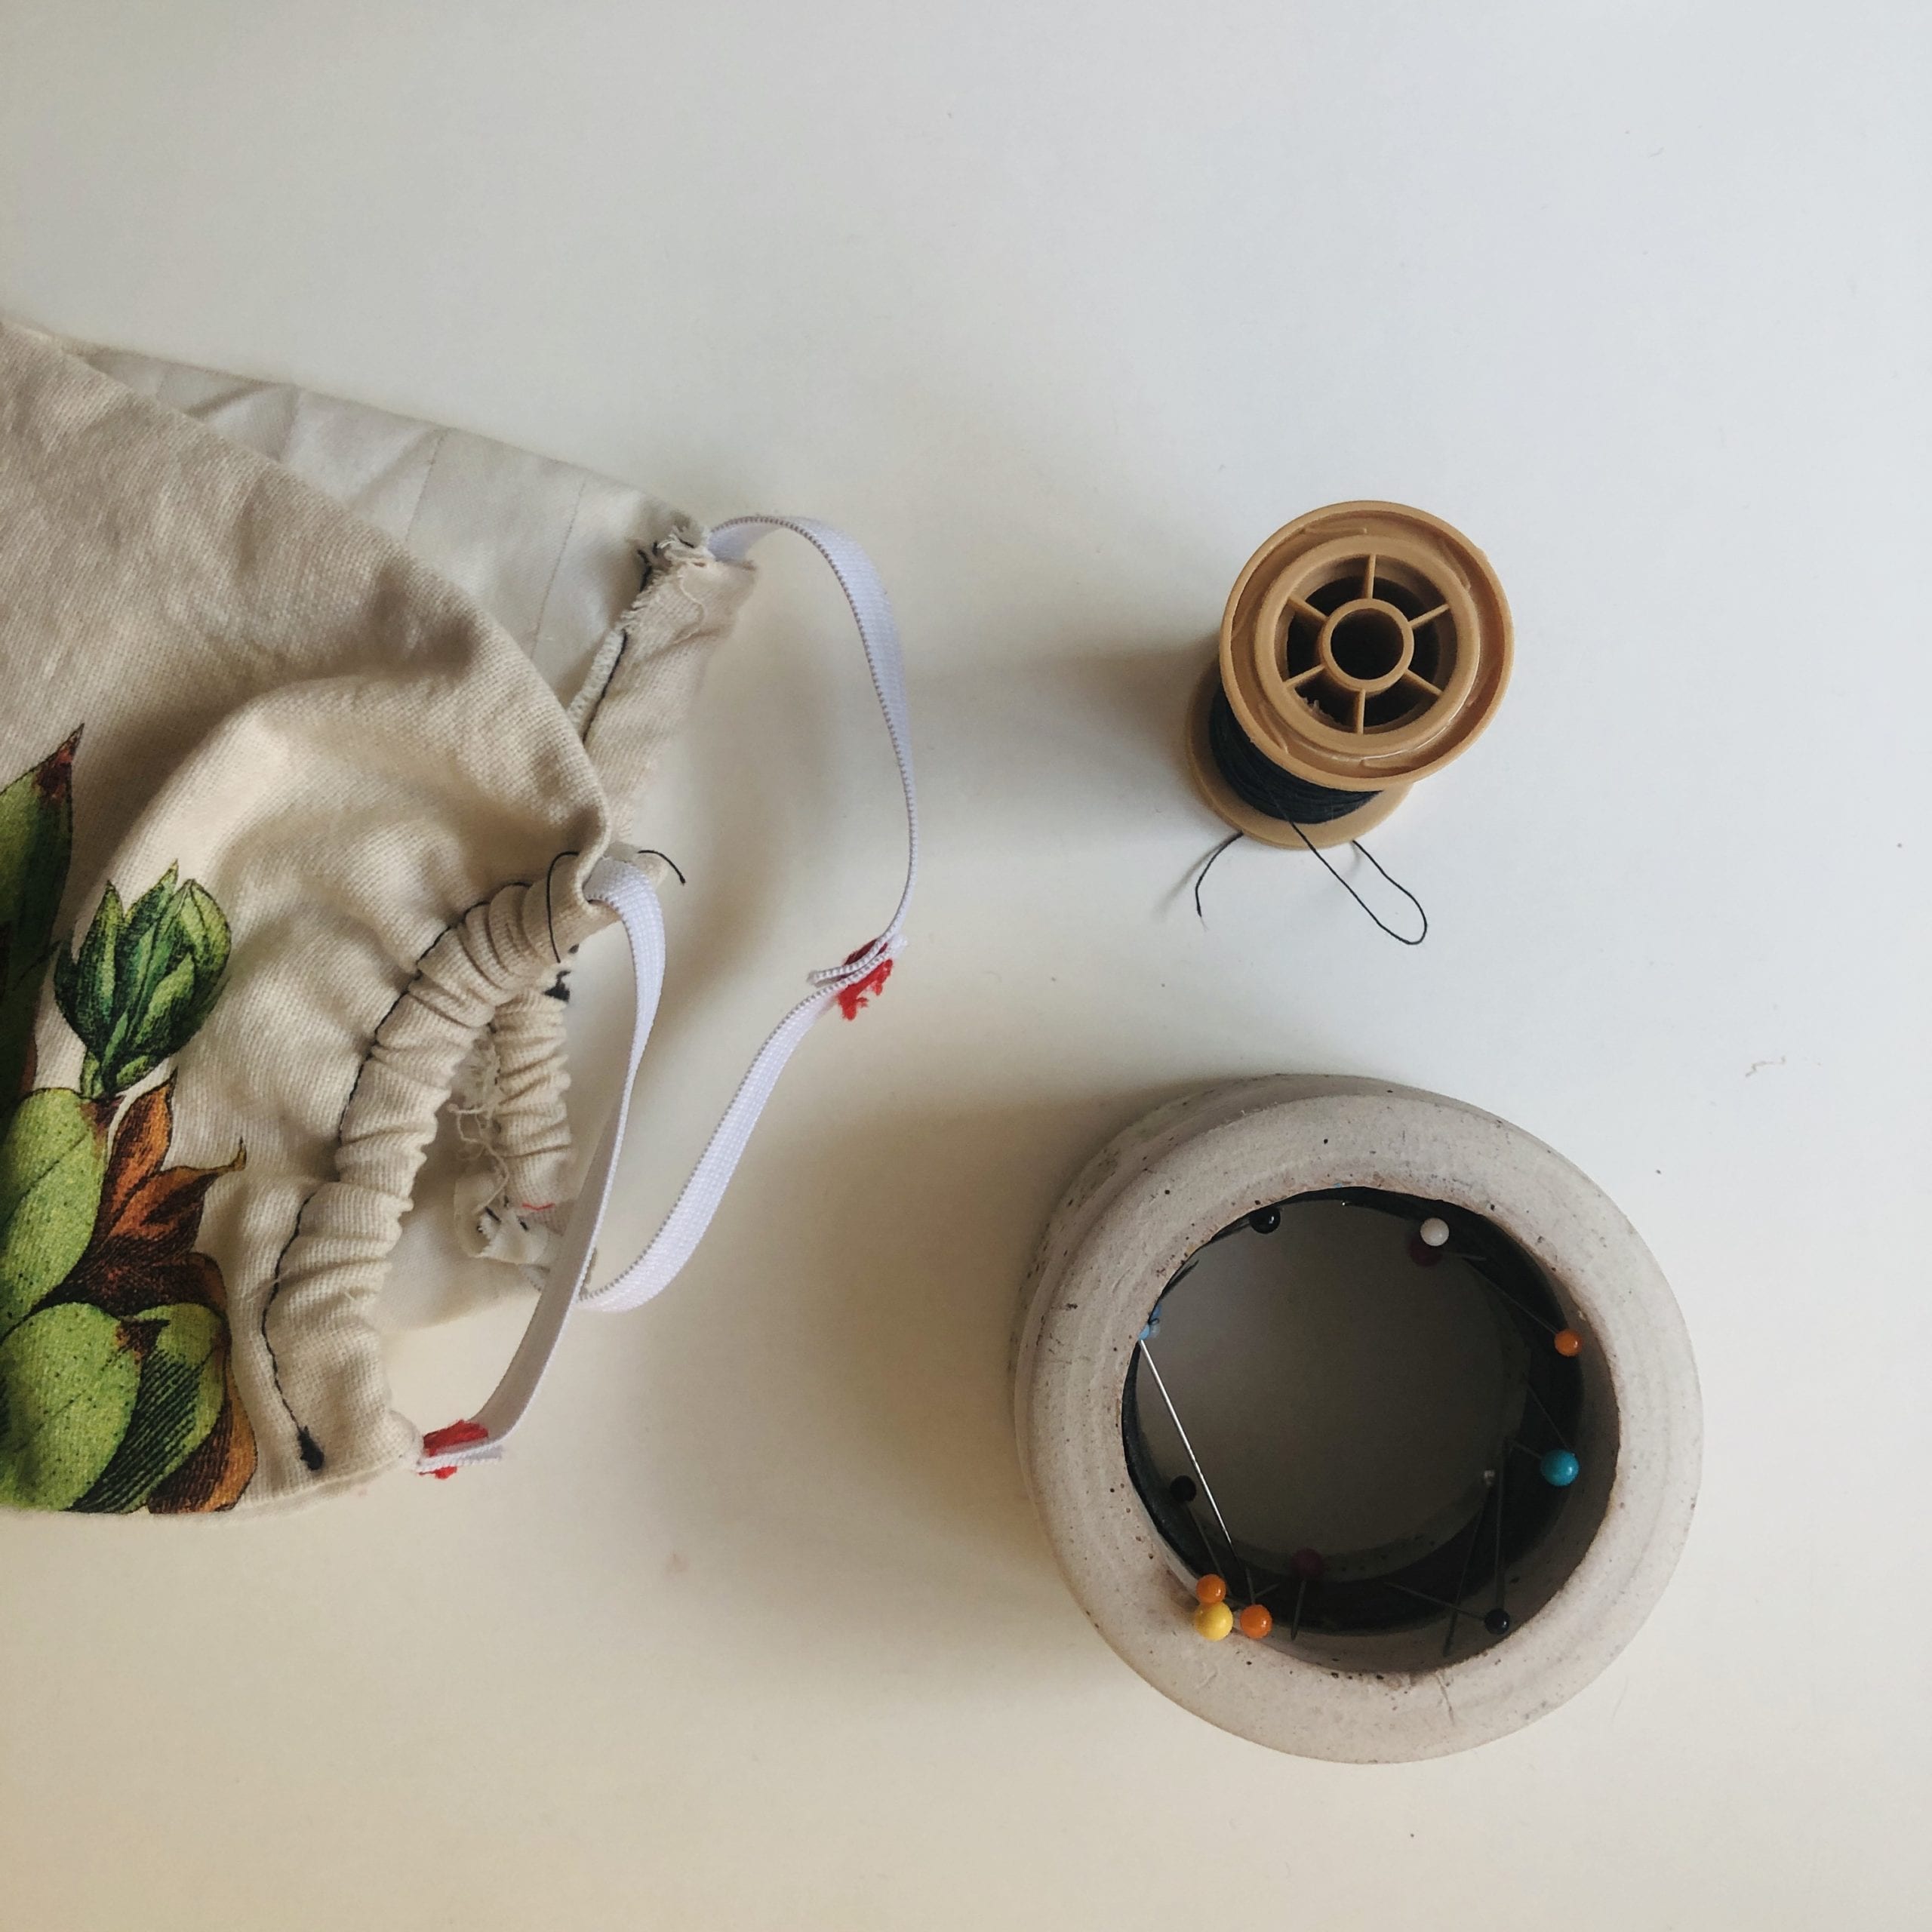
10. If you are using a rubber band: place one side of the rubber band along the unsewn side of the mask (on the inner side of the mask). Fold the fabric over slightly and sew it shut to trap half of the rubber band in. Repeat on the other side. Now you can secure the mask to your face by attaching the rubber bands behind your ears. If you are using one or two elastic strings: you can use the same process or you can do the sewing first, leaving a tunnel for the string. Insert the string with the help of a safety pin. Use two elastic strings to attach to your ears or one last elastic string to wrap it behind your head to secure.
Removing the DIY Face Mask
Do not touch your face when removing the face mask. Wash your hands with soap for 20 seconds straight after removing it and before touching any surfaces or your face.
Washing the DIY Face Mask
Make sure to wash the face mask routinely in the washing machine. Make sure it does not change shape or get damaged by the wash.
I am not a professional sewer by any means. I use my machine every other decade! It was not a difficult DIY and I didn’t aim for perfection. My suggestion is to use what you have if it fits the requirements.
Xoxo,
Cristina & Christelle 🙂
By commenting you accept our Privacy Policy.
Copyright © 2017 Permacrafters. All rights reserved. || Privacy Policy || Website Terms of Use || Health Disclaimer || Student Dismissal Policy ||


0 Comments
Trackbacks/Pingbacks